|
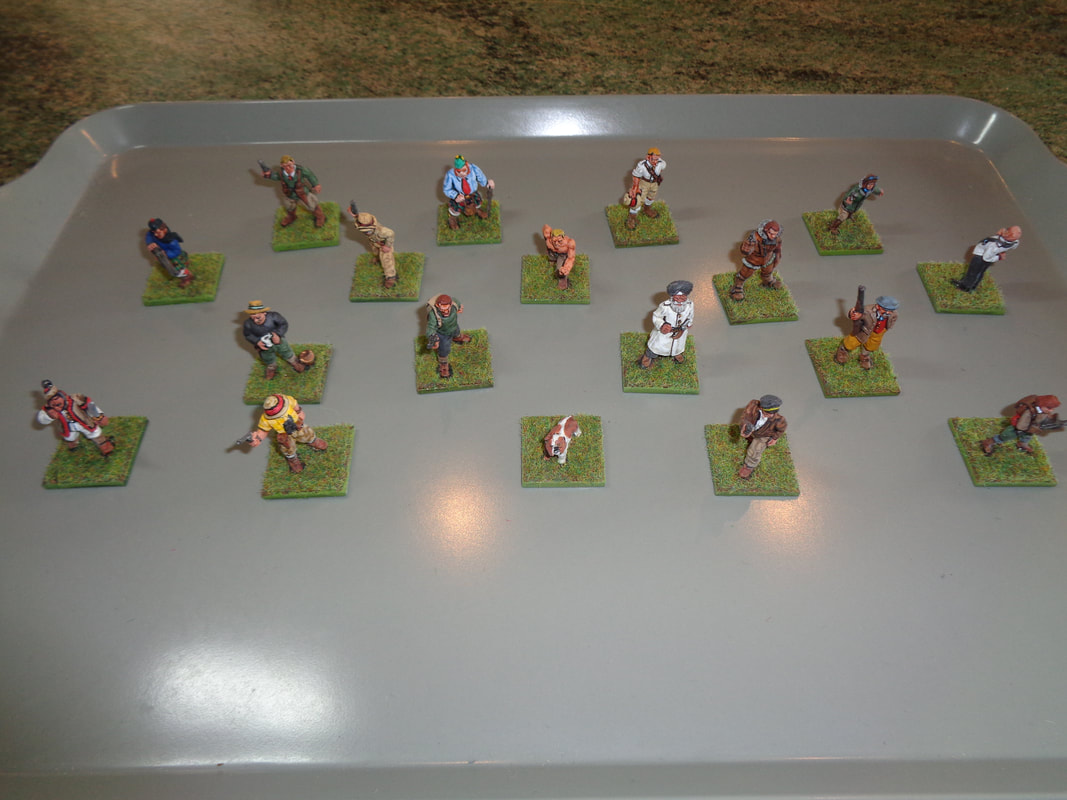
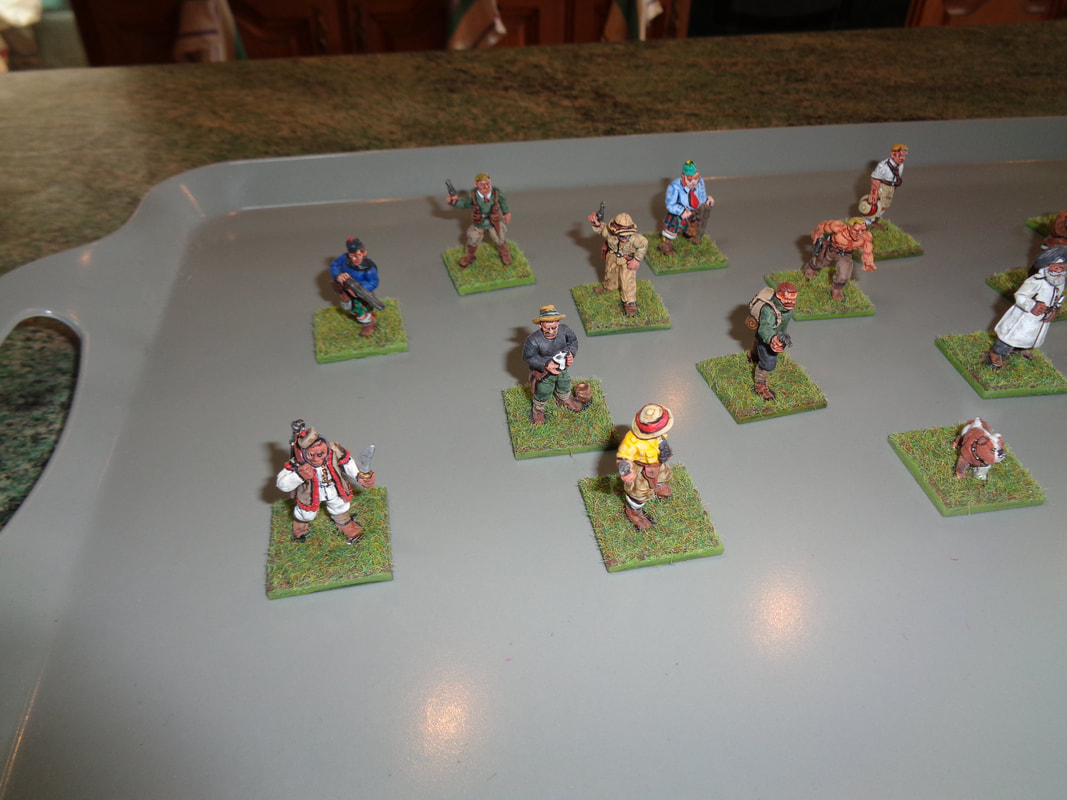
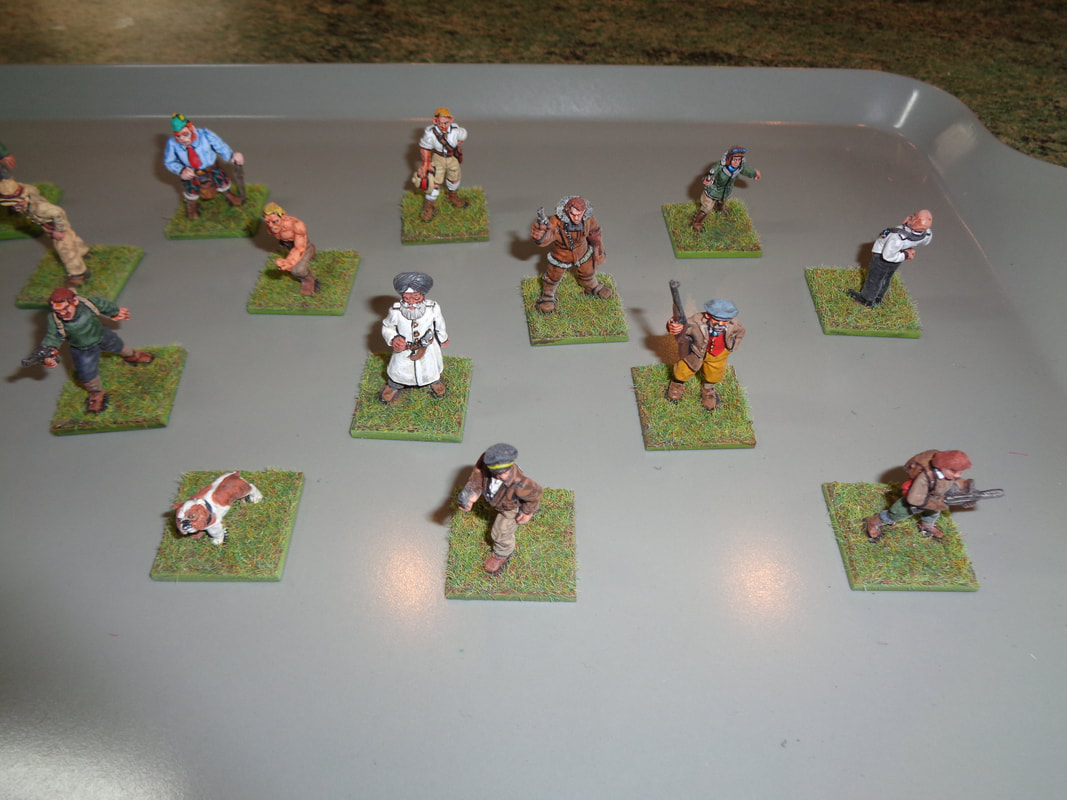
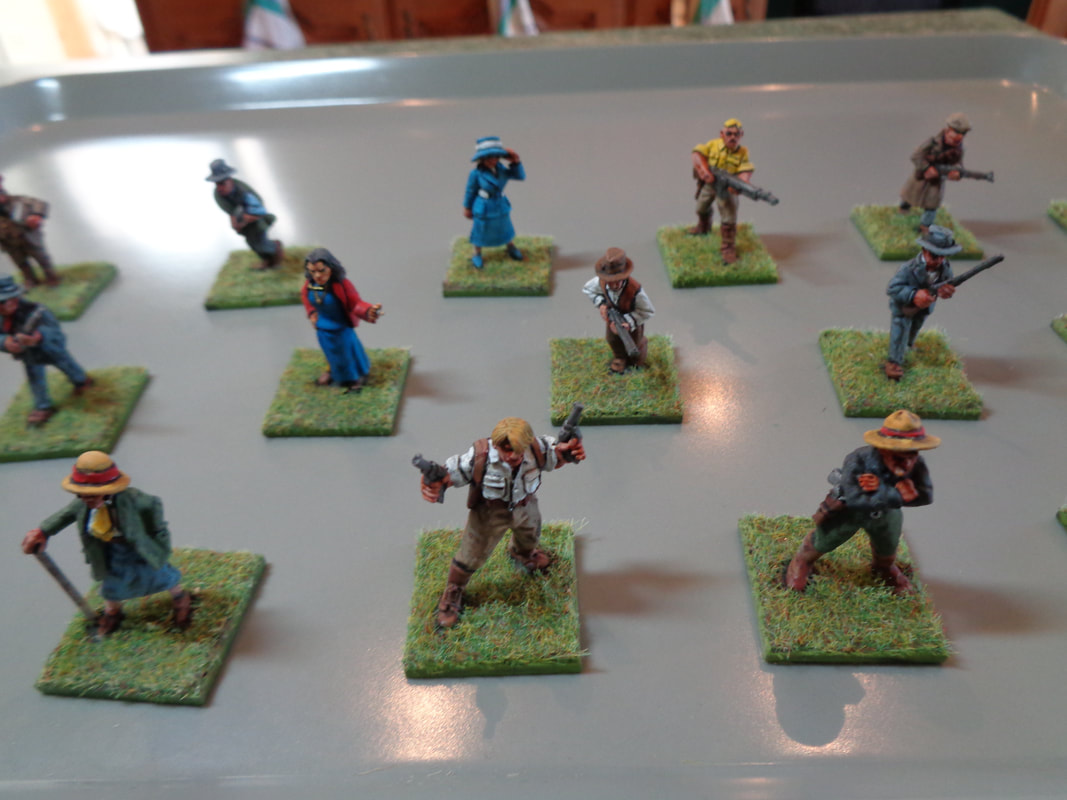
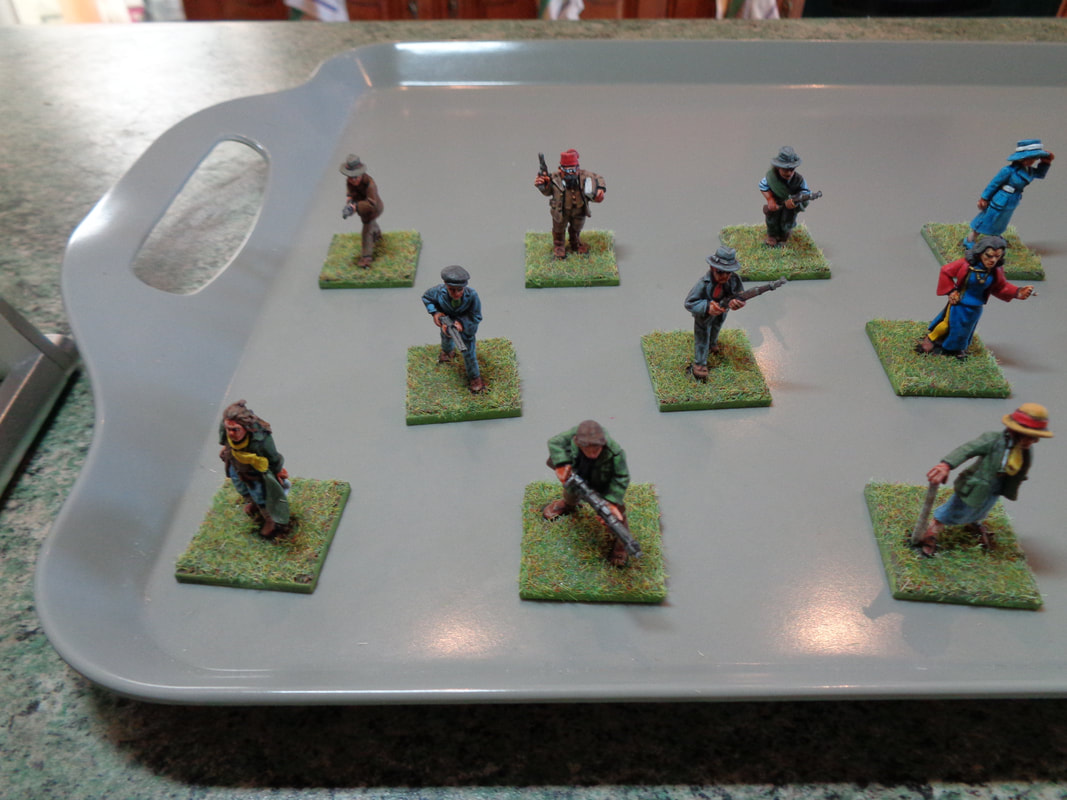
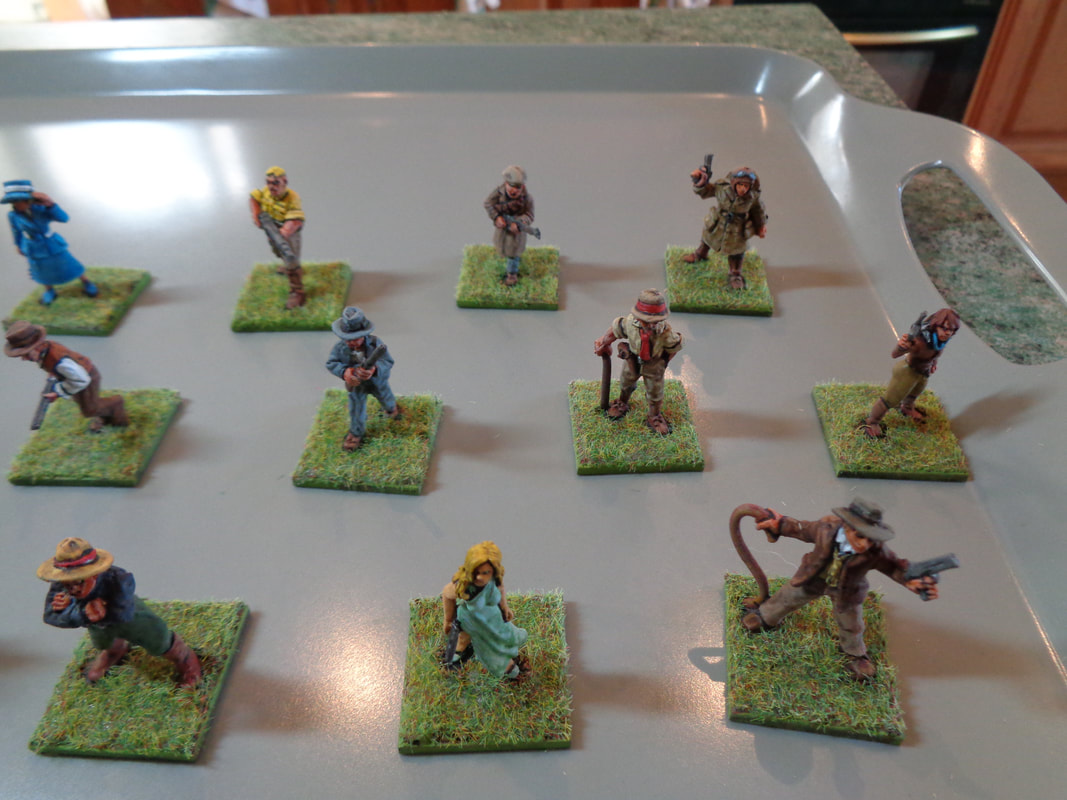
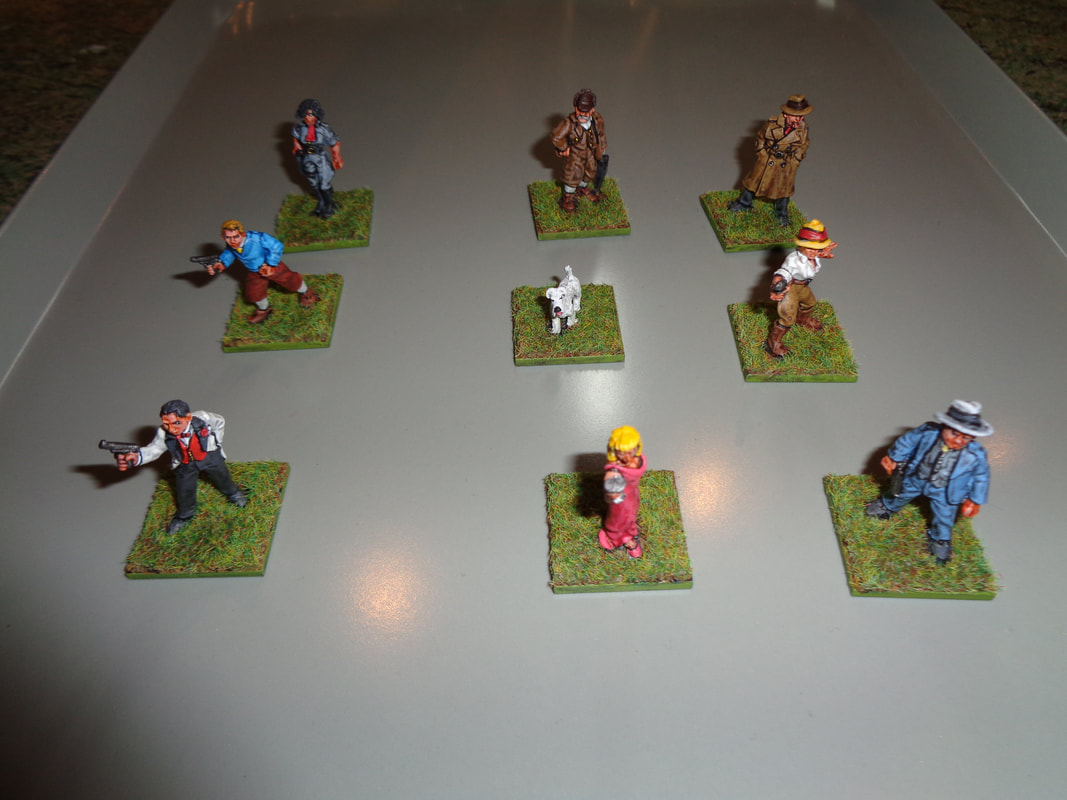
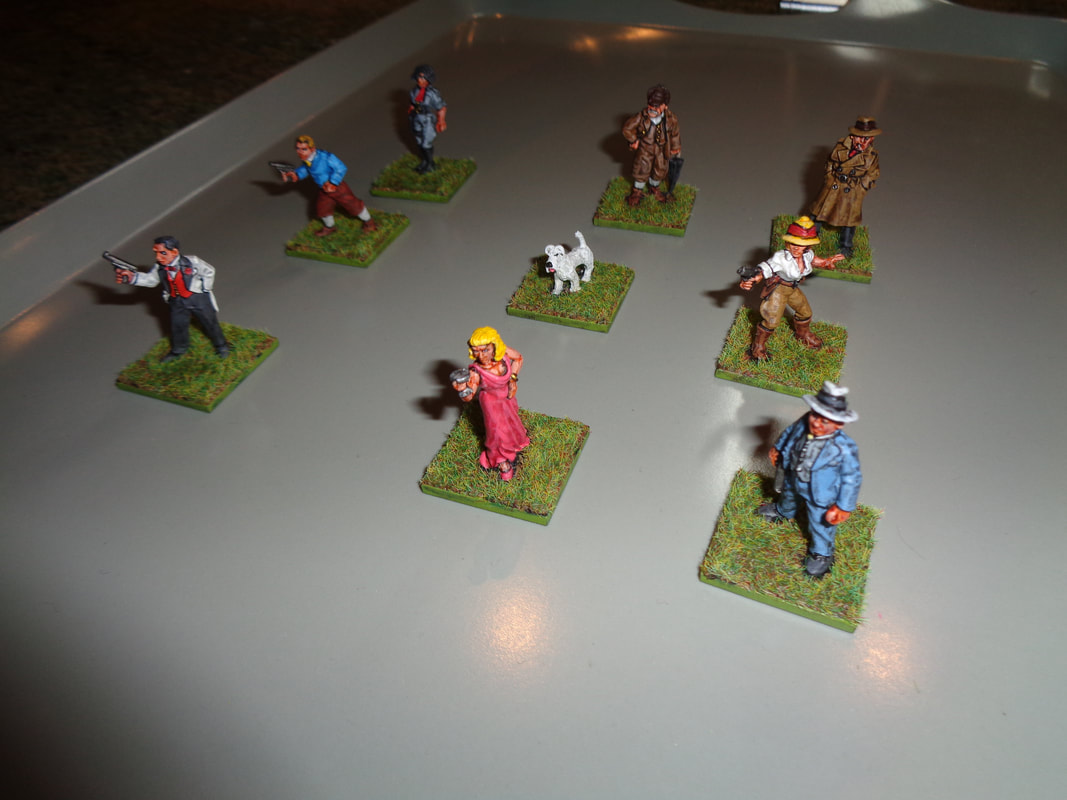
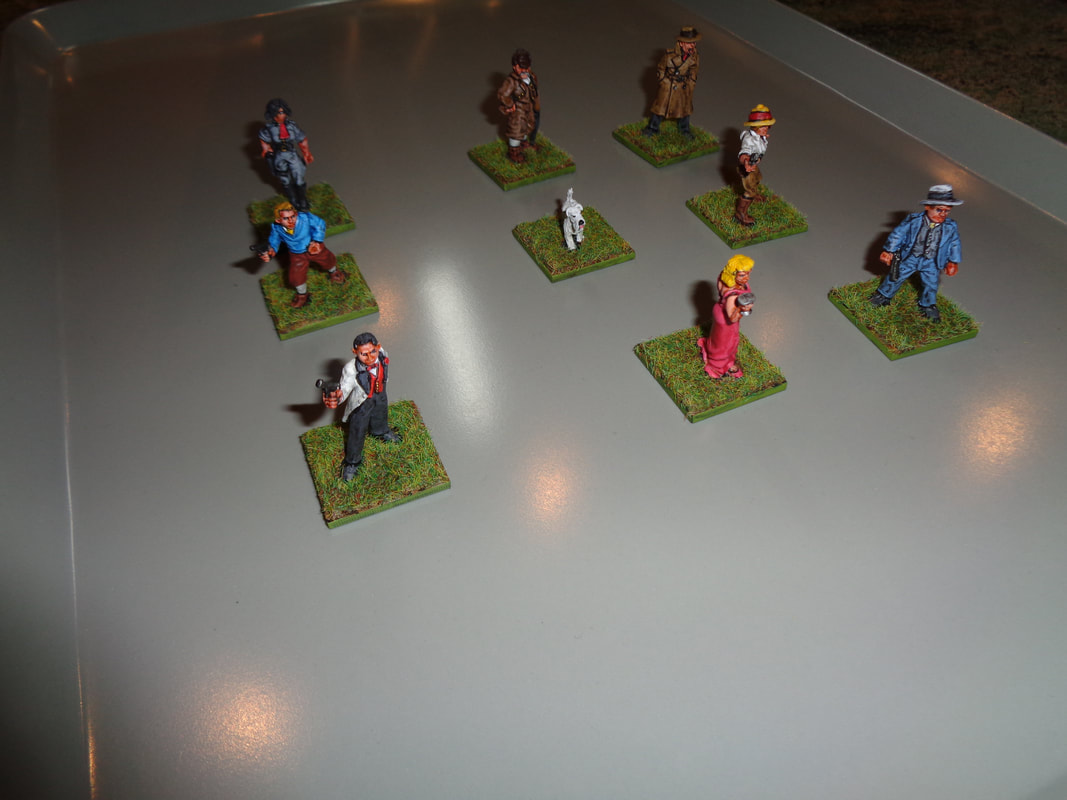
Only months since my last painting blog! what's going on? There was a sunny midweek break in the dismal downpours and so I took the opportunity to do some varnishing. The 10 figures below are all from Crooked Dice's 'mushimen' range which are basically a stand in for D&D myconids. They are nice sculpts without being overly detailed. It was pretty tricky to settle on a colour scheme for them since I found little to reference them off of and I did some weird things to get close to the result I wanted but otherwise, they were easy to paint. They also represent my first attempts at blending, which I did on their 'caps' and limbs. I'm not sure if I'm happy with the results or not. These 2 figures below are 'official' myconid figures from Wizkid's Nolzur's Marvelous Miniatures range. A different paint scheme was utilised on these 2, although it included lots more blending. I have just realised this is not a particularly good photo of this elven bard which is also from Wizkid's Nolzur's Marvelous Miniatures . While I think it's a fairly good sculpt with a dynamic pose, that pose made it trickier (the face especially) to paint than I would have liked. I shamelessly ripped off the colour scheme for Link from Breath of the Wild for this one! Nintendo know what they're doing when it comes to colour schemes! I swore off getting more plastic D&D figures but I needed half-orcs for the next GameBlast project so I bought a bunch more from Wizkids and these represent the first of that batch. The 2 on the left are barbarians and the last one is a warrior. The barbarians a were a touch fiddly overall with some small detailing that needed working on but I think they have a pretty good presence on the table. The figure on the left is a metal Reaper leprechaun while the one in the middle is a warlock from Wizkids. Both are for my next GameBlast project. The final figure is an elven fighter, also from Wizkids and was just painted to get it off the table. For some reason, the face's definition didn't come out well during undercoating meaning the eyes look a bit strange. These 5 giant worms are resin models from Ainsty Castings and have been sitting around for a while. I've not painted anything like these before so decided to try them in 2 slightly different colours schemes. It was also done quickly as I thought I would need them in a hurry but ultimately didn't. Again, these 3 were done to get them off the painting table. They're from Crooked Dice and they are very nice sculpts which were obviously inspired by The Indiana Jones films. I'm happy with them and they more or less look like their source material. The Henry Jones, Sr figure on the right is multi-part and the hand with the umbrella/suitcase had to be glued to the wrist and was a real pain to do, I nearly chucked it away! I'm glad I persevered. On close inspection that hand looks quite blobby from all the gluing. All the figures below are from the Kiss Kiss Bang Bang range at Artizan Designs, they were the last of the figures meant to be painted for GameBlast25 but didn't get done in time. So I've painted them now to get them off the table. Like all the Kiss Kiss Bang Bang figures I've painted so far, these are excellent sculpts with enough detail to give them character and make them interesting but not so much to make painting them fiddly. They were a lot of fun to work with. So much fun in fact that I'm tempted get more of them to paint, even though I have no need of them. For the 2 Kiss Kiss Bang Bang figures below, I referenced photos.
The Richard Roundtree/Shaft figure was referenced directly from a photo of him in a similar outfit. I was concerned that so many shades of brown wouldn't work but am happy with the result. The Black Panther activist was a bit trickier as it took a while to find a colour photo from that era. Eventually I found one of someone wearing a red shirt and opted for that as it made the figure pop a little more. I also put a gloss varnish on the jacket to make it look like shiny black leather but I think instead, it ended up looking more like a PVC jacket! Or at least it does so in the photo.
0 Comments
Time for another painting blog - and only a few short weeks since the last one! For GameBlast25 I needed a WWII era train set - preferably a military one. Originally I was looking to buy something that I could just use without any prep but that didn't work and now, I was getting close to the date of the event! Instead I quickly looked for alternatives and settled on getting something from Sarissa-Precision. They sell a WWII train bundle which was exactly what I was looking for. I also bought some additional track, foolishly thinking I might need some extra but the bundle comes with plenty of track - easily enough to hold the entire train. The train comes a flat packed kit of card and MDF (I think?) that required a lot of assembly and some painting. To be honest it was a bit more of a crafting project than I was hoping for - particularly with the deadline looming. This was the first time I was doing something like this and I was on a deadline too! I found that the carriages were pretty tricky to create and I made quite a few mistakes, especially early on. The kits are fairly elaborate and even come with features such as spinning wheels when constructed correctly. However, since I was painting so fast I found once I'd painted the wheels, they got stuck. Lacking the time to do a proper camo paint job, I ended up spraying them army green and finishing with a military shader all from Army Painter. There was a bit of a cleaning up afterwards.
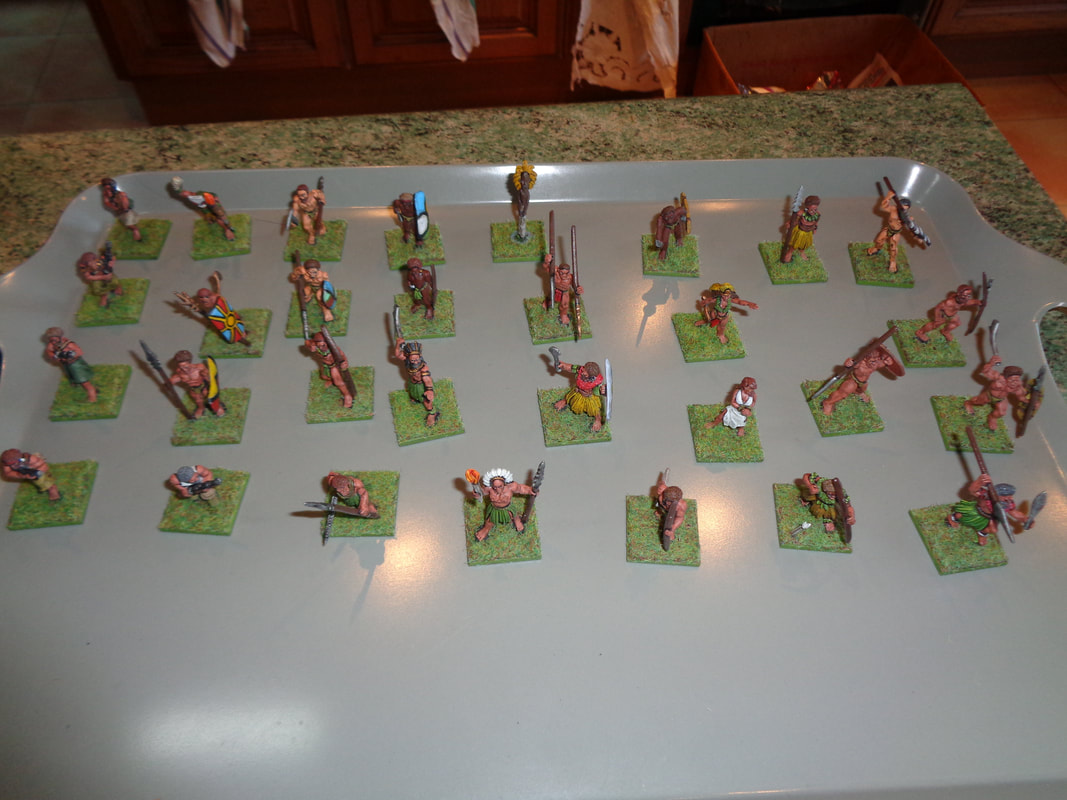
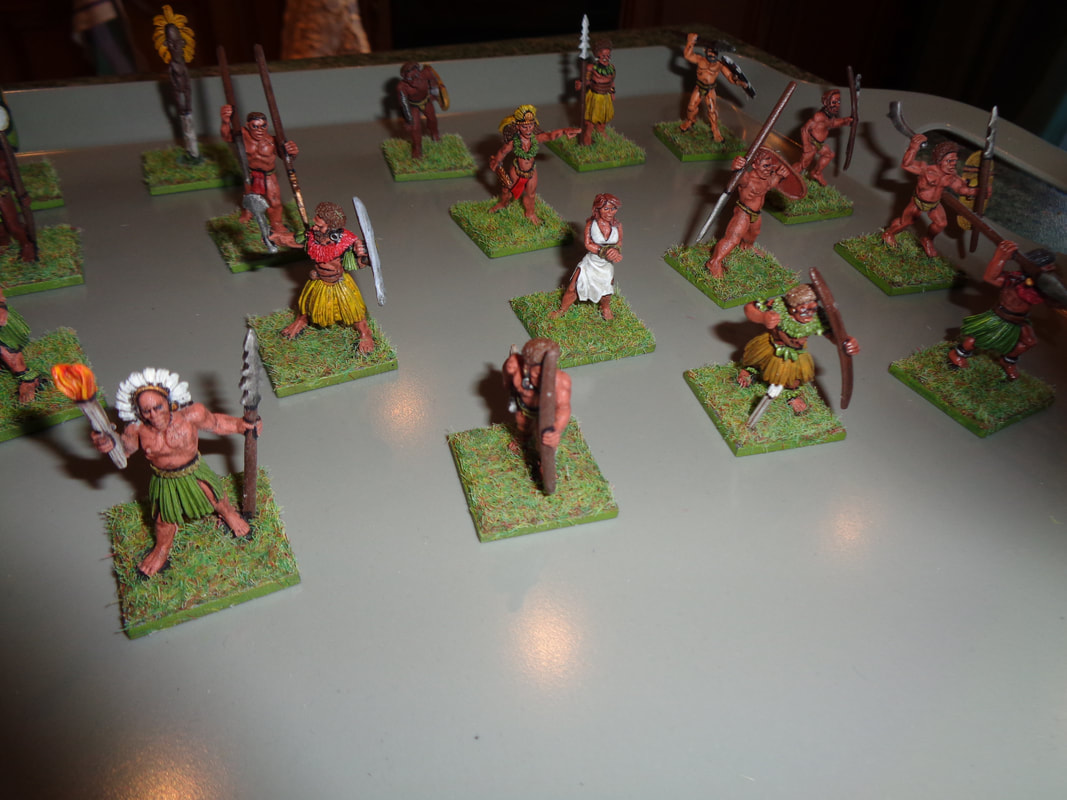
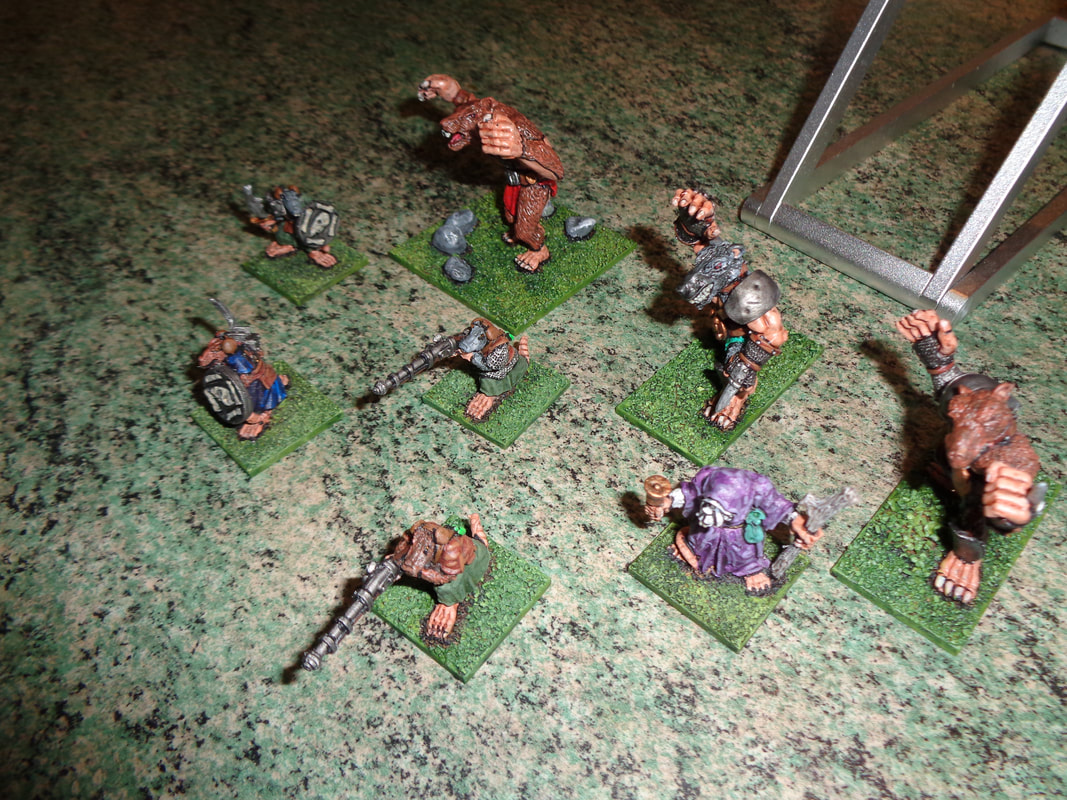
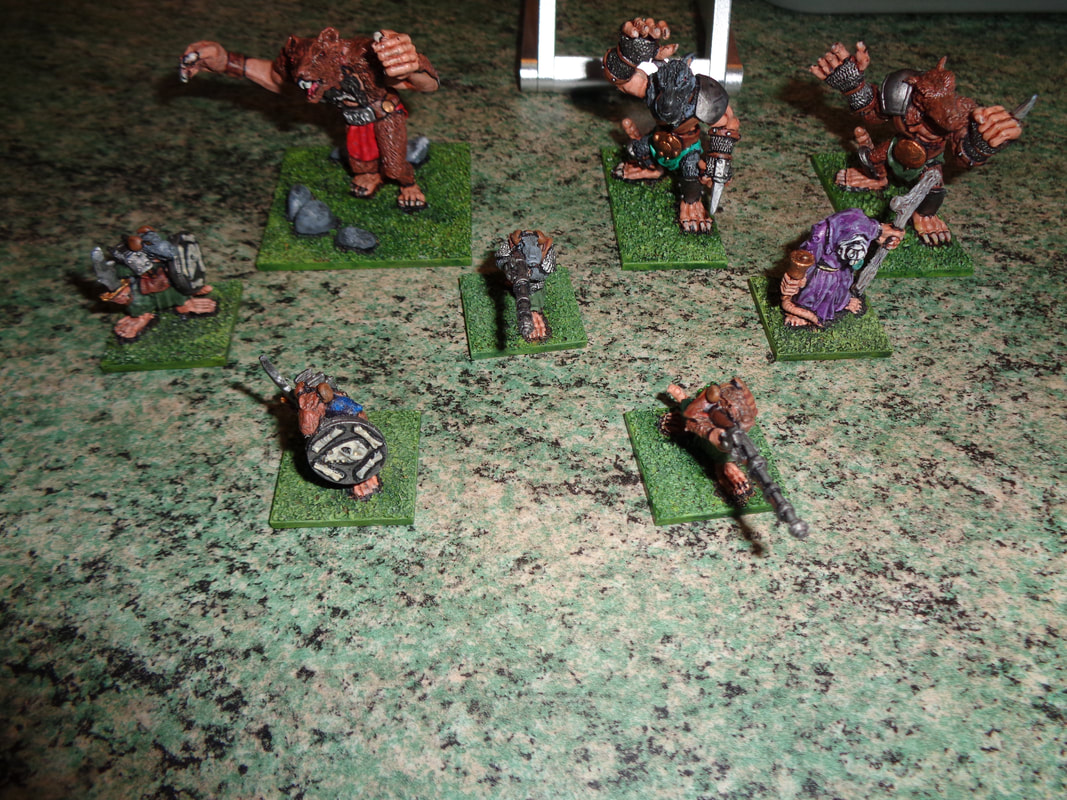
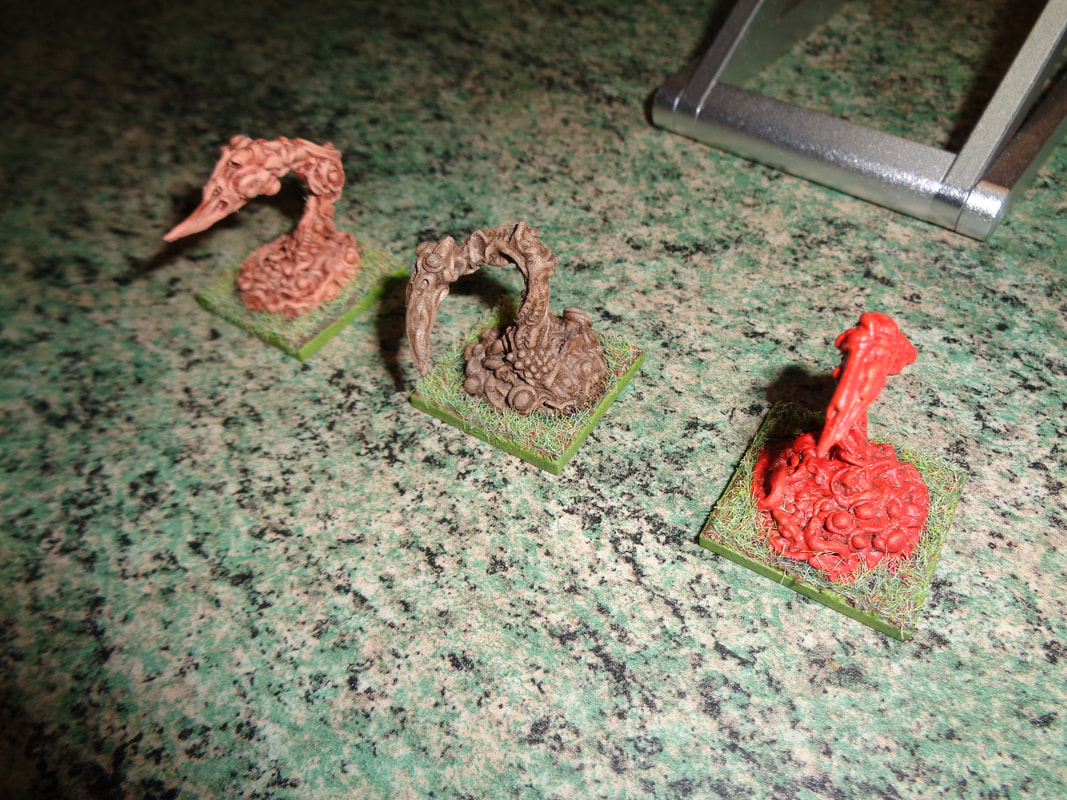
I'm not sure how I feel about the results, I definitely could have done better - there's lots of gaps and mismatched edges, don't look too closely at the photos! On the other hand, the flaws give it them a sort of lived-in, battered quality. I think it looks passable and they're there to be played with, not looked at. Sarissa also do a European style train bundle and since I can be a glutton for punishment, I may pick that up when I'm more 'cash-rich' and see if I can do a better job with a bit more experience, time and patience. 2 posts in 2 days! What's the world coming to? Despite being cold, today was sunny and good opportunity to do some varnishing. That's all 30 of my Pulp Figures Melanesian figures now finished and varnished. I've just got to find somewhere to store them now! A while ago when waiting for some supplies to arrive, I took the opportunity to finish painting the last few remaining Ver'men (Obviously not Skaven!) that I had lying around on the lead mountain, they came from Black Tree Designs. These joined the Melanesians on the varnishing table. From Midlam Miniatures are 3 Red Hook Horrors, only one of which I painted red! However, I find the idea of flesh and poo coloured monsters appealing. These were painted earlier in the year and are now varnished.
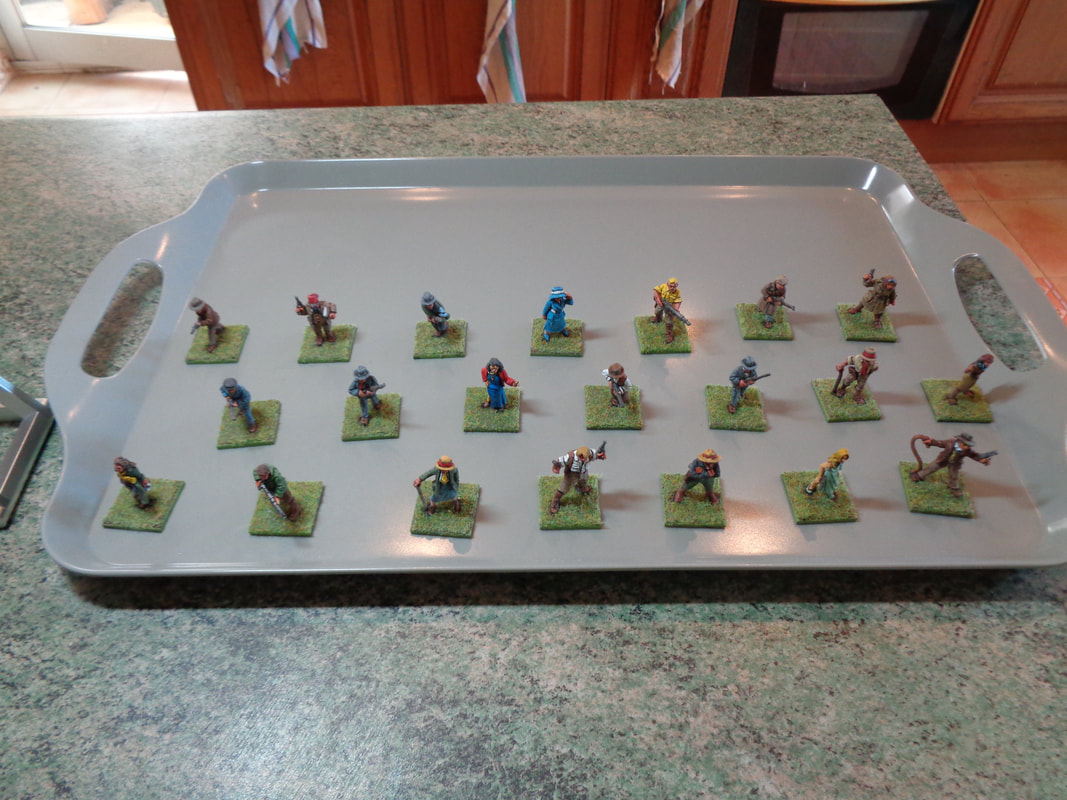
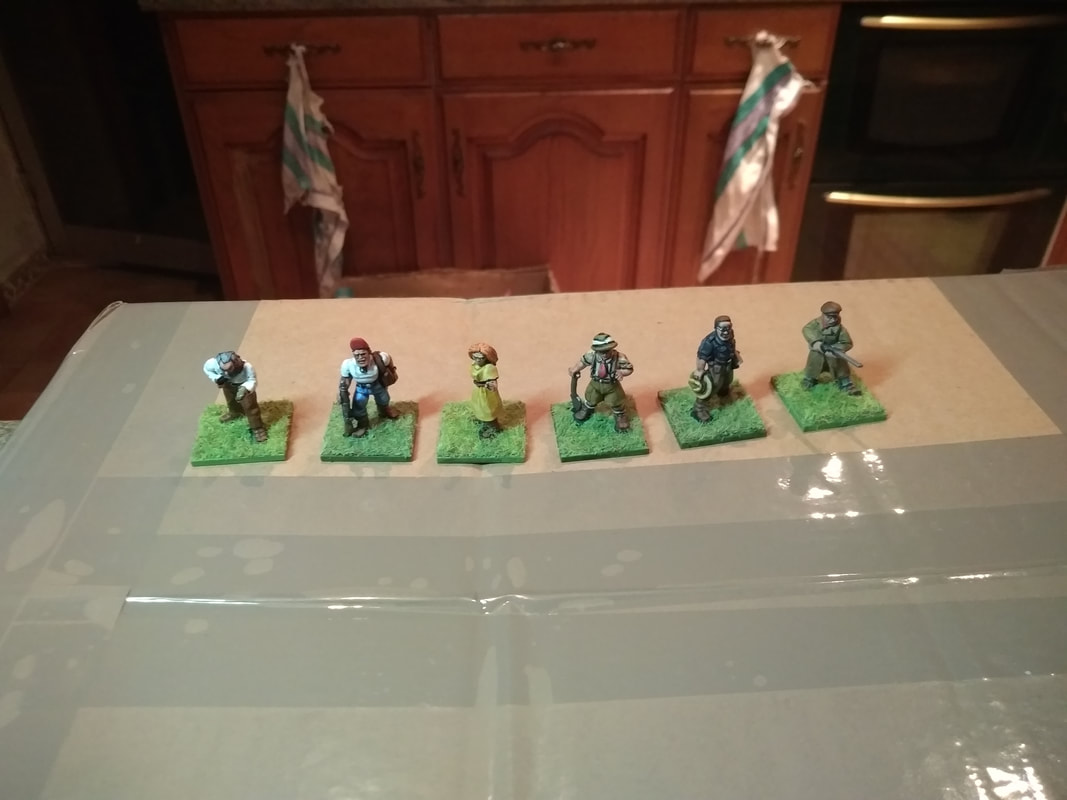
18 more pulp personalities painted and varnished. That's all of them done, unless they're some more lying around that I haven't spotted. Which is quite likely! 2 of them are wearing kilts, I've hidden them in the back. Painting tartan is something that eludes me still. The figures here are a mixture of Copplestone Casting's 'Back of Beyond' figures, Pulp Figures, Artizan Design's 'Thrilling Tales' figures and a couple Bad Squiddo figures.
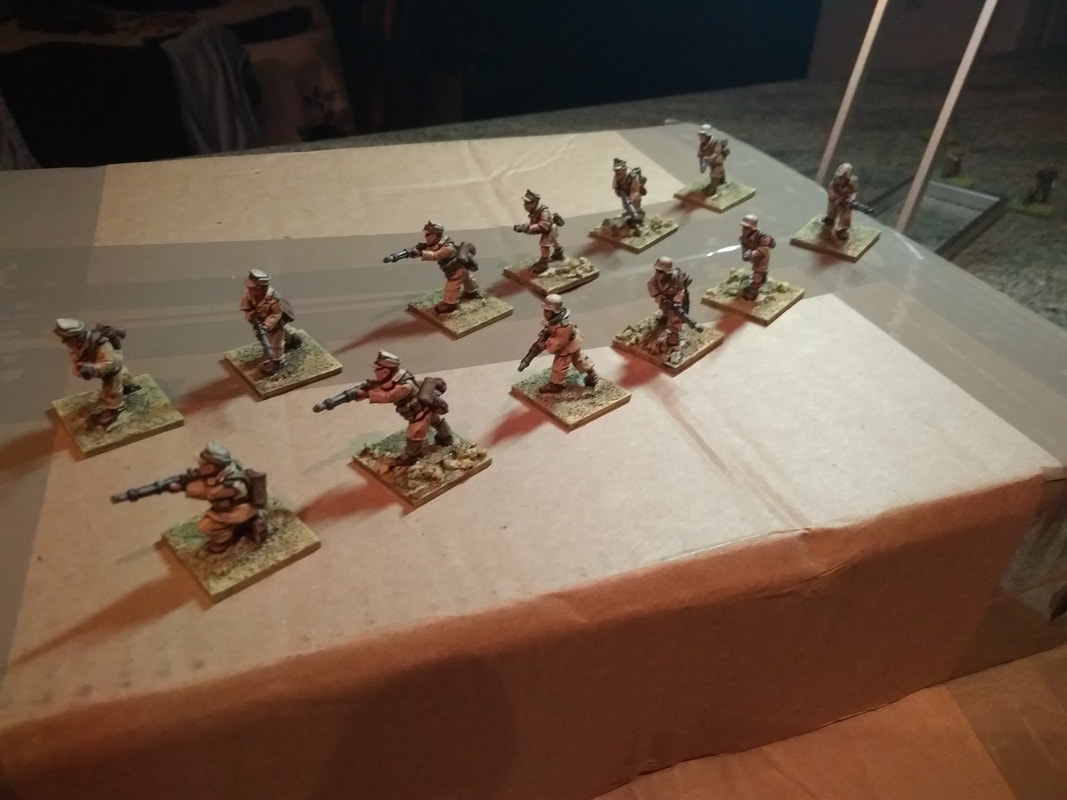
Finally it's time to make a start on those WWII Soviets. I've been slowly but surely painting since my last update 3 months ago. Today I varnished 21 pulp personality figures. They're a mixture of Pulp Figures Pulp Heroes & Personalities, Copplestone Castings' Back of Beyond Adventures and Footsore Miniatures' Irish War of Independence figures.
I'm now about 75% of the way through painting all my pulp personalities. After that I have to move on to WWII Russians and I need to varnish some vehicles I've got laying around. There was a gap in the weather on the 21st February that allowed me to varnish the last 9 figures that I'd painted.
It took me about a week to paint all 9 - which is quick going for me. Painted and varnished 18 figures for Gameblast, various pulp figures and the like.
Unfortunately, the photos I took looked crap! So may some more at a later date. The second blog post...Yes I know it's now 2020. And yes, it's taken nearly a year to prepare to write the next post for this blog. But I have been doing some painting during all this time... honest... So I'm going to try post photos I took of the miniatures I painted from February to December! 13th November 2019These figures were photographed on the 13th November 2019. These are the first of the 'pulp' figures for my GameBlast20 game - The Indiana Jones Charity Globe Trot.
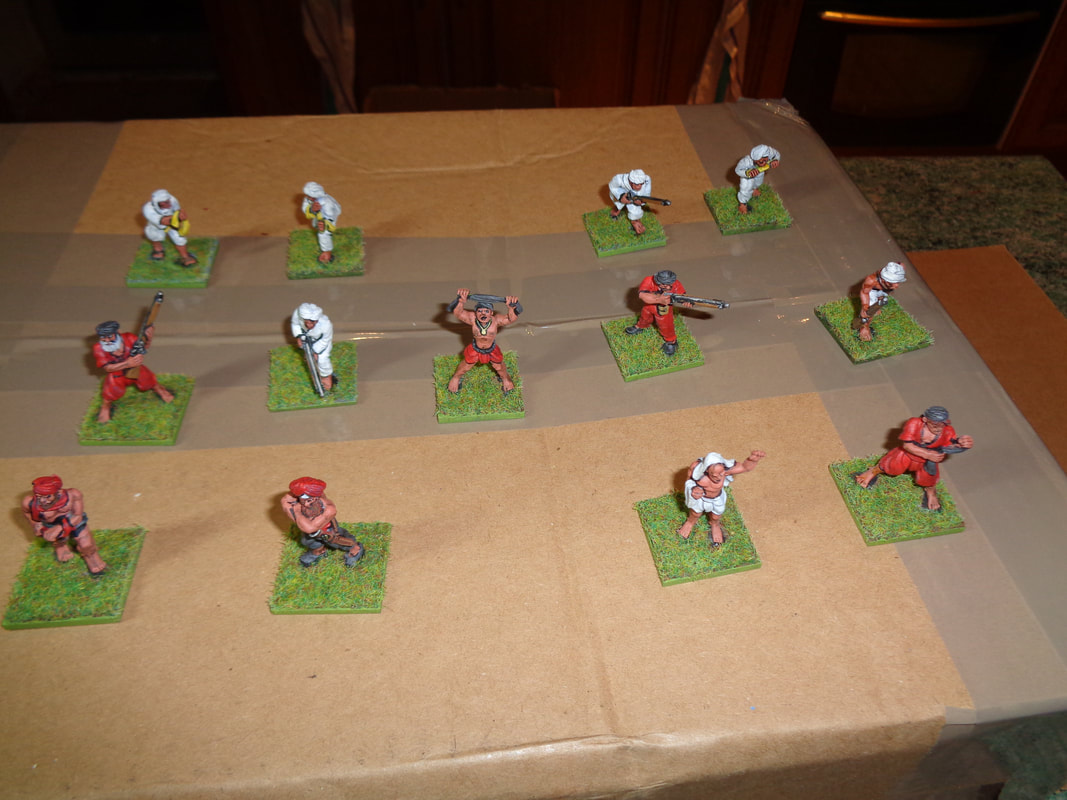
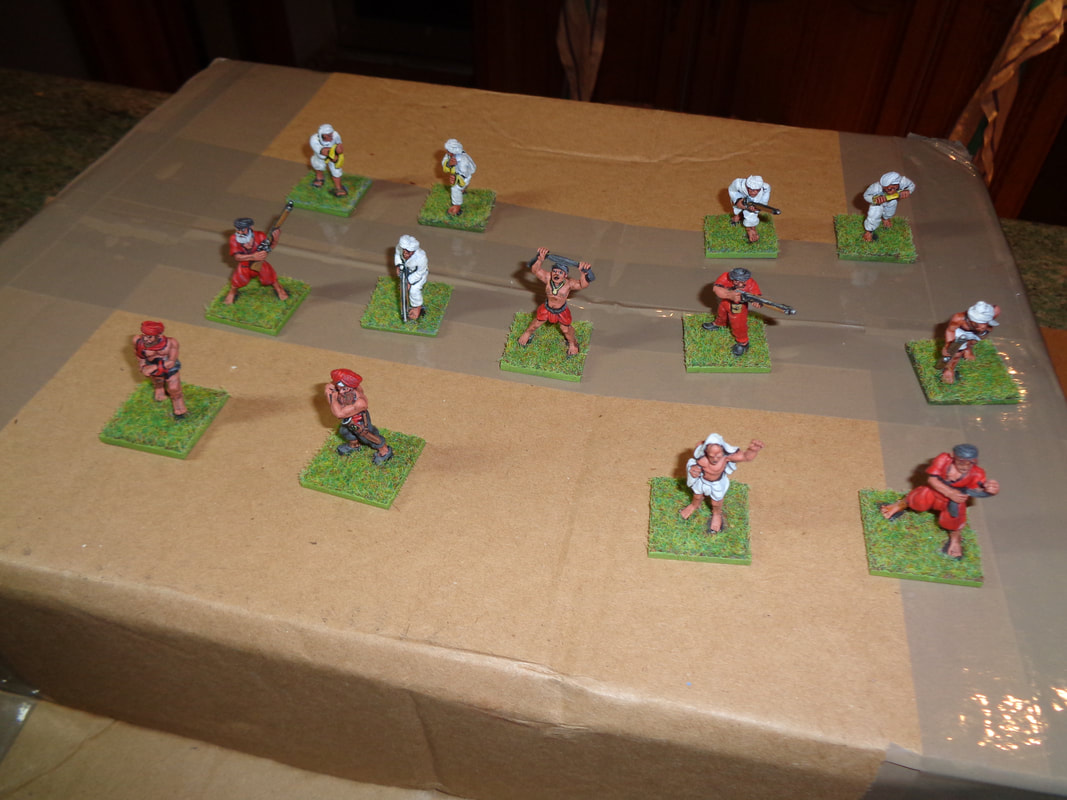
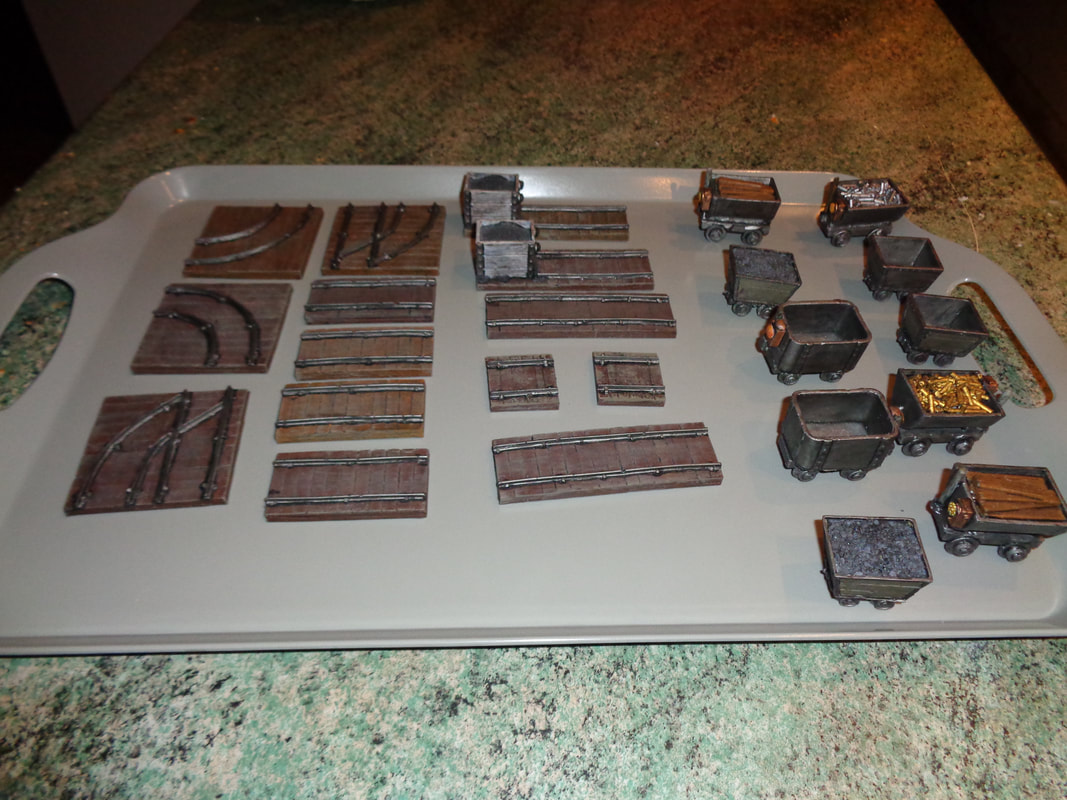
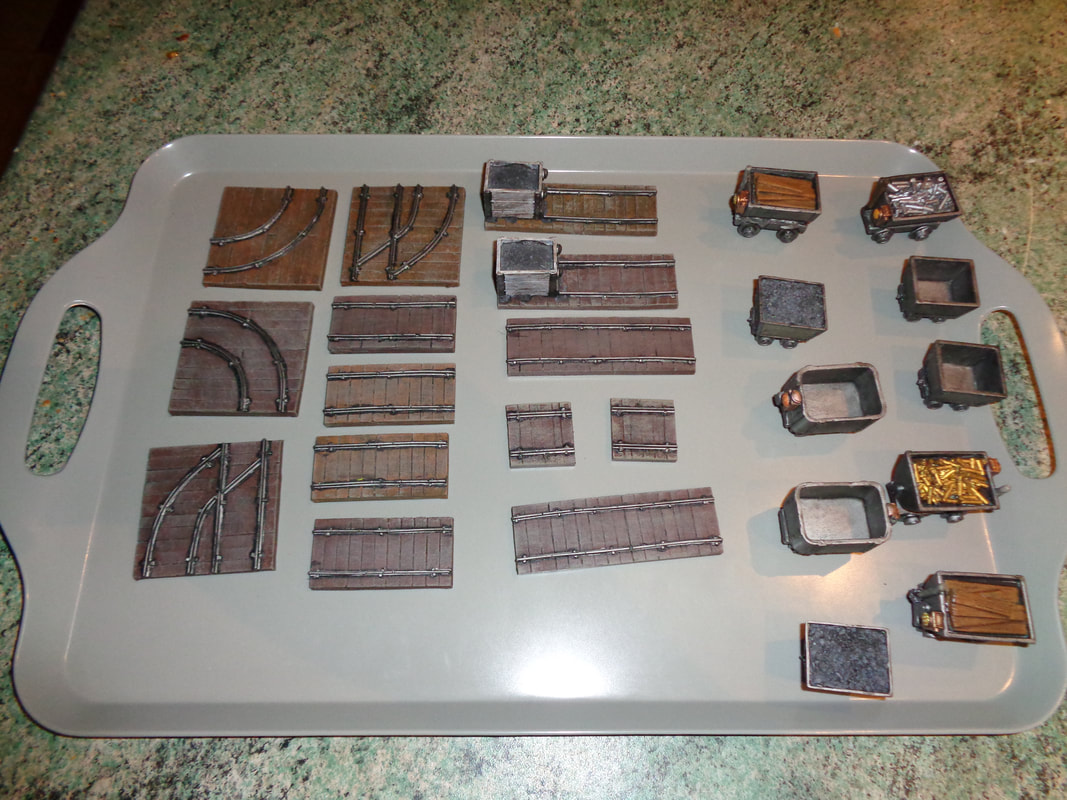
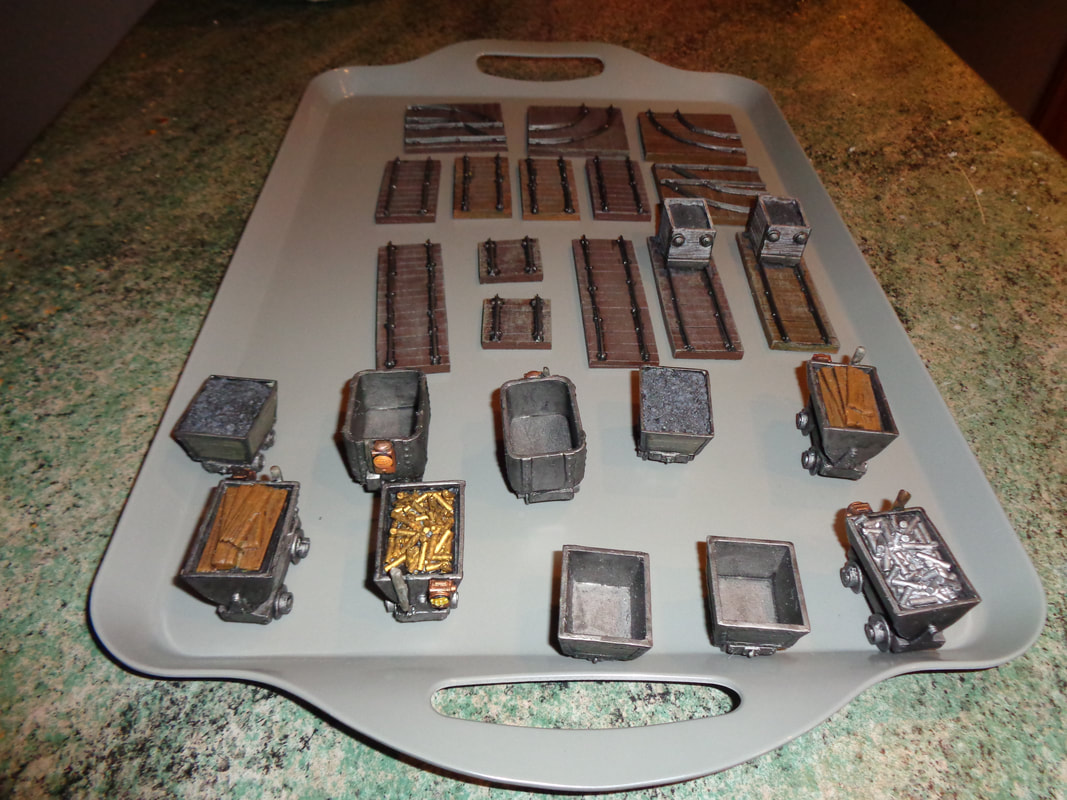
14th December 2019These are Thuggee cultists from Pulp Figures. Again they're for The Indiana Jones Charity Globe Trot. I've painted some of them in the yellow and white scheme I saw on the Pulp Figures website. The others are painted in red and black as seen in 'Indiana Jones and the Temple of Doom'. 3rd January 2020The mine carts and track all come from Ainsty Castings. 8 of the mine carts were painted for GameBlast19 (Which was before the end of February 2019.), they've only just been varnished. The track has all been painted and varnished recently. There you have it. That's all the photo's I have.
I've painted more than (I must have!?!) this over 2019, it's just there's no photos of them, honest... You'll have to take my word for it! Hopefully, the blog will see some use over 2020. |
AuthorI play, I paint. Categories
All
Archives
March 2026
|