|
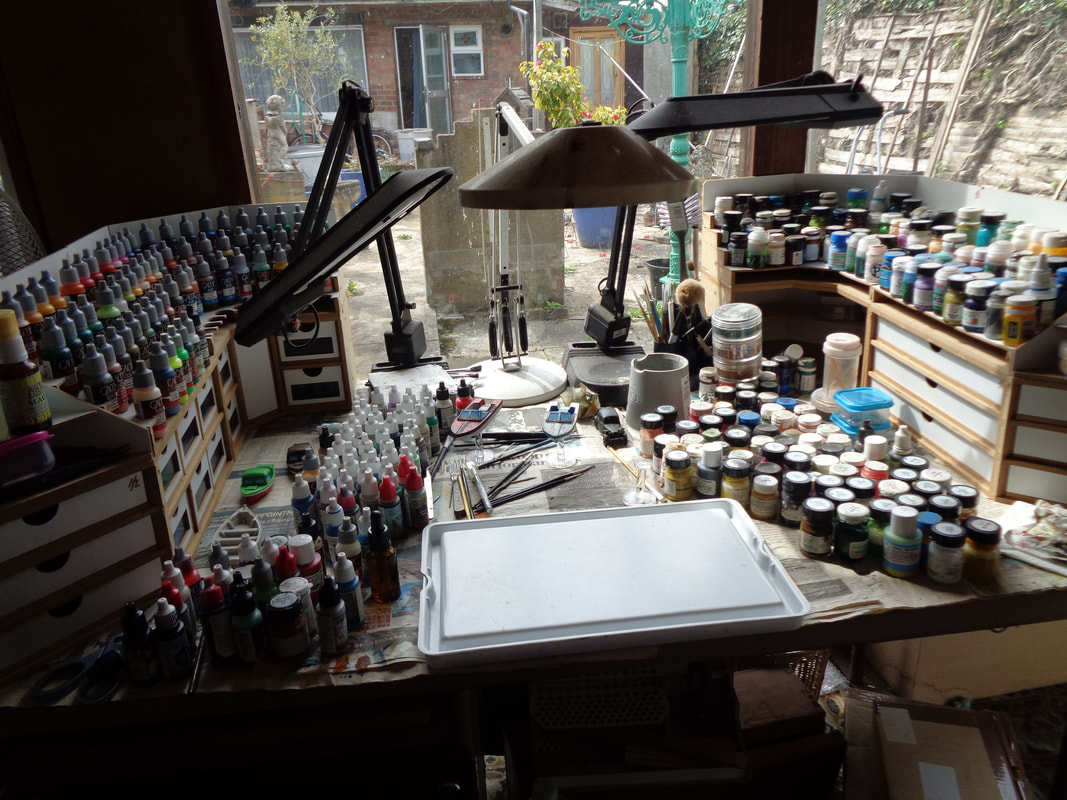
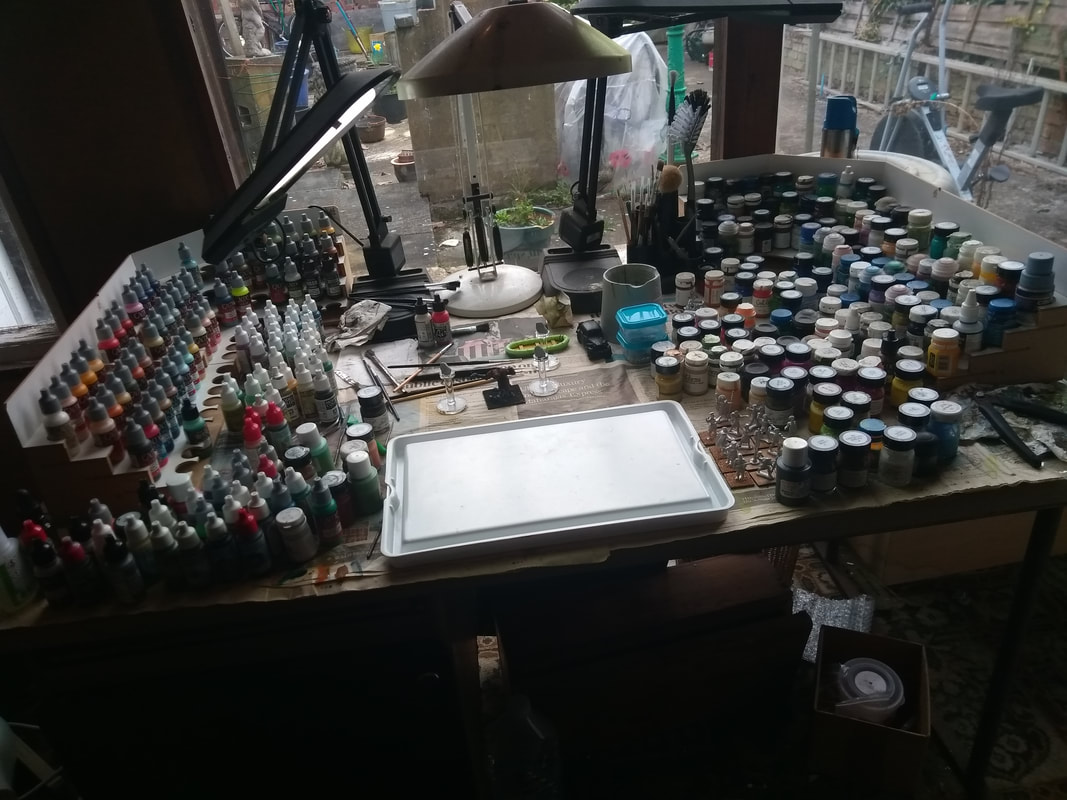
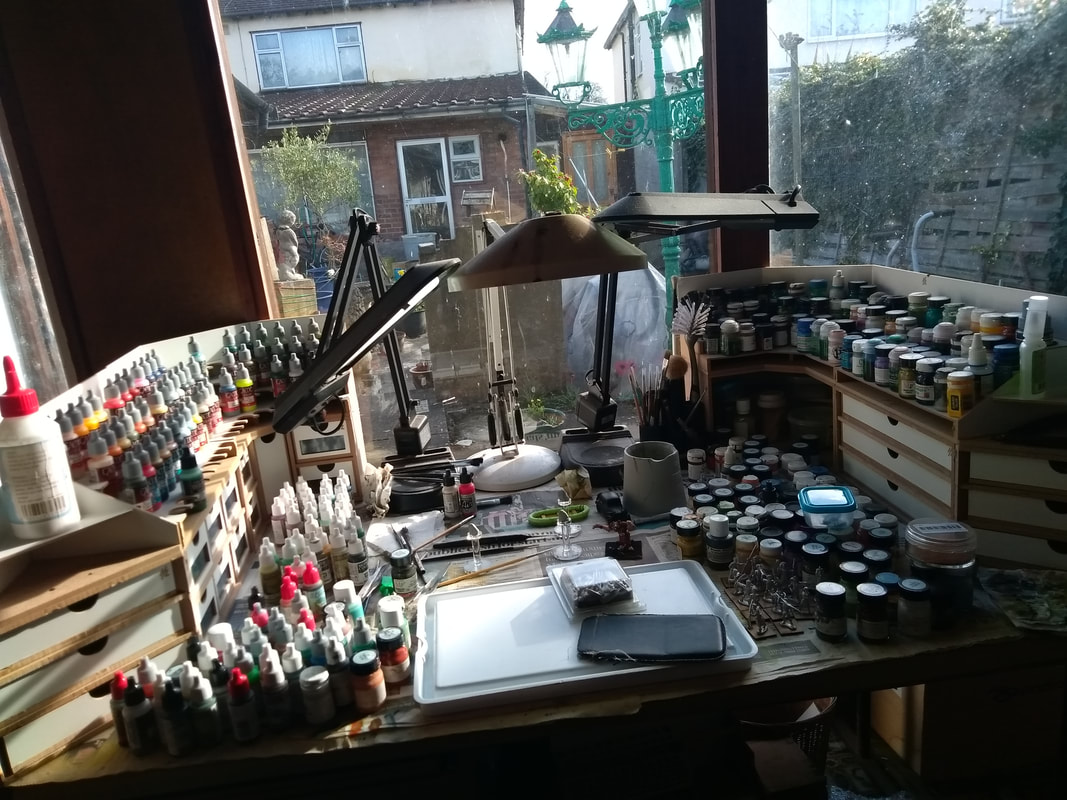
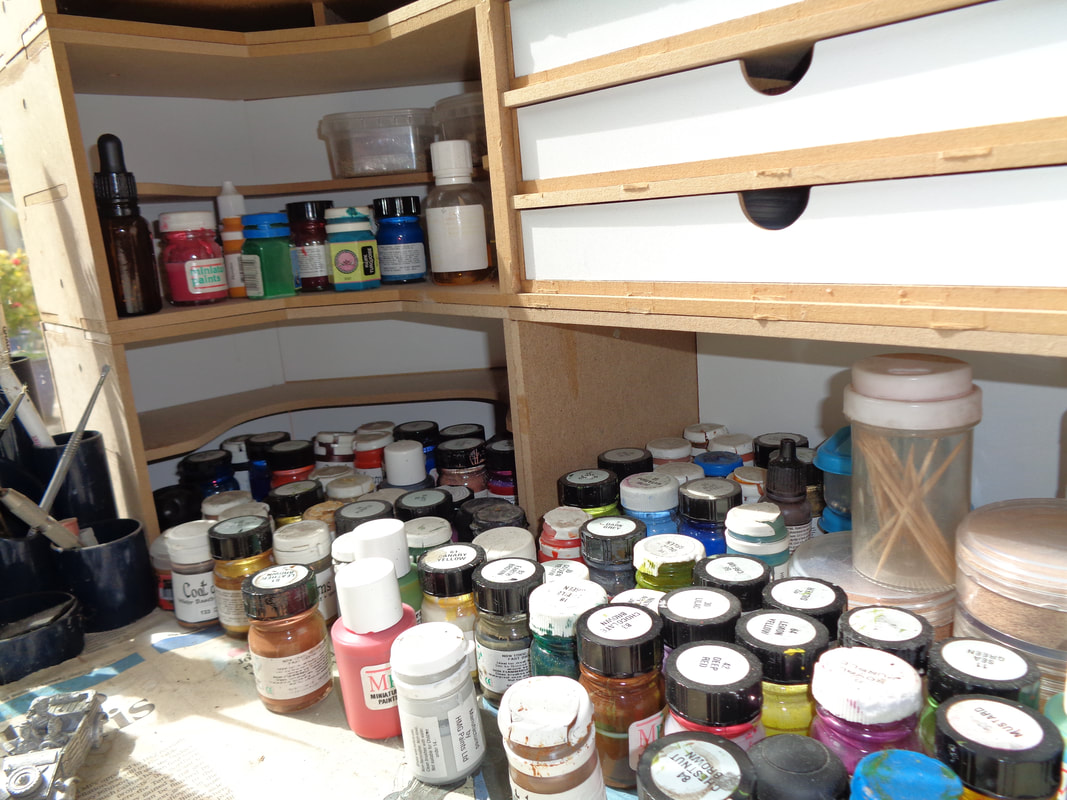
So Matakishi gave a me wet palette a 'little while ago' and by a little while ago, I mean more than SIX YEARS AGO!! Six years, what the hell happened? Anyway, I used it for a time and found it didn't quite work for me more or less for reasons mentioned in this blog. Plus, since it was A4, it was a bit too big for my painting area. Basically, since I primarily paint stuff for RPGs other than anything else and especially when painting personalities, it means that I tend to use a wide variety of colours in small amounts each. This made the wet palette a little tricky to use. I persevered for a while but ultimately abandoned it. Why am I mentioning this now, earlier this year I invested in couple of these silicone 'speed' palettes from The Army Painter and at £6 each piece they won't break the bank. Supposedly they're meant to be used with The Army Painter range of speed paints which I don't use but I was interested to see how they work with 'normal' paints. These silicone palettes each come with 10 'wells', they're supposed to help prevent paints from drying out and also be easy to clean. How well does this work? Let's find out. So how easy are they to clean? Pretty easy it turns out, albeit not quite perfectly. The simplest best way to clean a silicone palette is to wait for the paint to dry and 'pop' the well! Since the palette is flexible, a finger can be used to pop it upwards and the paint will generally just peel off the palette and can be thrown away!
In fact I ending up buying a 3rd, giving me 30 wells to paint with at once!
0 Comments
There was a break in rainy June weather last weekend which allowed me to do some varnishing; meaning it's time for a painting blog - and only 3 months since the last one too, madness! Let's start with the cultists! In my experience, you can never have enough cultists for any genre of RPG. They fit everywhere! Who doesn't want the heroic PC to face of against some nefarious enemies. Below are some cultists (and a stone circle!) from the Dark Heaven Bones range at Reaper. Obviously they're plastic but they're straightforward sculpts that were easy to paint and they look suitably menacing. Continuing with the nefarious theme: Next up we have 3 witches! These are metal figures from Bad Squiddo Games and bear a uncanny resemblance to some famous witches from somewhere that's definitely not Kansas. I used a green ink on the skin tones to give them a green hue as I didn't want them to look outright green, I think I might have over done it a touch. Otherwise, they are nice sculpts that were very quick to paint. Another nefarious foe for our heroes to face and this is a very traditional vampire fellow. It's metal sculpt that I painted ages ago and has been patiently waiting to be varnished. I have no memory of what range the figure comes from as he was based even longer ago! Answers on a postcard I guess? Next we have something a little less supernatural.... half-orcs! These are plastic figures from Wizkids deep Cuts range. Like a lot of figures from that range, they can have a bit too much detail which slows down the painting process and can make it fiddly. First up are two half-orc lady barbarians and the other two are half-orc paladins. The next orc is a female half-orc fighter, again another plastic figure from Wizkids. She is one half of pack, the other figure was painted in a previous batch. Finally we have a metal figure known only as 'Oberon' from the Dark Heaven Legends range from Reaper. I also painted a bunch of classic D&D style troglodytes. These come from Crooked Dice, although I believe the sculpts originate from the now defunct Otherworld Miniatures which means they were multipart mayhem to construct which involved sticking my fingers together as much as the limbs to the bodies! I'm not sure how sturdy they'll be but I intend to avoid dropping them to find out! The sculpts look very reptilian and seem to fit with the D&D aesthetic. There's quite a lot of texture to the skin which felt fiddly, I'm not 100% happy with the end result. It was hard to find a good source of artwork (Other than Crooked Dice's own photos.) to source for the colours but I went for a stony grey base colour for the skin with a 'strong' tone wash over it, both from The Army Painter. I also went with the red crests which is what is shown on the Crooked Dice photos as I quite liked that colour. Finally, the chieftain had a turtle shell shield which was a new thing to paint for me. The 8 figures consist of 2 sets of 'warriors'; armed and unarmed, as well as a shaman and chieftain. More trolodytes, only this time from Reaper Bones Black range from Reaper. Reaper's take on troglodytes is a little different and to me they look amphibian more than anything else - which is fine, they are of course fantastical creatures. Like the Crooked Dice figures, these ones have a lot of texture to the skin. They also come with integrated bases styled to look rocky, this is something I generally like. However, these bases are so big, I had to mount them on 50x25mm bases instead of the usual 25x25. Finally we have a 3d figure printed in resin I believe. This is, I think the first 3d printed figure I've painted - although I have painted some 3d printed scenery previously.
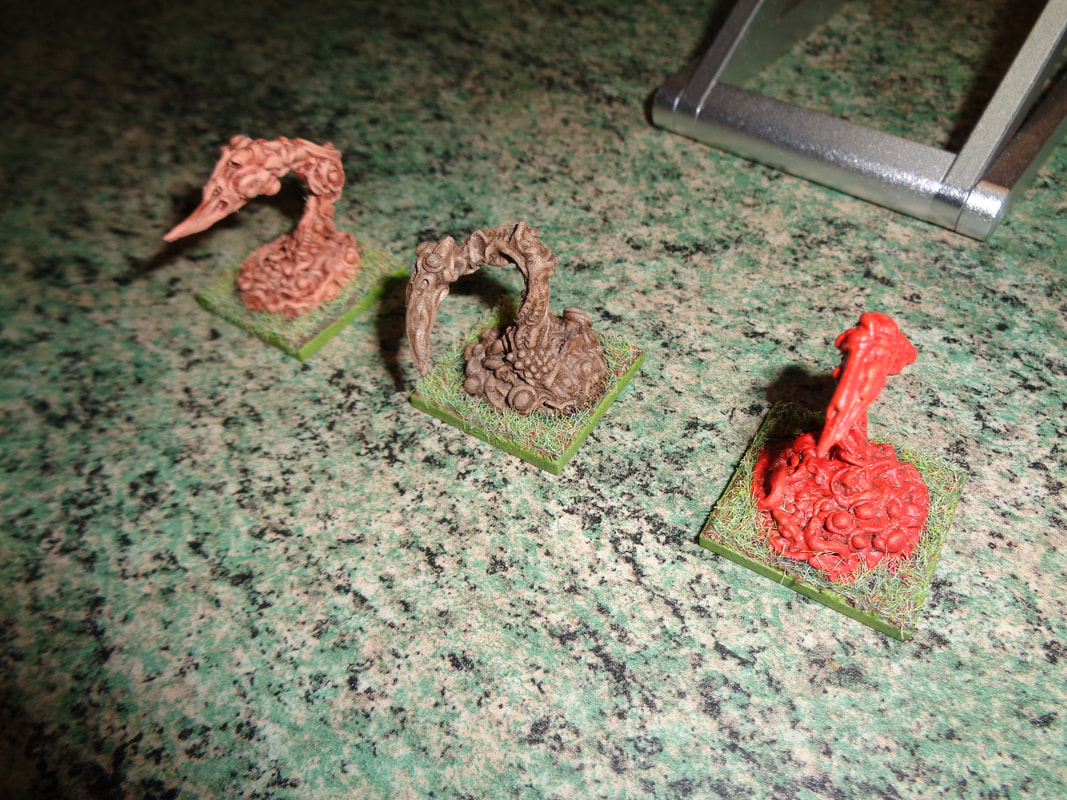
This is a healer/apothecarist/potion brewer and comes via We Print Miniatures although as I understand it, it was design by a studio called Vae Victis Miniatures. I was impressed with print quality here, it's much better than what I've seen previous done with 3d printing. It's going to be interesting to see where 3d printing goes in the future. I like the sculpt, it's a slightly unconventional pose with enough detail to be interesting to paint without going overboard. From the photo I saw on the website, I didn't realise the figure has a boxy case filled with potions as a backpack! Only months since my last painting blog! what's going on? There was a sunny midweek break in the dismal downpours and so I took the opportunity to do some varnishing. The 10 figures below are all from Crooked Dice's 'mushimen' range which are basically a stand in for D&D myconids. They are nice sculpts without being overly detailed. It was pretty tricky to settle on a colour scheme for them since I found little to reference them off of and I did some weird things to get close to the result I wanted but otherwise, they were easy to paint. They also represent my first attempts at blending, which I did on their 'caps' and limbs. I'm not sure if I'm happy with the results or not. These 2 figures below are 'official' myconid figures from Wizkid's Nolzur's Marvelous Miniatures range. A different paint scheme was utilised on these 2, although it included lots more blending. I have just realised this is not a particularly good photo of this elven bard which is also from Wizkid's Nolzur's Marvelous Miniatures . While I think it's a fairly good sculpt with a dynamic pose, that pose made it trickier (the face especially) to paint than I would have liked. I shamelessly ripped off the colour scheme for Link from Breath of the Wild for this one! Nintendo know what they're doing when it comes to colour schemes! I swore off getting more plastic D&D figures but I needed half-orcs for the next GameBlast project so I bought a bunch more from Wizkids and these represent the first of that batch. The 2 on the left are barbarians and the last one is a warrior. The barbarians a were a touch fiddly overall with some small detailing that needed working on but I think they have a pretty good presence on the table. The figure on the left is a metal Reaper leprechaun while the one in the middle is a warlock from Wizkids. Both are for my next GameBlast project. The final figure is an elven fighter, also from Wizkids and was just painted to get it off the table. For some reason, the face's definition didn't come out well during undercoating meaning the eyes look a bit strange. These 5 giant worms are resin models from Ainsty Castings and have been sitting around for a while. I've not painted anything like these before so decided to try them in 2 slightly different colours schemes. It was also done quickly as I thought I would need them in a hurry but ultimately didn't. Again, these 3 were done to get them off the painting table. They're from Crooked Dice and they are very nice sculpts which were obviously inspired by The Indiana Jones films. I'm happy with them and they more or less look like their source material. The Henry Jones, Sr figure on the right is multi-part and the hand with the umbrella/suitcase had to be glued to the wrist and was a real pain to do, I nearly chucked it away! I'm glad I persevered. On close inspection that hand looks quite blobby from all the gluing. All the figures below are from the Kiss Kiss Bang Bang range at Artizan Designs, they were the last of the figures meant to be painted for GameBlast25 but didn't get done in time. So I've painted them now to get them off the table. Like all the Kiss Kiss Bang Bang figures I've painted so far, these are excellent sculpts with enough detail to give them character and make them interesting but not so much to make painting them fiddly. They were a lot of fun to work with. So much fun in fact that I'm tempted get more of them to paint, even though I have no need of them. For the 2 Kiss Kiss Bang Bang figures below, I referenced photos.
The Richard Roundtree/Shaft figure was referenced directly from a photo of him in a similar outfit. I was concerned that so many shades of brown wouldn't work but am happy with the result. The Black Panther activist was a bit trickier as it took a while to find a colour photo from that era. Eventually I found one of someone wearing a red shirt and opted for that as it made the figure pop a little more. I also put a gloss varnish on the jacket to make it look like shiny black leather but I think instead, it ended up looking more like a PVC jacket! Or at least it does so in the photo. It's been nearly 6 months since the last painting blog, so why not do another one! Since all of the minis below have some part or other that's transparent and to avoid frosting those parts, I took the opportunity to varnish them by hand! I can't recollect having done that before? Ganjees is not just an Indian restaurant or misspelling of a river in India. If you're a Fighting Fantasy aficionado, you may know that the Ganjees are flying undead heads. It actually is possible to buy minis for Ganjees but they were out of stock at that time. Instead I bought some generic male heads (Not sure who the manufacturer is?) and untook the somewhat frustrating process of gluing them to flight stands before painting them. I also added a bit detail more to the bases, otherwise they look a little empty. There just heads, there's not to say about them. Some of them have pretty good expressions! These giant flies come from the Rangers of Shadow Deep range. They're a pretty straight paintjob and again, I added a bit more detail to the bases. They look good enough for menacing insects. Buzzzt! Both of these figures are casting spells and have 'spell effects' that are made of transparent plastic.
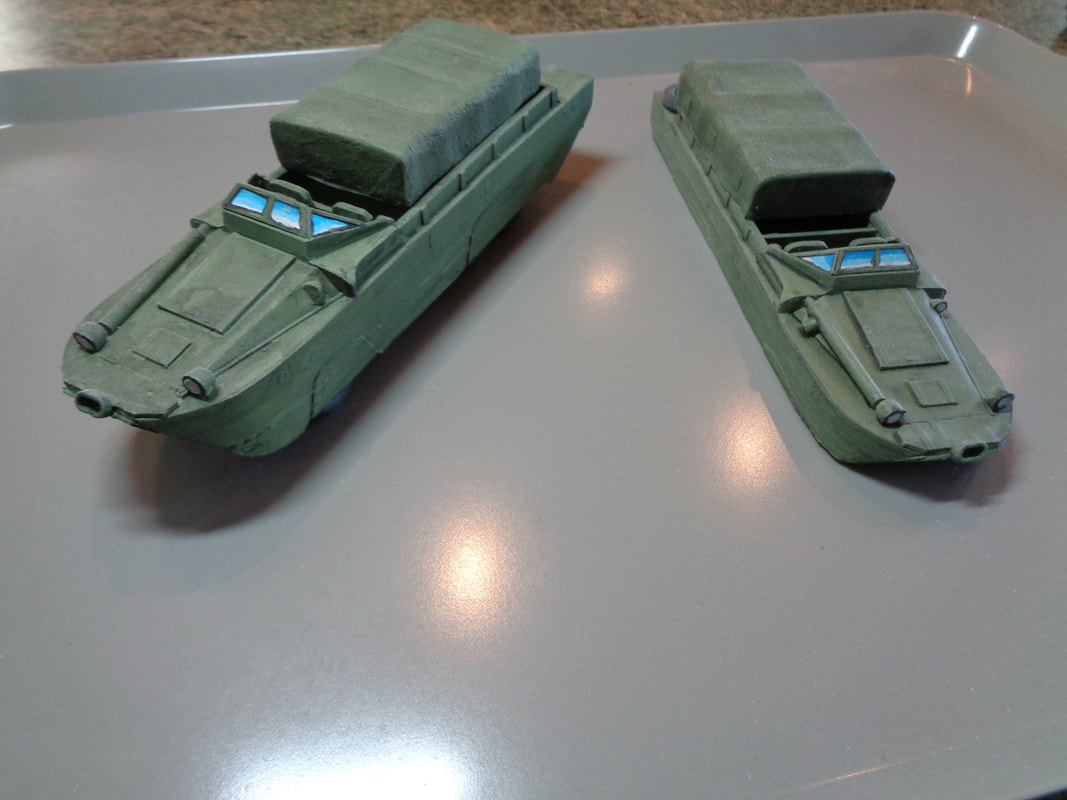
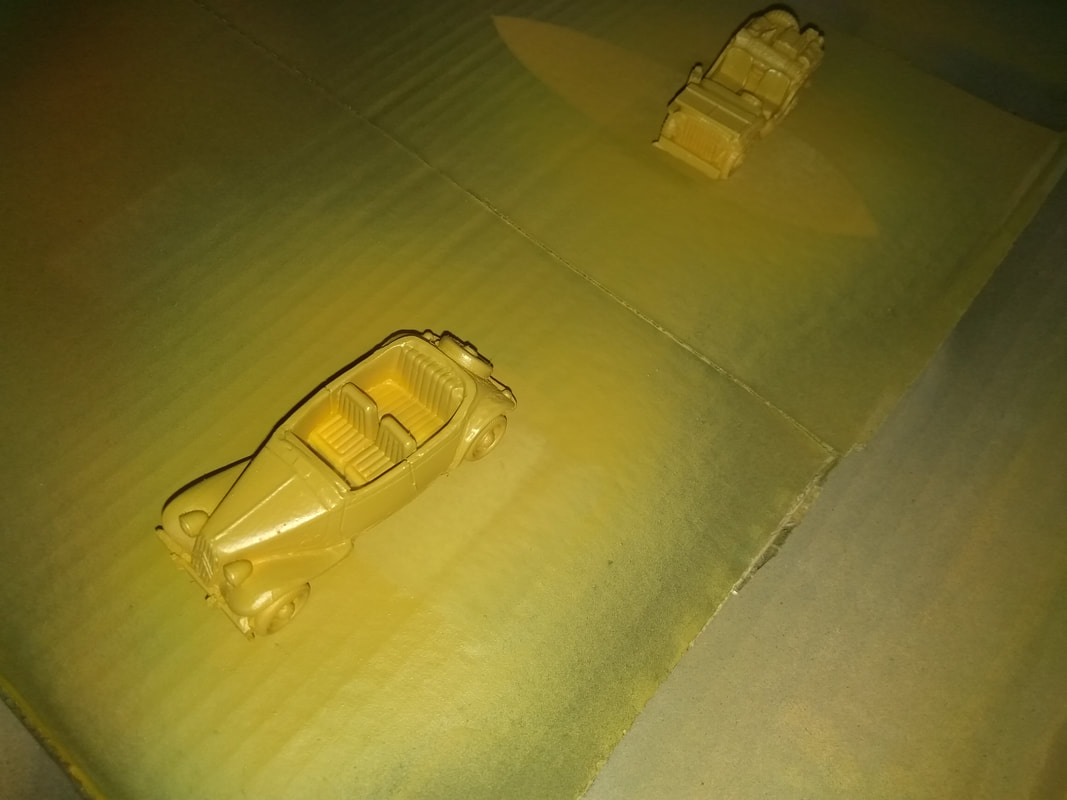
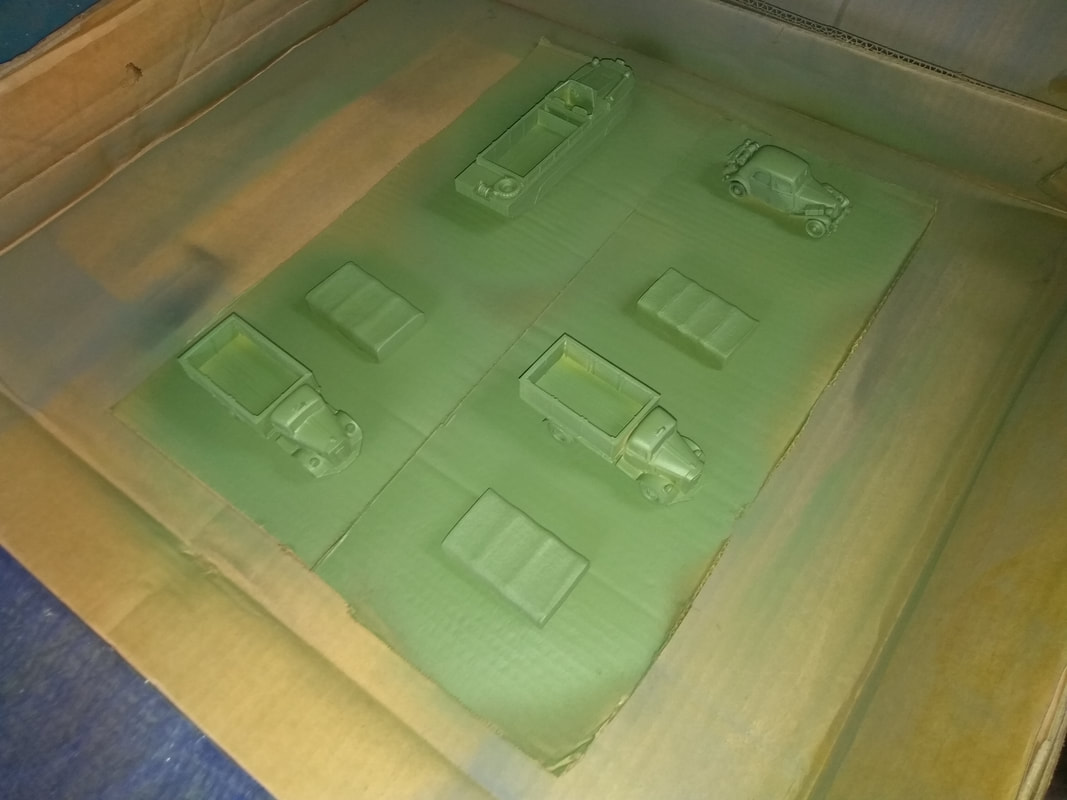
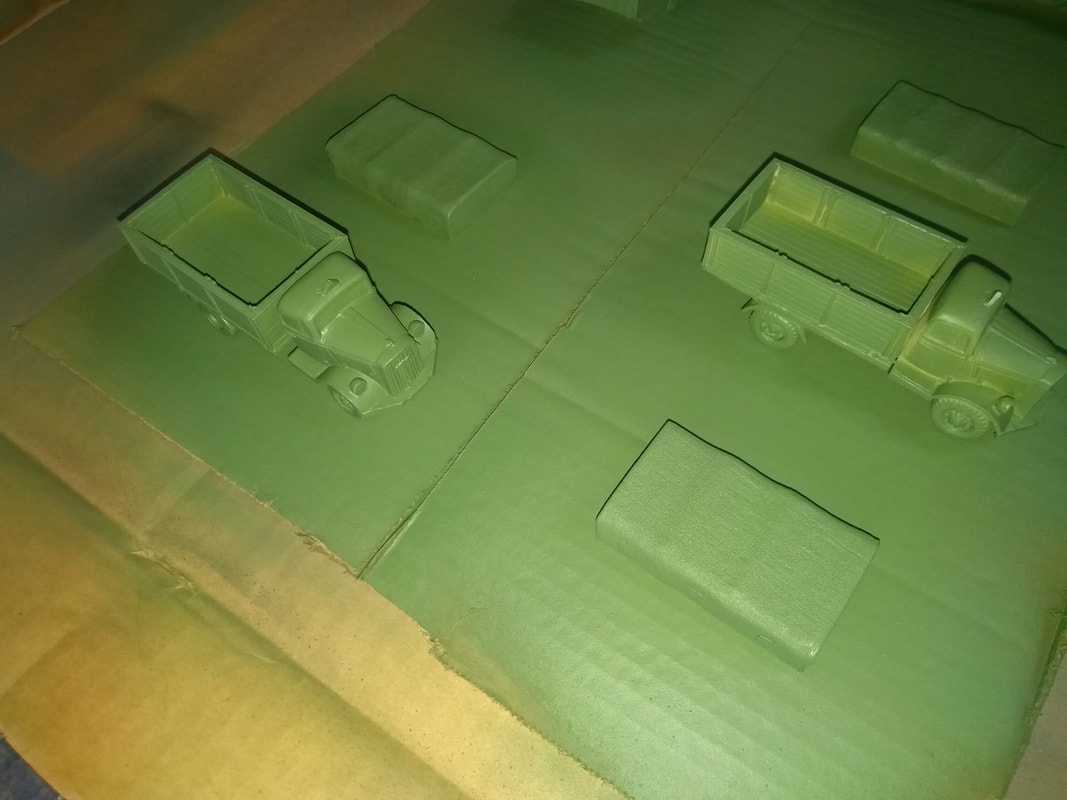
I put washes on the spell effects to try and give them a translucent quality instead of painting them. It's hard to see from the photos but it sort of worked on the yellow lighting but not so much on the red bardic spell effect from the lyre on the right. The mini on the left is a human sorcerer, he has a unremarkable pose but the crackling lighting from his hands give him a dynamic look which I like. The mini on the right a elf bard and with a magic effect originating from his bard as he plays/casts a spell. It's a nice pose but it made the painting trickier than I would like. Both are plastic figures from Wizkid's Nolzur's Marvelous Miniatures range. Time for another painting blog - and only a few short weeks since the last one! For GameBlast25 I needed a WWII era train set - preferably a military one. Originally I was looking to buy something that I could just use without any prep but that didn't work and now, I was getting close to the date of the event! Instead I quickly looked for alternatives and settled on getting something from Sarissa-Precision. They sell a WWII train bundle which was exactly what I was looking for. I also bought some additional track, foolishly thinking I might need some extra but the bundle comes with plenty of track - easily enough to hold the entire train. The train comes a flat packed kit of card and MDF (I think?) that required a lot of assembly and some painting. To be honest it was a bit more of a crafting project than I was hoping for - particularly with the deadline looming. This was the first time I was doing something like this and I was on a deadline too! I found that the carriages were pretty tricky to create and I made quite a few mistakes, especially early on. The kits are fairly elaborate and even come with features such as spinning wheels when constructed correctly. However, since I was painting so fast I found once I'd painted the wheels, they got stuck. Lacking the time to do a proper camo paint job, I ended up spraying them army green and finishing with a military shader all from Army Painter. There was a bit of a cleaning up afterwards.
I'm not sure how I feel about the results, I definitely could have done better - there's lots of gaps and mismatched edges, don't look too closely at the photos! On the other hand, the flaws give it them a sort of lived-in, battered quality. I think it looks passable and they're there to be played with, not looked at. Sarissa also do a European style train bundle and since I can be a glutton for punishment, I may pick that up when I'm more 'cash-rich' and see if I can do a better job with a bit more experience, time and patience. Time for another painting blog and only 2 weeks after the last one! All of these figures were painted for GameBlast25 which I ran back in February These figures below are all ones I have painted before but I needed duplicates. Short Round and the pilot figure are from Pulp Figures while Tintin and the Continental Op are sleuths from Copplestone Castings gangster range. The elf on the left is a plastic figure and comes from WizKids Pathfinder Deep Cuts range and obviously from a D&D styled figure, she was used to represent Tauriel from The Hobbit movies as she was the best matching figure I have. On the right is a recognisable, excellent Sallah figure from the pulp range at Crooked-Dice and is part of the Stalwart Sidekicks blister pack. Three time travellers, also from Crooked-Dice. More excellent figures from Crooked-dice. I was worried they might not like right but they look recognisably like what they're meant to look like. All the following figures are from the Kiss Kiss Bang Bang range at Artizan Designs.
They all have a 60's flavour and were used for the part of GameBlast25 adventure that took place in 1969. They are very well sculpted and were enjoyable to paint, with enough detail to keep them interesting but not so much to become overly fiddly. They are also just generic enough to be usable in a 70's game. It's only been a week since my last painting blog - something's gone wrong with the world! I have more scenery to blog about, this time some scenery from Crooked Dice. Below are some pillars they produce that come in 3 sets of 2 pieces each. They're pretty standard looking and thus, were painted as pretty standard stone which led to a quick turnaround. Crooked Dice also produce a 'monolith set' which have a weird fantasy theme and can double as unsettling looking pillars. There's obviously more detail here which consequently took longer to complete but I'm happy with the outcome and look forward to making players feel apprehensive when they encounter them. Finally, here are a pair of 'dungeon arches', also from Crooked dice. They're pretty standard arches, fairly nondescript and could be used as arches for almost anything. They're also a standard stone colour which were quick and easy to paint. They felt a little wobbly when being handled so I based them to improve stability. I'm not sure it was the right decision since it'll now make them harder to store. I do also have one small criticism though - which is the gap between the 2 pillars on the arch is not quite 50mm or just wider. Yes, it's a minor grumble but not being able to slide a 50mm based figure through one of the arches niggles me a little bit. That's it for now.
Hopefully I'll be back with painted stuff to blog about soon. It's been more than 6 months - so it's time for another painting blog! This time about terrain, dungeon tiles specifically. Here are dungeon tiles from Modular Realms, a small British business that have been painted. What's so special about them? Well, the tiles are magnetic and snap together in an incredibly satisfying way! More than that - they can be rotated, turned and twisted in pretty any way desired and will still snap together in a way that seems to taunt the laws of magnetism. However, when you play with the tiles for a little bit, you'll discover this is achieved by having magnets on spinners inside the tiles which will correctly align as needed. It's clever stuff. Painting them was a little bit more of a mission than I expected due to using having to also use a black ink wash (As well as a normal black wash.) to emphasise the gaps between flagstone but ultimately I'm happy with the results. I also used the 'sponge method' as espoused by Annabelle, owner of Modular Realms for highlighting instead of the usual dry brushing. It was something I'd not done before and was a bit stressful but as stated above I'm happy with the results. One of the other great things about Modular Terrain is that it's double-sided! There are various different combinations of terrain that are available (When not out of stock!) and I bought the flagstone/wood combo. Conversely to the flagstone side, the wooden sides were dry brushed. There are also a number of double sided cobblestone styled tiles which can be used as... well cobblestones or walls. The two rooms below were put together in literally seconds and wont easily come apart. Fantastic! If you look at the Modular Realms website, you'll see a lot of interesting ways to use the tiles. Finally, it all comes wrapped up in a neat package that uses - wait for it... magnets to hold it closed (Magnets FTW!). I think personally I might have preferred more 2x2 tiles than 3x3 as I've found a lot of dungeon maps use double-width corridors between rooms and they'd have found use there.
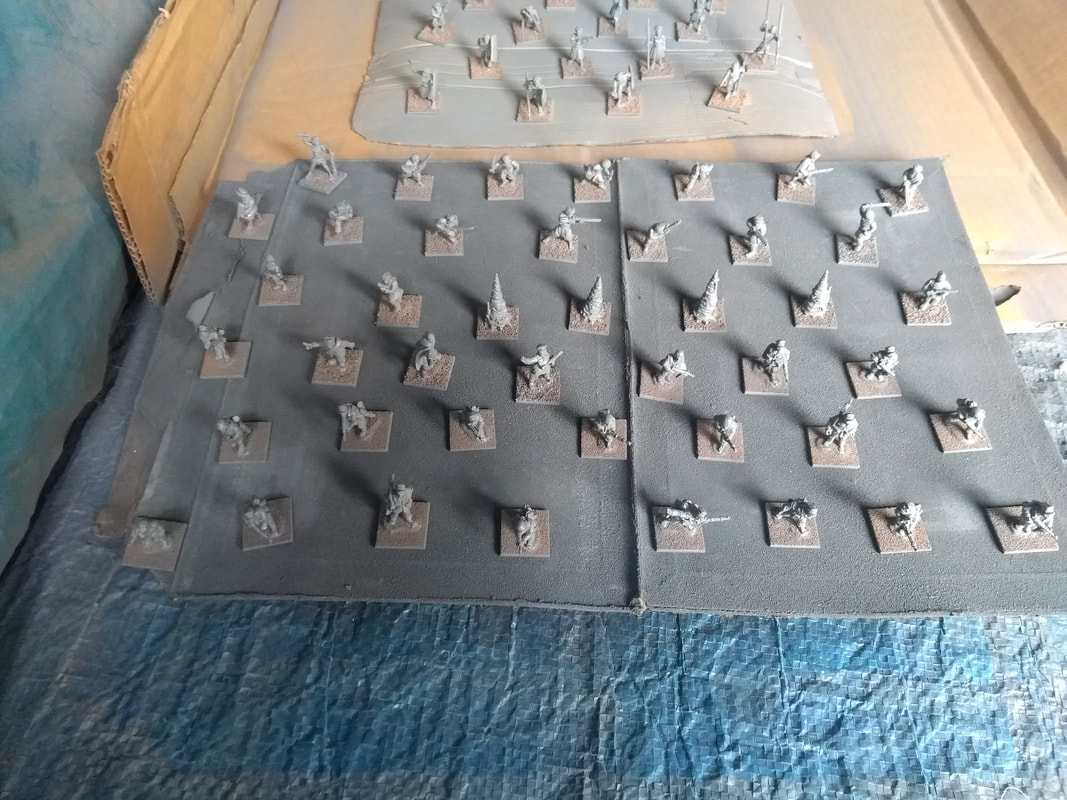
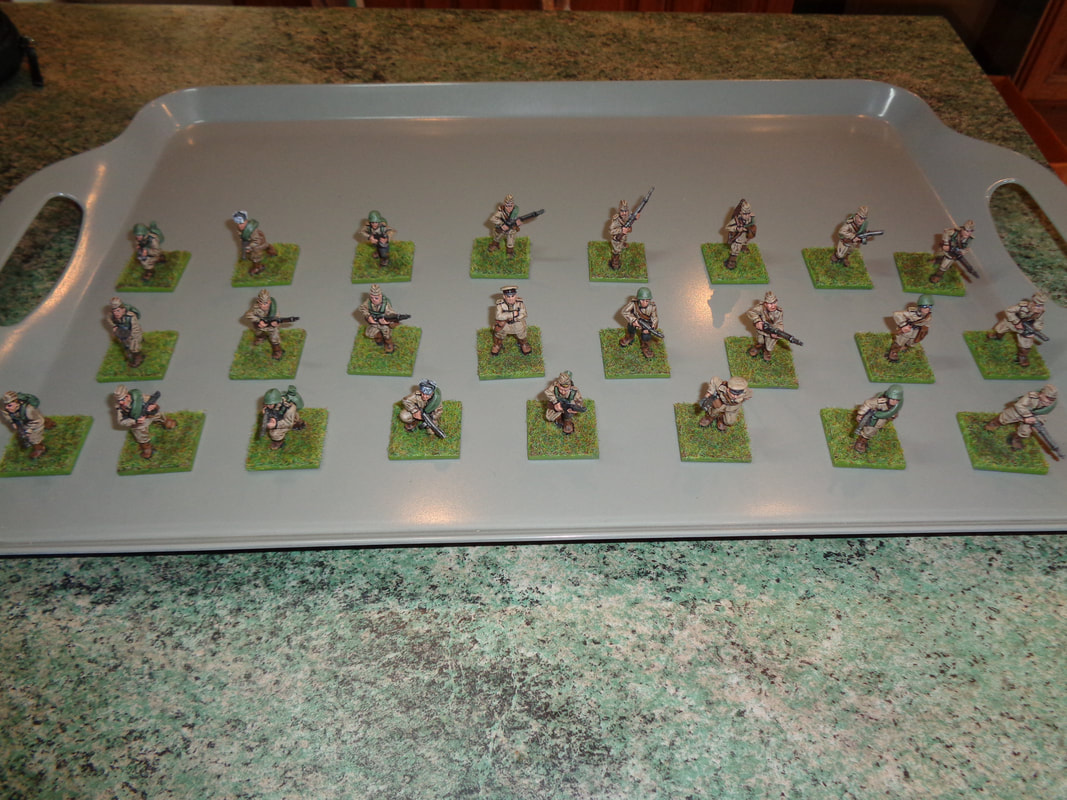
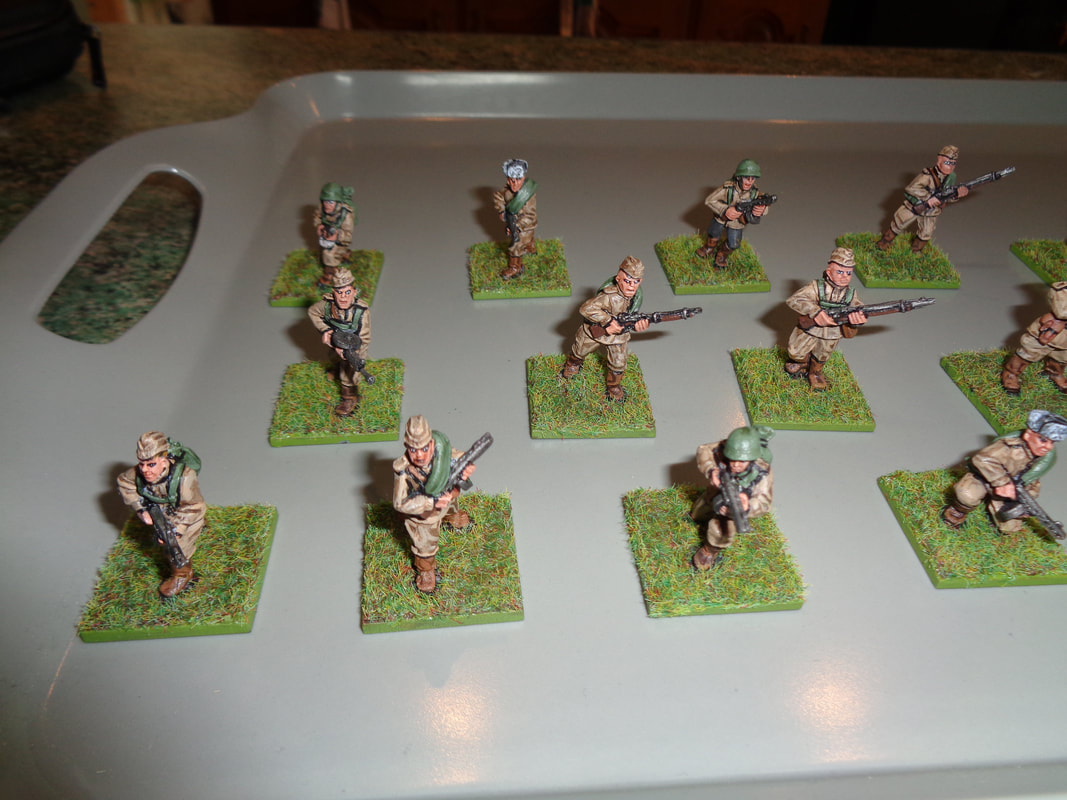
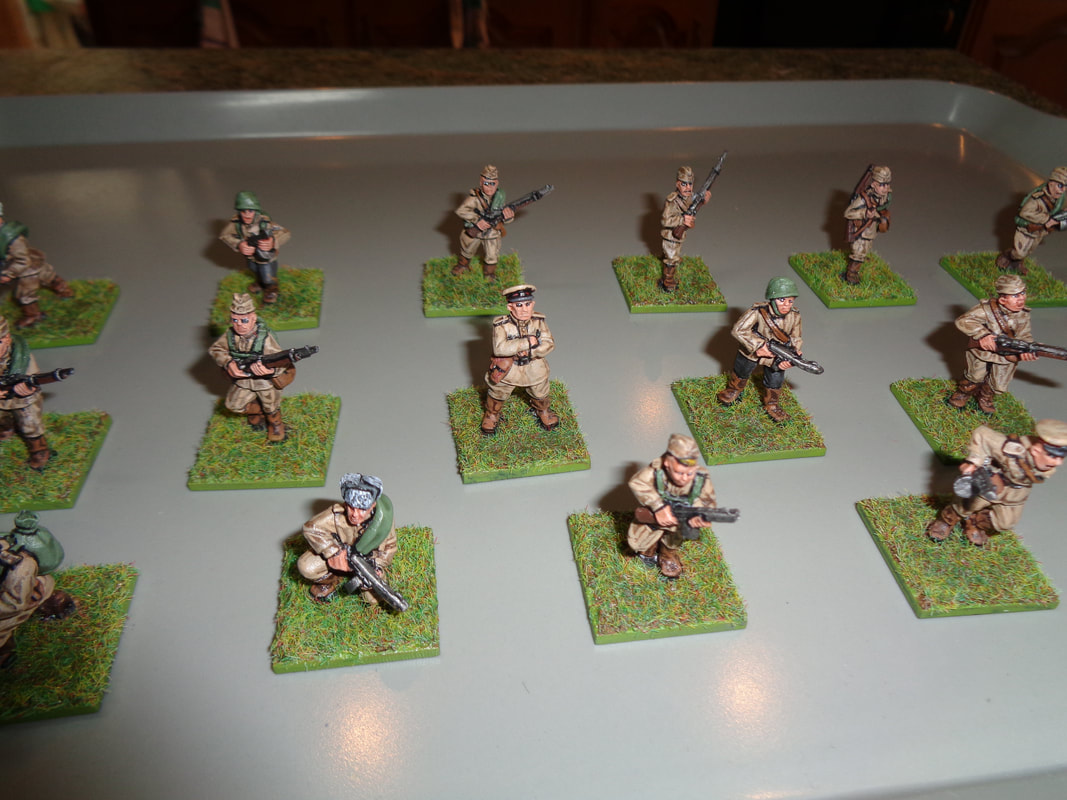
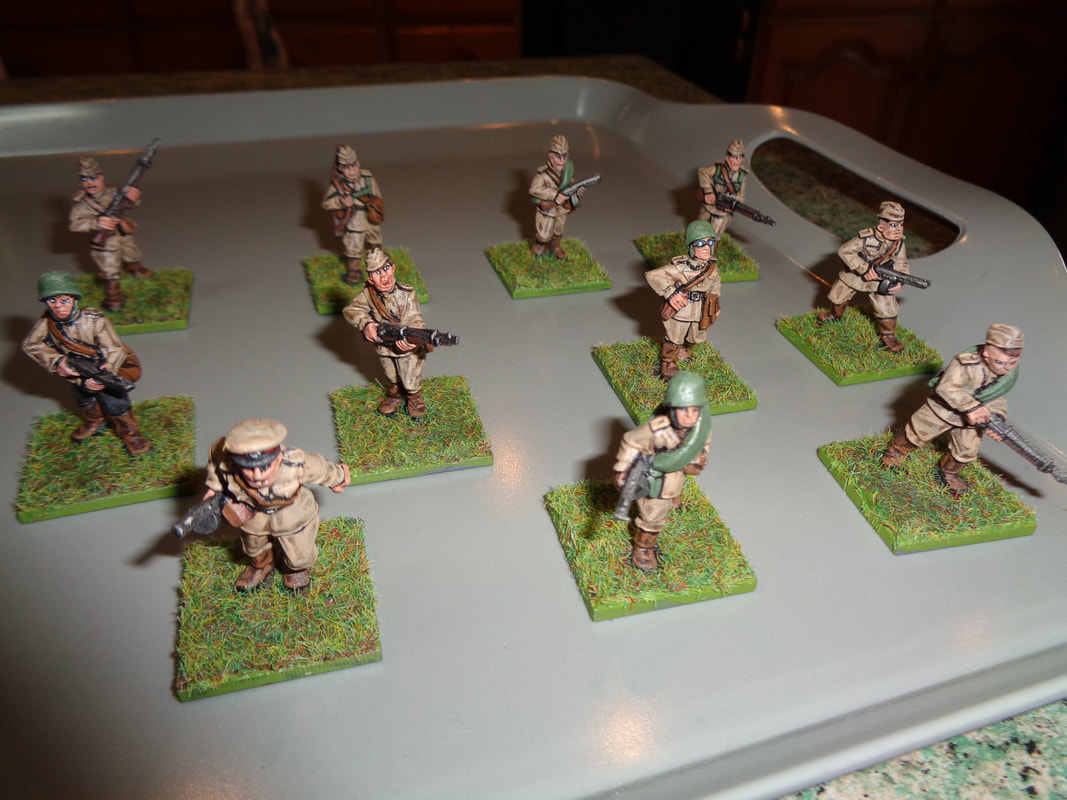
And while I understand why the cobblestone tiles are the size they are to retaining size compatibility, I'm 50/50 about using them as walls because they're a bit too tall for my preference. These are minor quibbles though and overall if you don't mind a little effort to paint them (And I didn't.) they're worth considering, I think these are excellent and I'm looking forward to using them (Which hopefully will be soon!). Finally, I'll add that I backed a recent kickstarter which adds differently shaped and themed tiles as well as dressing to the mix. It's been 6 months so I guess it's time for another blog about painting stuff! I've managed to varnish a few figures. Trolls ahoy! The troll on the left is from Reaper Bones while my memory about the dude on the right is a little fuzzy, he's definitely a lead figure though, possibly from Reaper too? Both the ogres below are from Reaper Bones. The guy on the left is a fairly big figure and the bigger Reaper Bones figures are always good, I like how he turned out. This giant croc is yet another Reaper Bones miniature. These 2 dwarves come from the Nolzur's Marvelous Miniatures range. It looks like these 2 dwarves might be 3d printed and designed on computer. They're a little fiddly but I like the poses although it makes them tricky to store. I'm also happy with the outcome, even though in the photo they don't look great. Another slightly fiddlyplastic figure is this female assassin wielding twin daggers from the Pathfinder Battles Deep Cuts Unpainted range from Wizkids. Run to the hills. Metal iron maiden figures from Bad Squiddo Games. Not a millimetre of visible skin on these figures which made them about the easiest figures to paint! 3 Beggars from Midlam Miniatures. Not sure if they're originals from Midlam or from a older range. 4 WWII era Soviet soldiers from Artizan Designs. I actually painted the vast bulk of these several years ago but at the time ran out of bases for the last 4! They've lingered in a drawer... until now. These are male and female cultist from Bob Murch's Pulp Figures range. I can't remember where these cam from, they were put on bases ages ago! My gut is telling their vampire hunters from West Wind range but I can't be sure? Despite being vampire hunters (I think!), they look pretty good as more cultists to join the Bob Murch figures. Right. That's it for now.
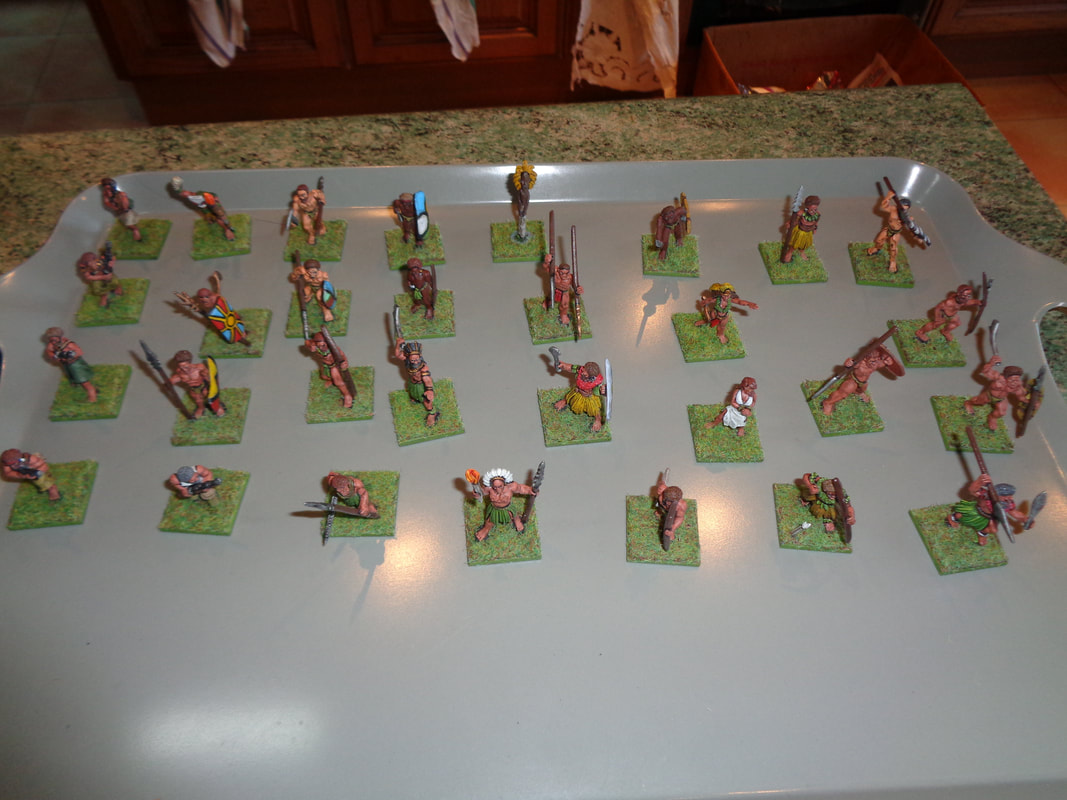
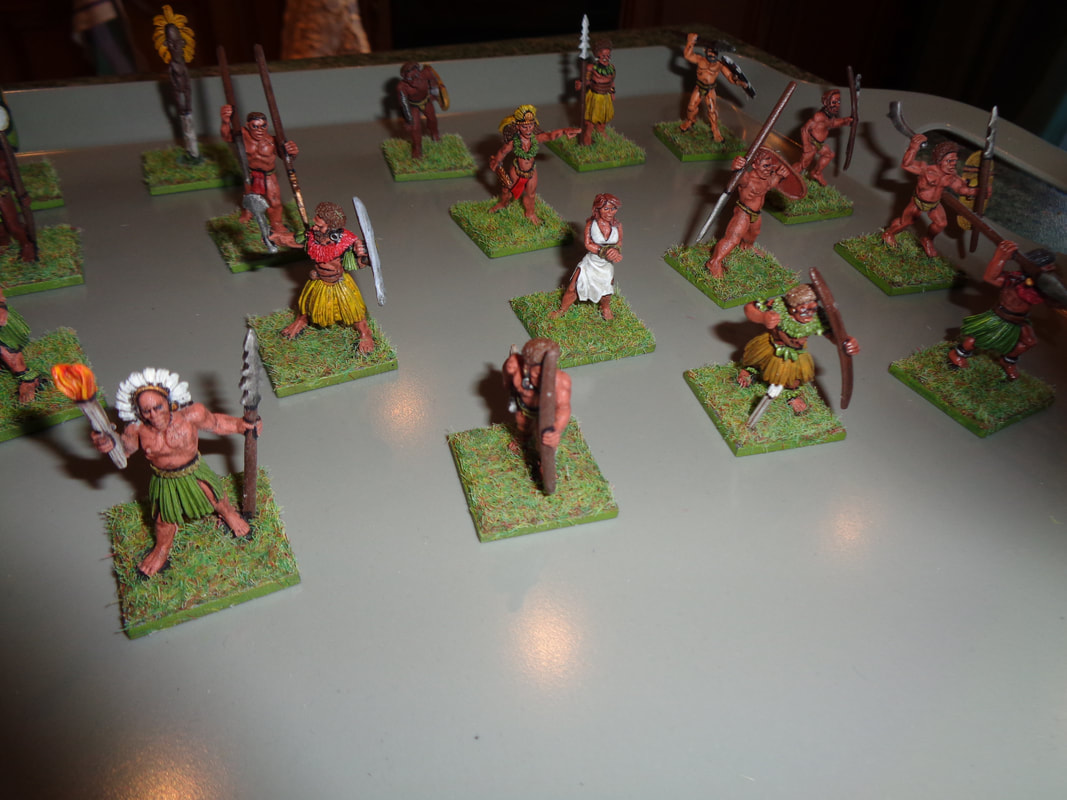
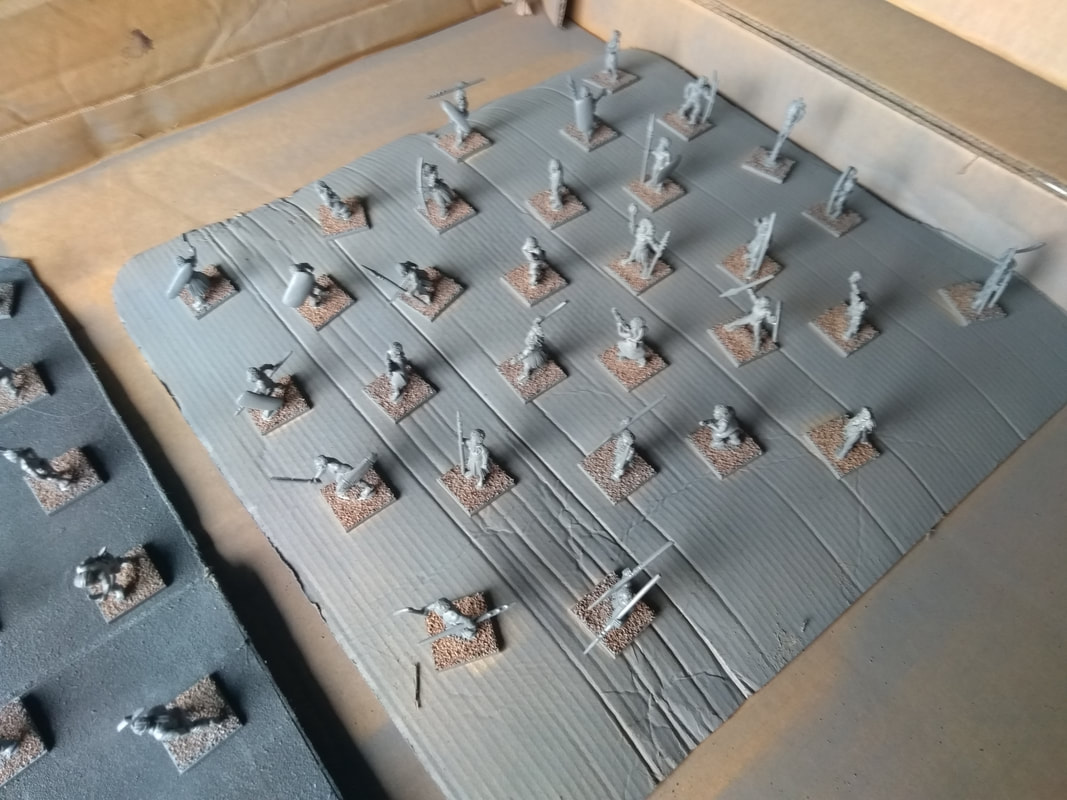
I'll post another blog in 6 months! Some more varnishing has been done! Other than the last 2 figures, everything was painted by mid-February but a mixture of being busy and bad weather meant that I didn't get a chance to varnish anything until Thursday past. The 12 skeletons below are all lead figures from Midlam Miniatures. They're pretty standard designs but there's nothing wrong with that, I thought they were perfectly acceptable and the sculpts were good, especially since I was looking to bulk up my skeleton count and they were reasonably priced. They were undercoated with a Army Painter bone coloured spray to make the painting quicker. The simpler figures such as archer and two-handed sword skeleton were quick to paint but some had a lot more detailing that needed quite a bit of re-undercoating before painting. So in terms of quick painting turn around. it was a bit of a mixed bag. Overall though, I'm happy with the results. EDIT: So whilst looking for something completely different I discovered that these skeletons were originally produced by the now defunct Metal Magic Fantasy back in the 90's when I was starting out painting! The next 4 figures are cavemen from the Reaper Bones Black range. Since they're plastic, the sculpting for their fur clothing can be quite thick, luckily though, that isn't readily apparent and overall they look pretty good. I like how burly they are. Finally, the last 2 figures are definitely not Lara Croft and Alice from Resident Evil - specifically not Alice from the Resident Evil: Extinction movie.
Both done for a friend, Tim. They're both lead models, now produced by Hayland Terrain. Initially from the now defunct Studio Miniatures, they're both good sculpts though. However, they were triply stressful to paint. Originally I thought they were out of production and if somehow damaged would be very hard to replace. They were painted for 'somebody else' which is something I'm not used to doing. They were referencing 'real' sources which I needed to replicate. Having said that, I still enjoyed doing it and am happy with the outcome. |
AuthorI play, I paint. Categories
All
Archives
March 2026
|