|
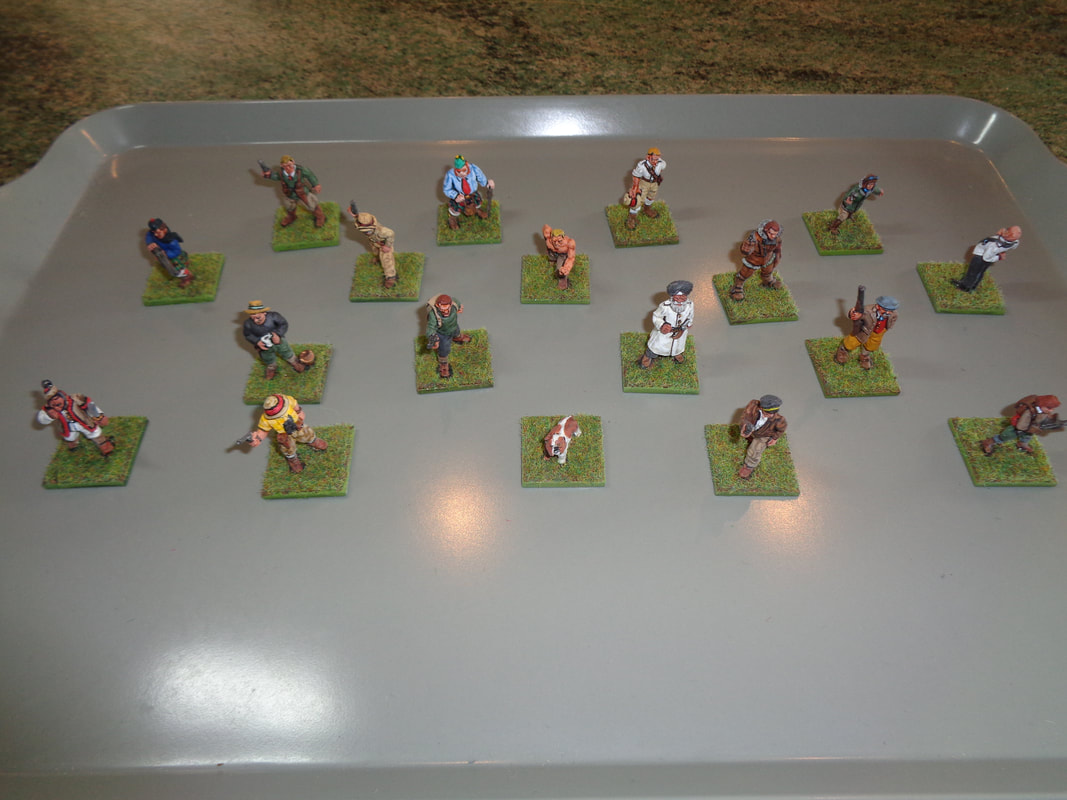
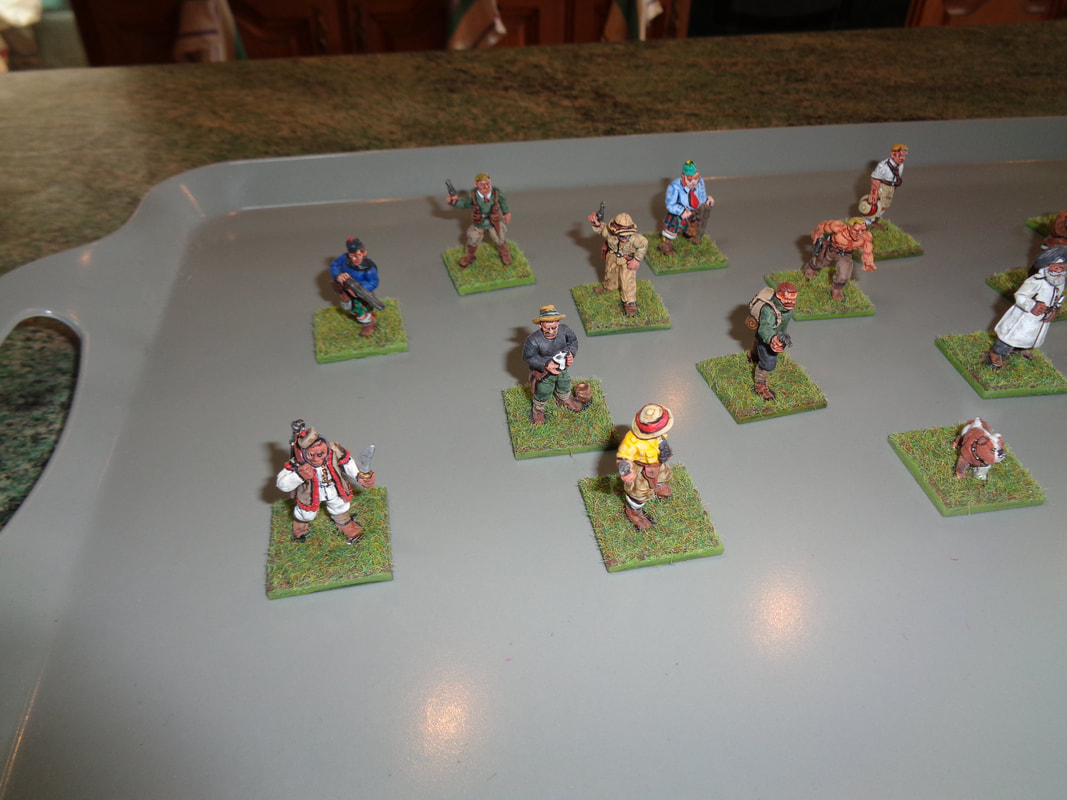
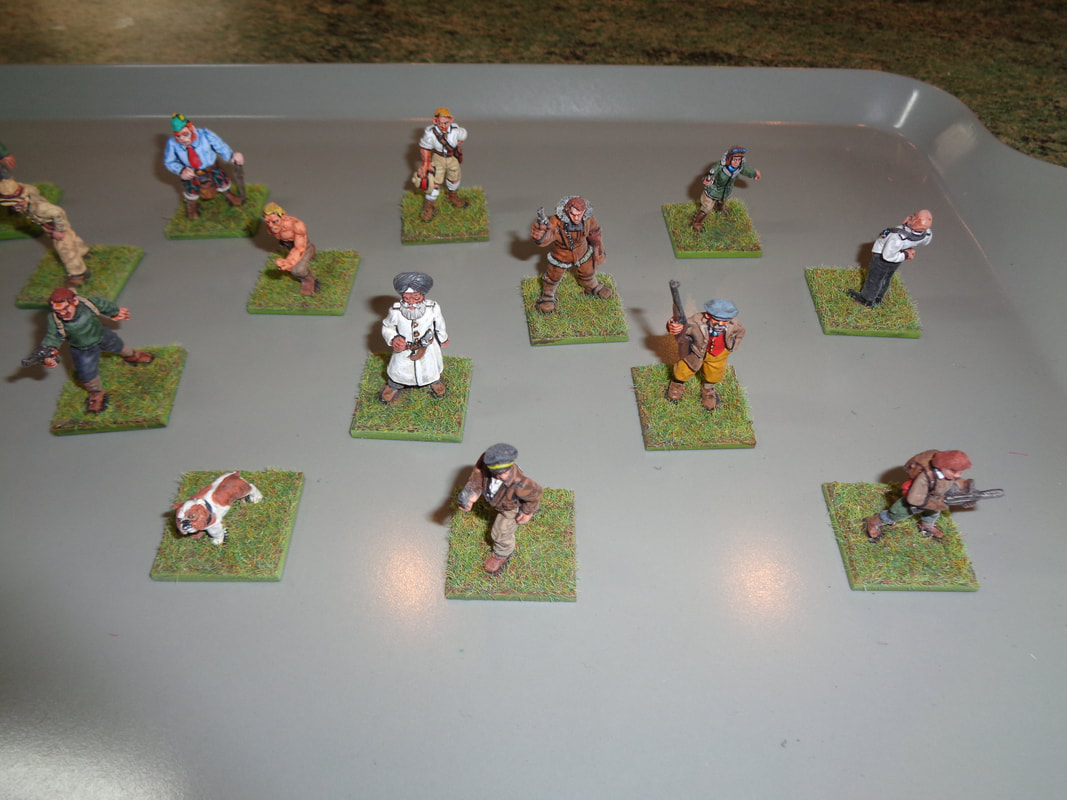
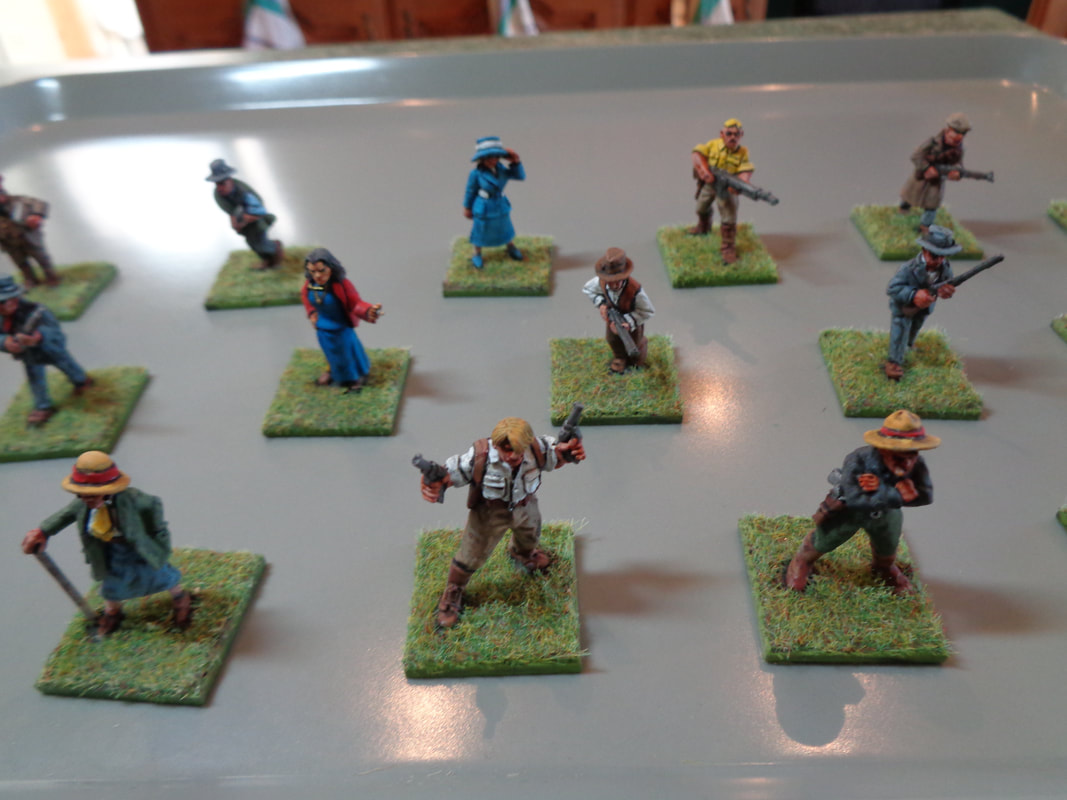
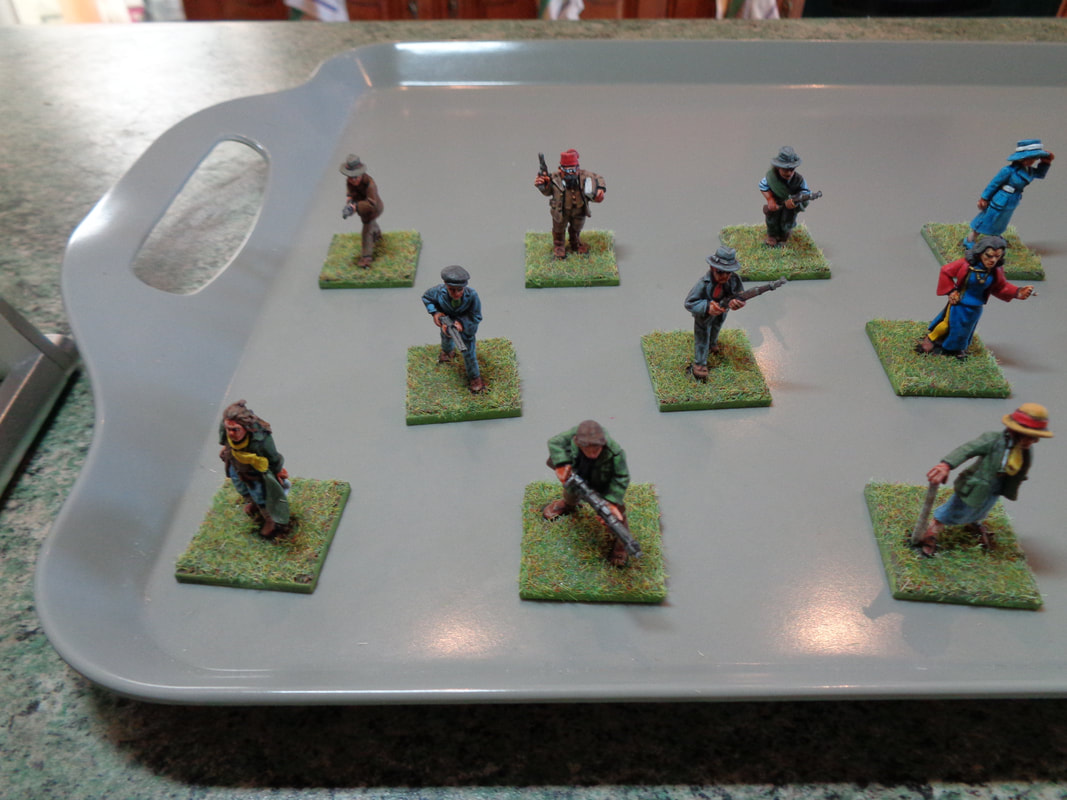
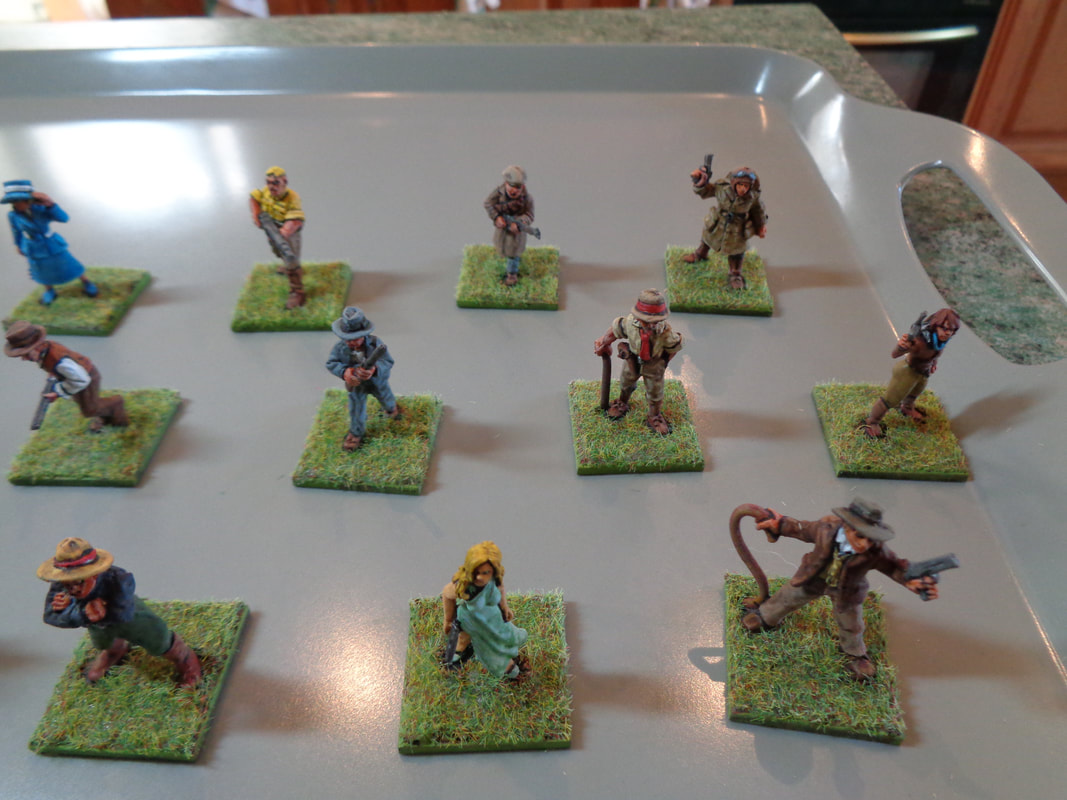
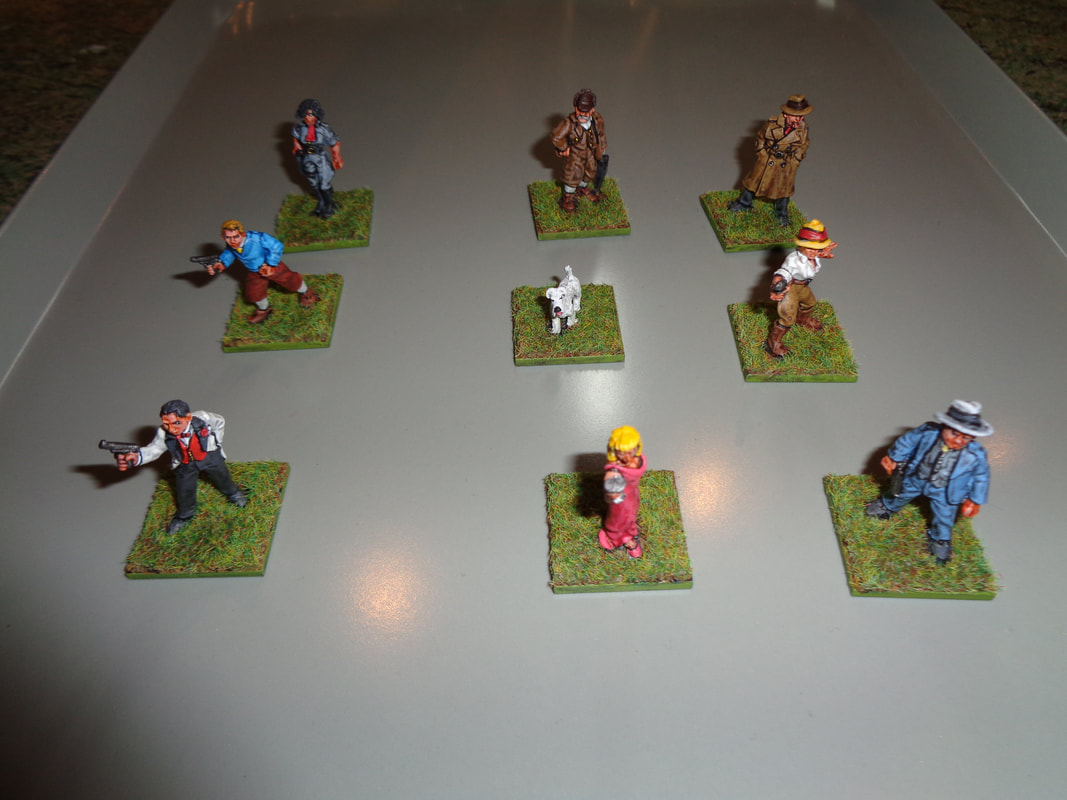
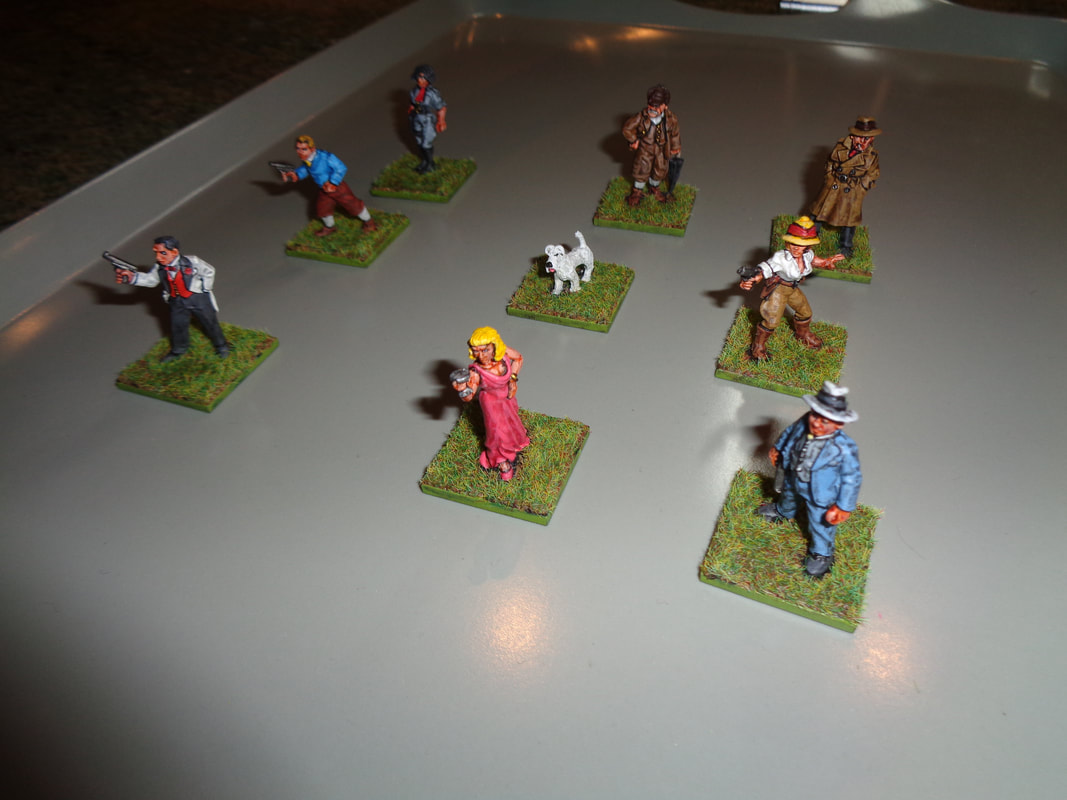
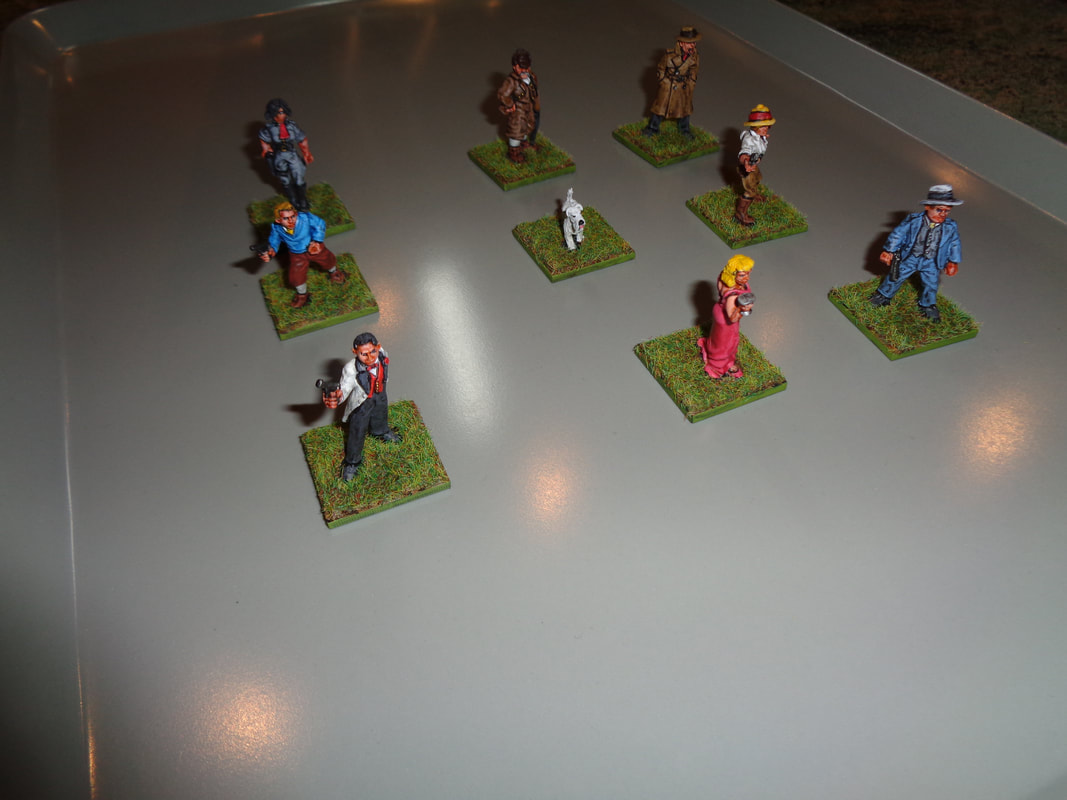
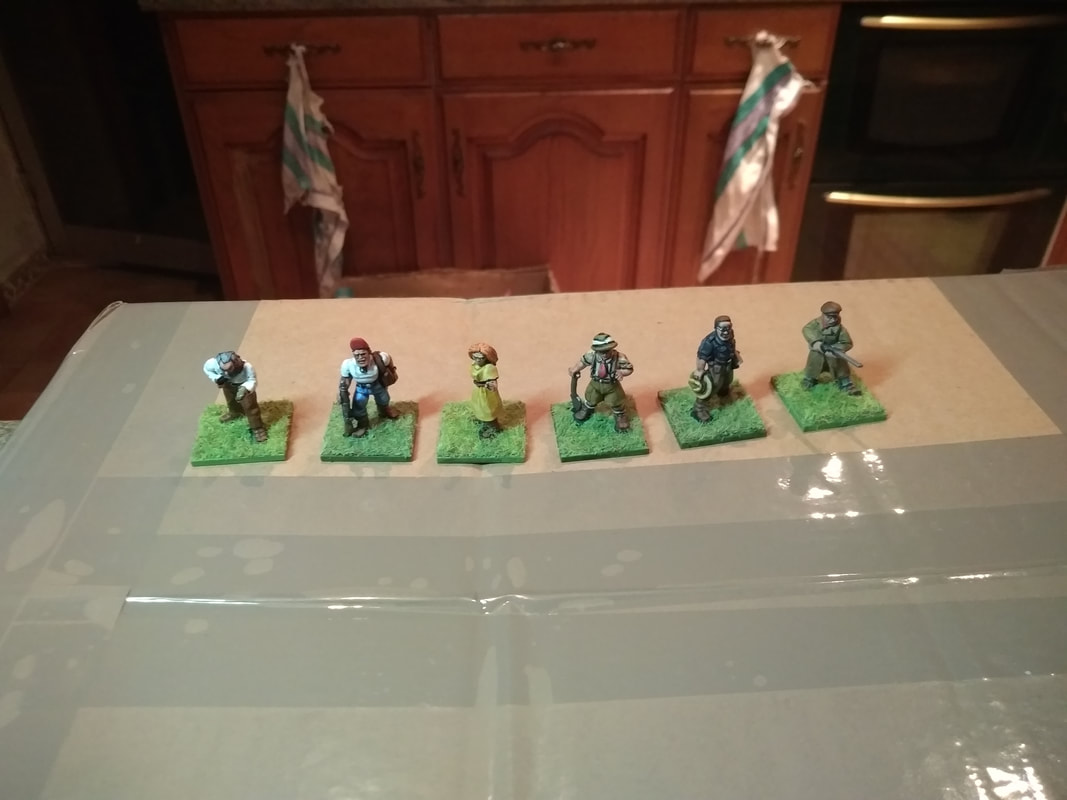
18 more pulp personalities painted and varnished. That's all of them done, unless they're some more lying around that I haven't spotted. Which is quite likely! 2 of them are wearing kilts, I've hidden them in the back. Painting tartan is something that eludes me still. The figures here are a mixture of Copplestone Casting's 'Back of Beyond' figures, Pulp Figures, Artizan Design's 'Thrilling Tales' figures and a couple Bad Squiddo figures.
Finally it's time to make a start on those WWII Soviets.
0 Comments
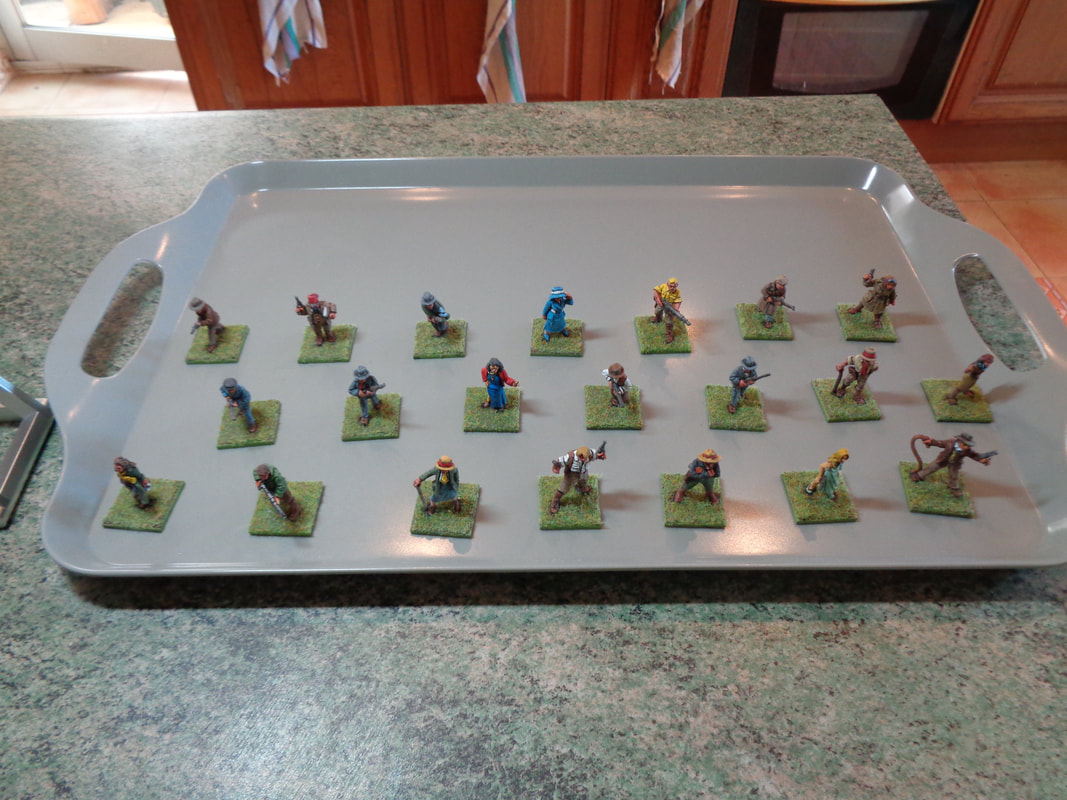
I've been slowly but surely painting since my last update 3 months ago. Today I varnished 21 pulp personality figures. They're a mixture of Pulp Figures Pulp Heroes & Personalities, Copplestone Castings' Back of Beyond Adventures and Footsore Miniatures' Irish War of Independence figures.
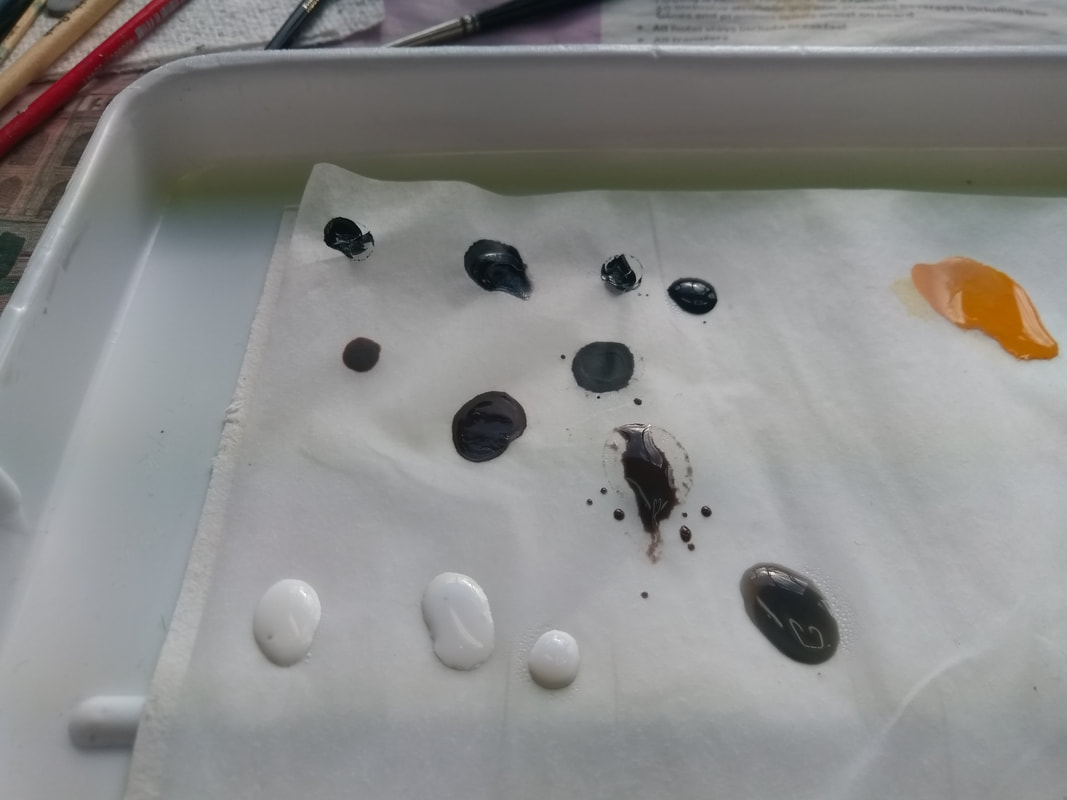
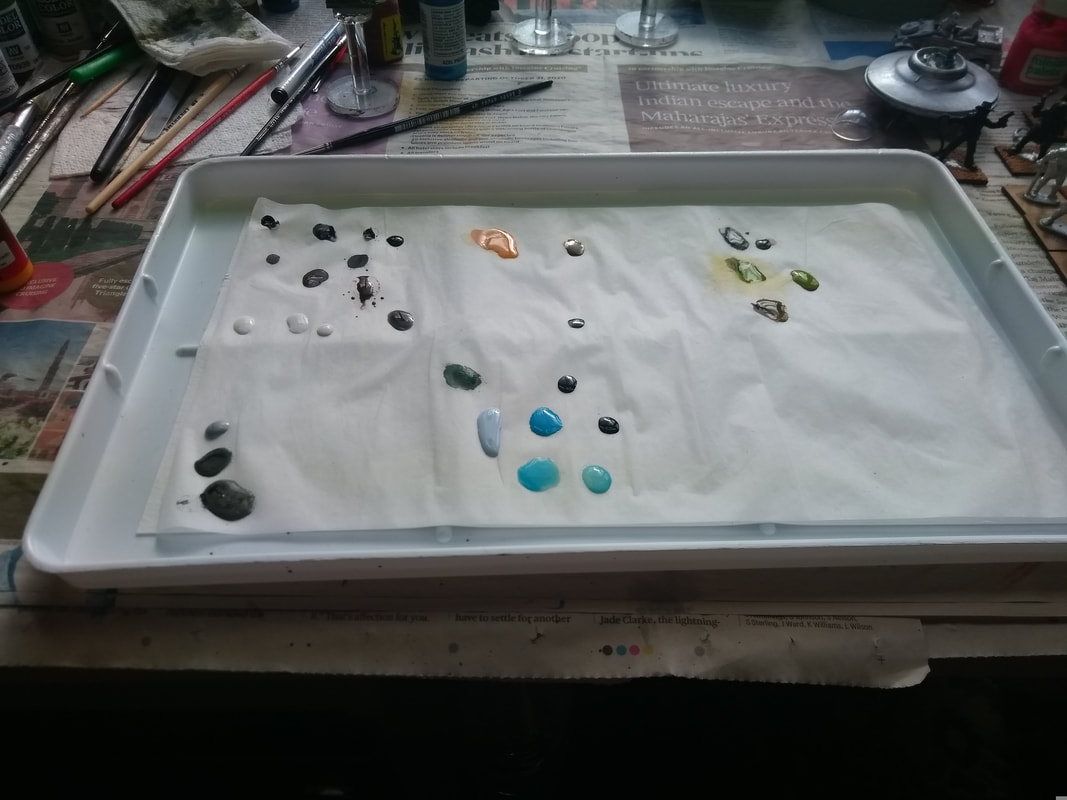
I'm now about 75% of the way through painting all my pulp personalities. After that I have to move on to WWII Russians and I need to varnish some vehicles I've got laying around. About a month ago, Matakishi gifted me with a wet palette, since then I was been making use of it during my painting. Since then I have been using it with all of my dropper paints. This is what I've found so far. In case you're wondering, a wet palette (Through the miracle of science.) will prevent any acrylic paint placed on to the palette from drying out and keep it err wet. How does this work? First there's a spongy layer that is drenched in water, then a very thin layer of 'porous' paper like grease or baking paper is put on top of the spongy layer. Paint is then placed on the paper. Moisture is absorbed through the paper and into the paint to prevent the paint from drying out. So is a wet palette worth it? Obviously a wet palette only really works with dropper paints like Vallejo or Army Painter paints, unless you like to mix or thin your paints. The Good: Wet palettes do actually work, they prevent paints from drying up for about 2 weeks. After the first 2 weeks of usage, the sponge had become dry, so I replaced the paper and 'rehydrated' the sponge. The Bad: First off, I'm a miniature painter, I only ever deal with small amounts of paint at a time. This means I only ever put a small amount of paint on the palette at any one time. Why is this a problem? Well on my palette I currently have 3 blobs of black , which one is the paint, which one is the wash and which one is the ink? It's pretty hard to tell. This can also apply to other paints. Luckily, it's not too much of a problem. You just need to create a 'system' to manage how you put paints down on the palette. The Ugly: As I wrote above, I tend to work with small amounts of paint at a time. A wet palette sometimes doesn't seem to always handle these small amounts very well. I've noticed that with a few paints (Particularly washes or inks.), that over a little time they appear to absorb too much moisture. This can cause the pigment to become 'over diluted', making the paint pretty useless, or the paint becomes separated into different colours. I suspect this happens with paints that tend to be a little watery already like lighter colours So it's a bit of a mixed bag so far really.
But I'm not giving up on the wet palette yet! I'm not sure if it's saving me much paint, but it does keep paints from drying up and at least the palette can be easily cleaned (That is, the grease paper can be thrown away!). There was a gap in the weather on the 21st February that allowed me to varnish the last 9 figures that I'd painted.
It took me about a week to paint all 9 - which is quick going for me. Painted and varnished 18 figures for Gameblast, various pulp figures and the like.
Unfortunately, the photos I took looked crap! So may some more at a later date. Well today I threw a mini in the bin, actually I threw it against the painting shed door first (And it left a dent!).
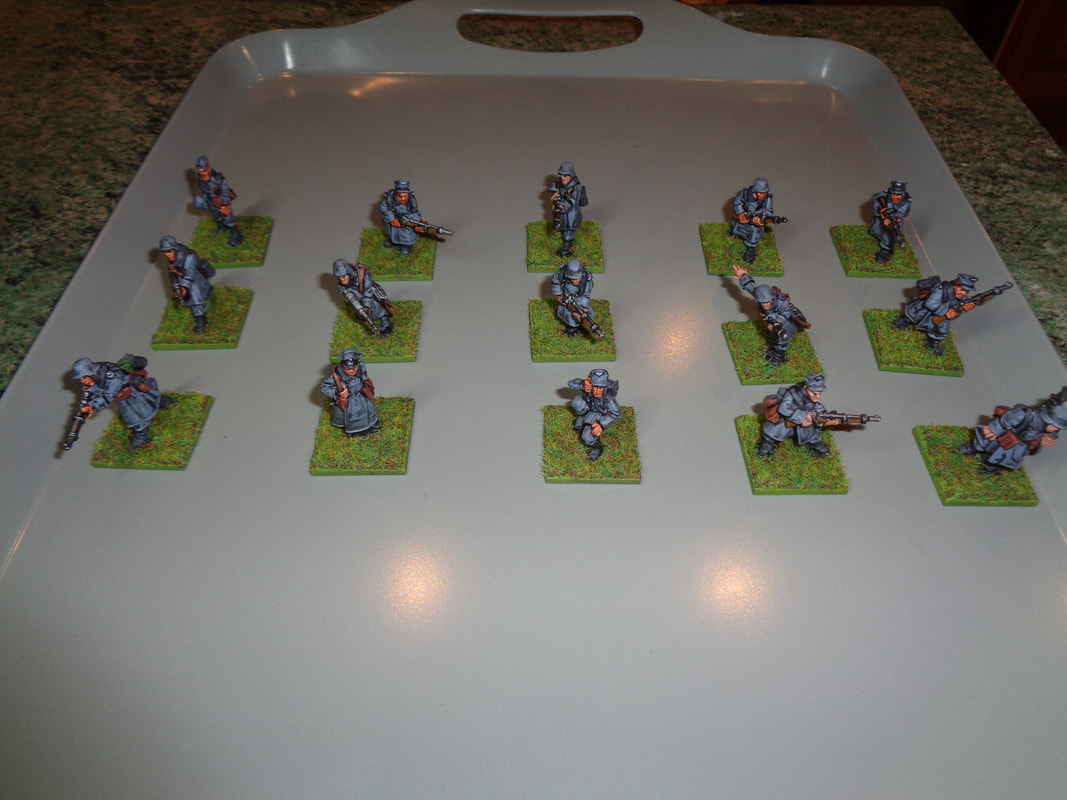
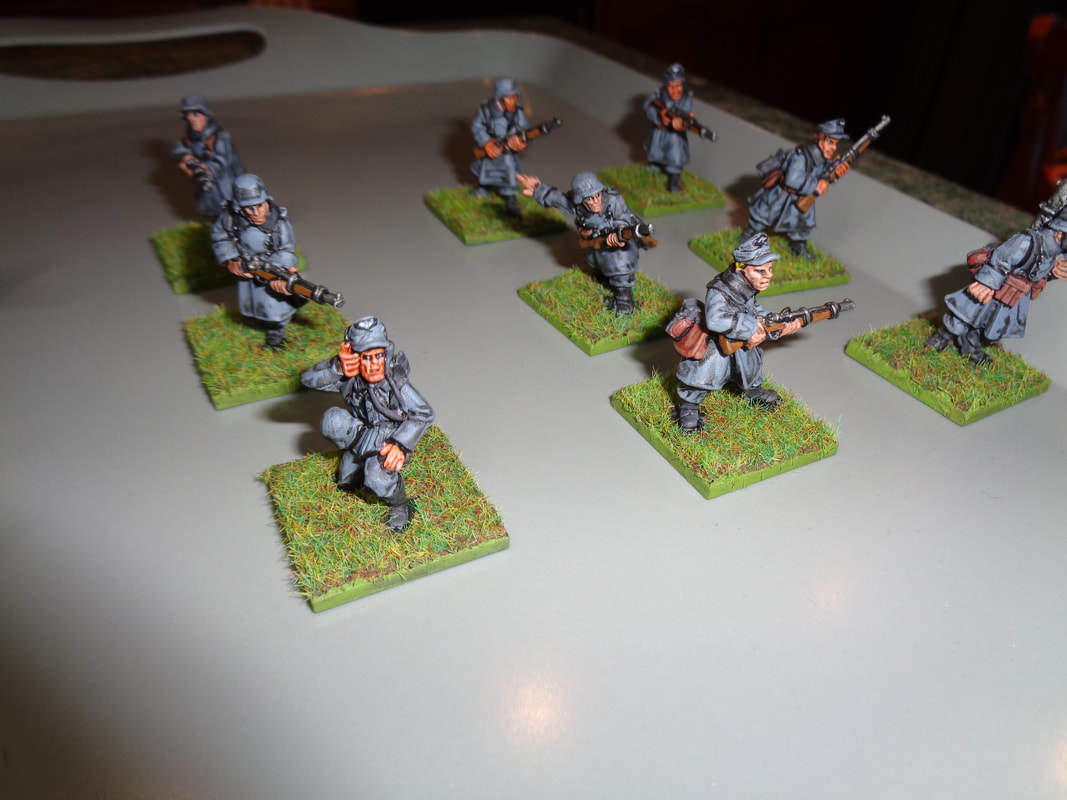
It was a WWII German motorcycle rider from Foundry and I just could not get the stinking handlebars to stick to the bike. I'd managed to do it with the first 2, but the 3 was too much. This is only the 3rd time I've ever given up on a mini ever. :( That's right, 2 painting blogs... in a month. Today I just varnished 15 German soldiers that I've been painting throughout January. Now ready for The Indiana Jones Charity Globe Trot. All of the above figures come from Artizan Designs' Germans in Greatcoats or German Infantry ranges.
Strictly speaking I doubt any of these are very 'early war' German, but the soldiers in greatcoats are fairly generic so can be used easily throughout the WWII years. The second blog post...Yes I know it's now 2020. And yes, it's taken nearly a year to prepare to write the next post for this blog. But I have been doing some painting during all this time... honest... So I'm going to try post photos I took of the miniatures I painted from February to December! 13th November 2019These figures were photographed on the 13th November 2019. These are the first of the 'pulp' figures for my GameBlast20 game - The Indiana Jones Charity Globe Trot.
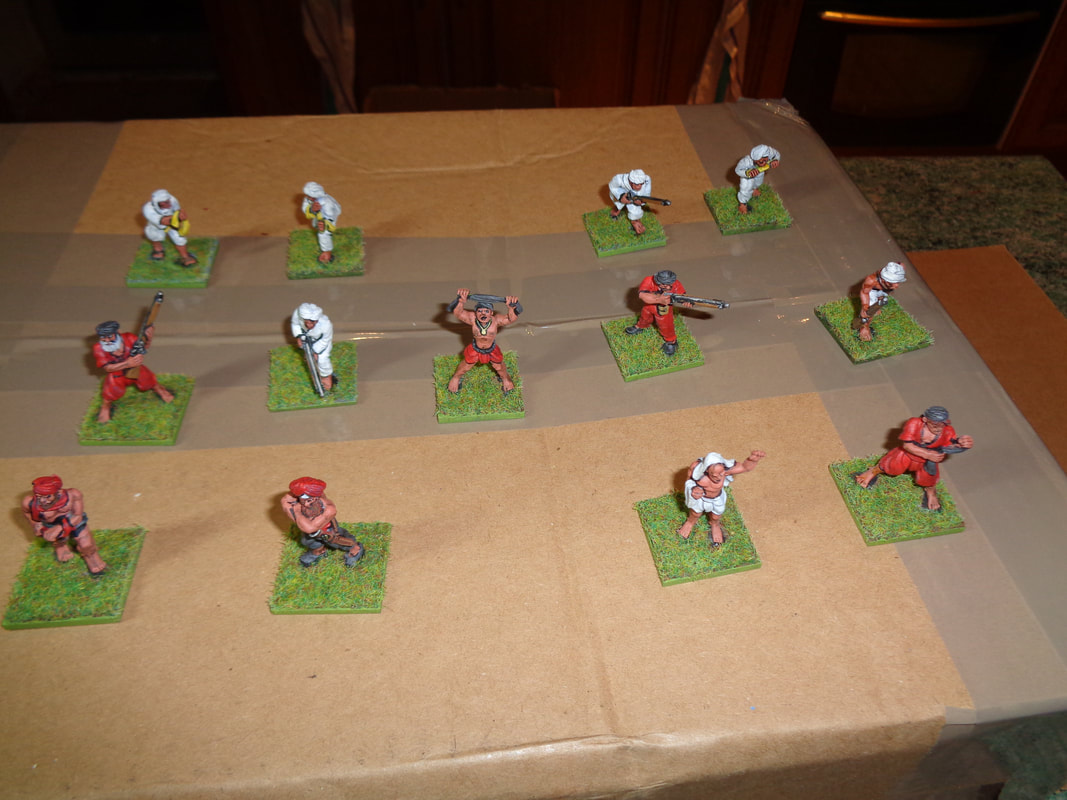
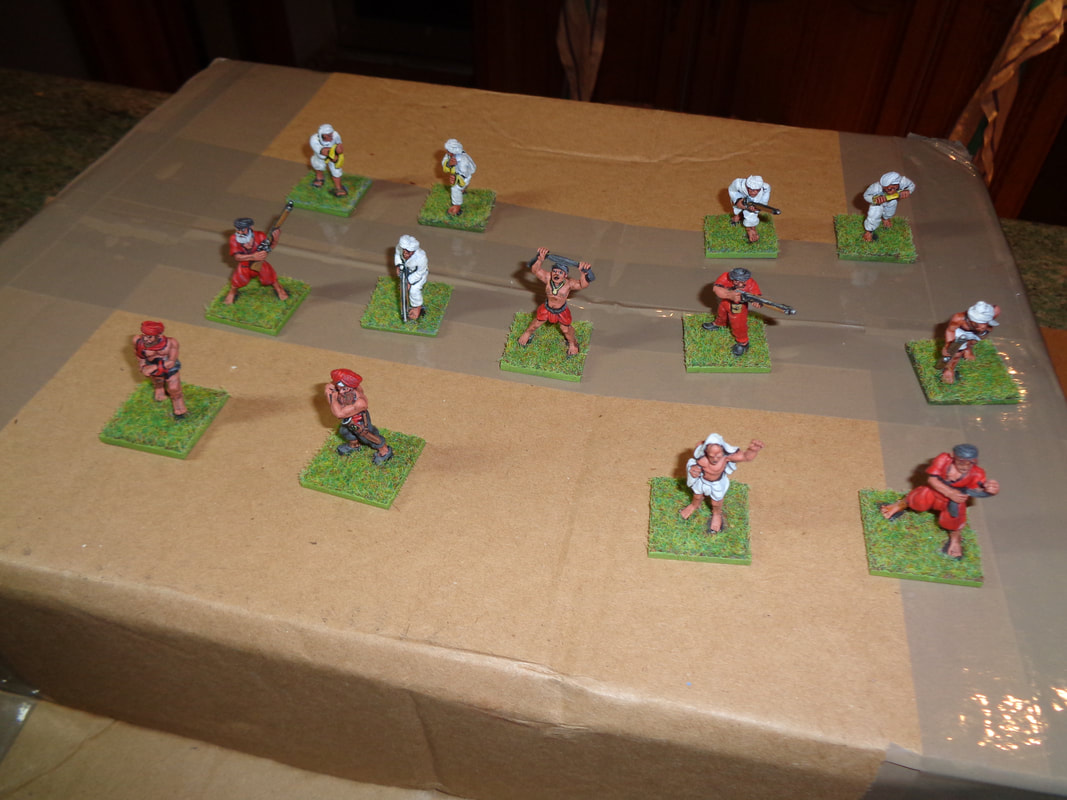
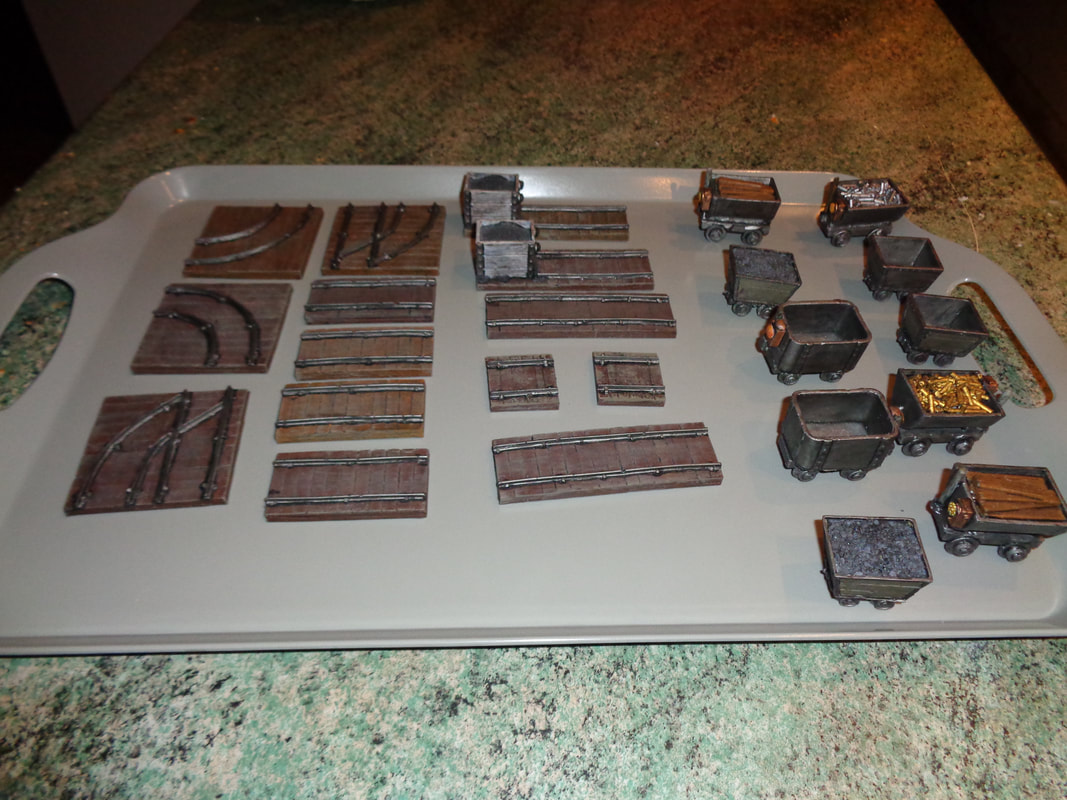
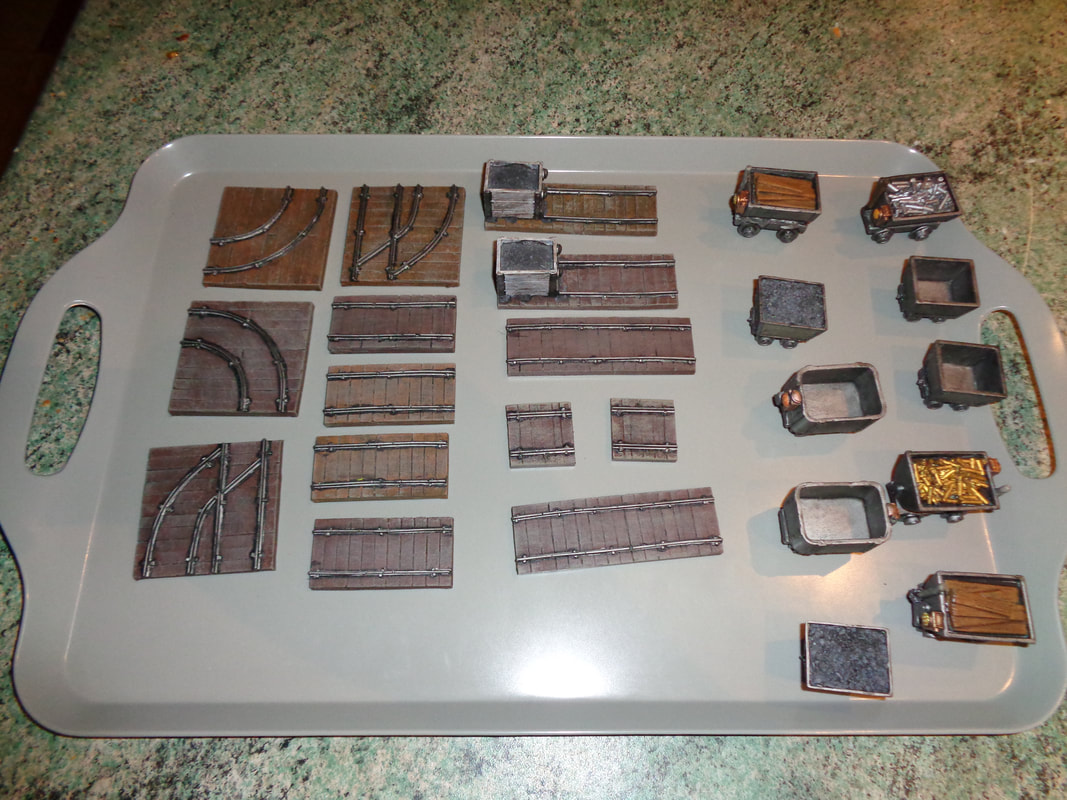
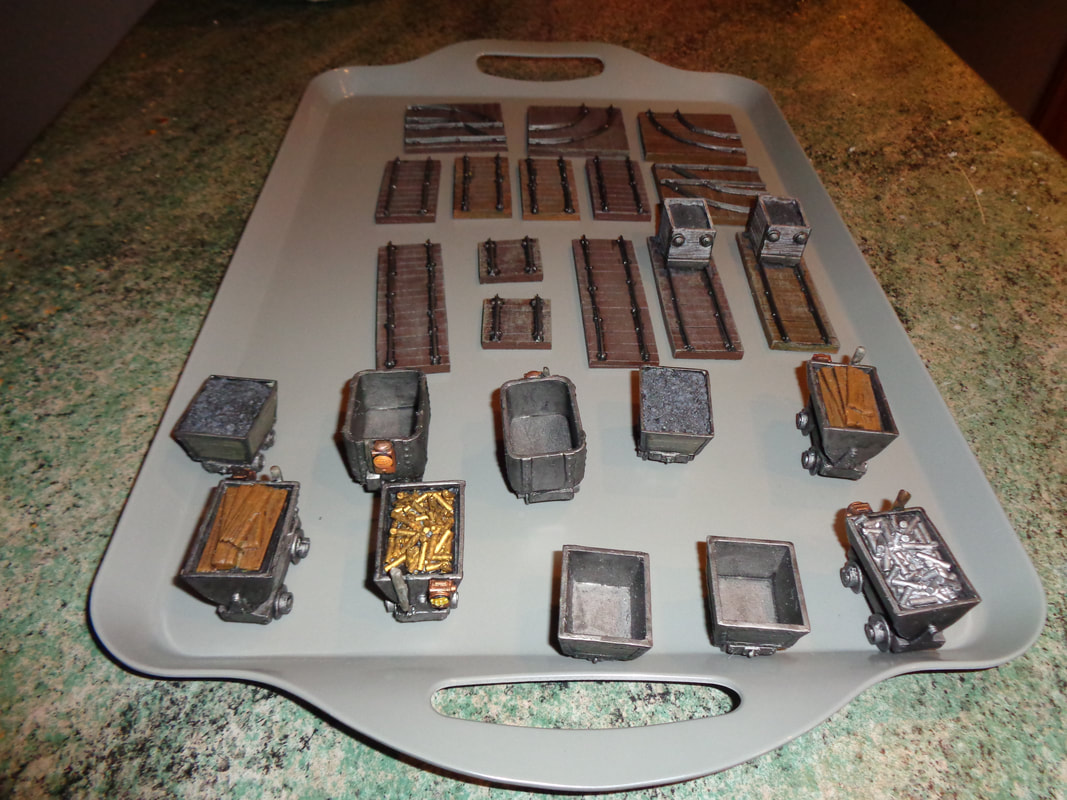
14th December 2019These are Thuggee cultists from Pulp Figures. Again they're for The Indiana Jones Charity Globe Trot. I've painted some of them in the yellow and white scheme I saw on the Pulp Figures website. The others are painted in red and black as seen in 'Indiana Jones and the Temple of Doom'. 3rd January 2020The mine carts and track all come from Ainsty Castings. 8 of the mine carts were painted for GameBlast19 (Which was before the end of February 2019.), they've only just been varnished. The track has all been painted and varnished recently. There you have it. That's all the photo's I have.
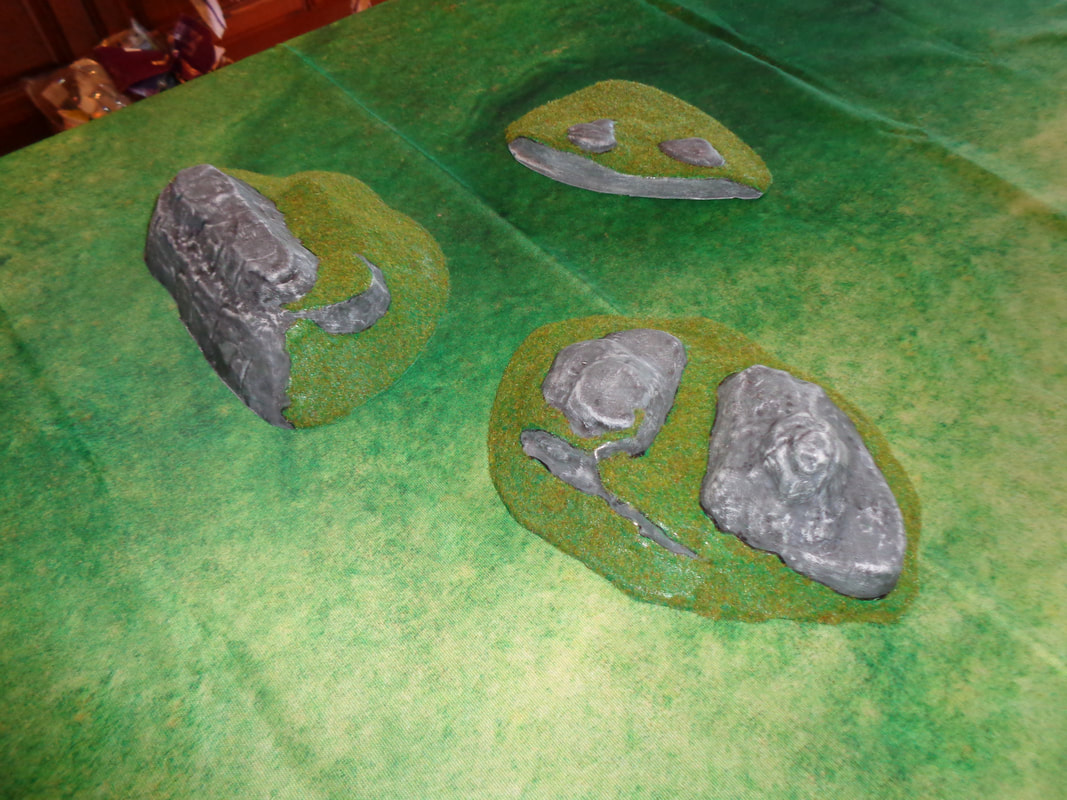
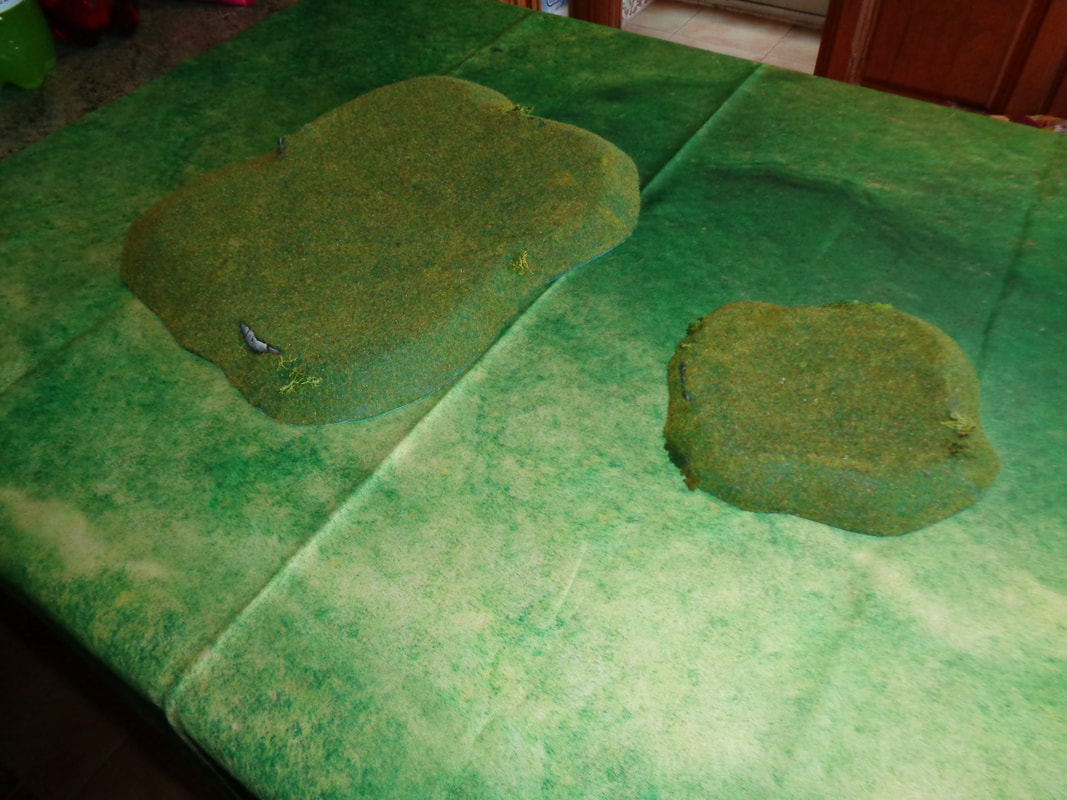
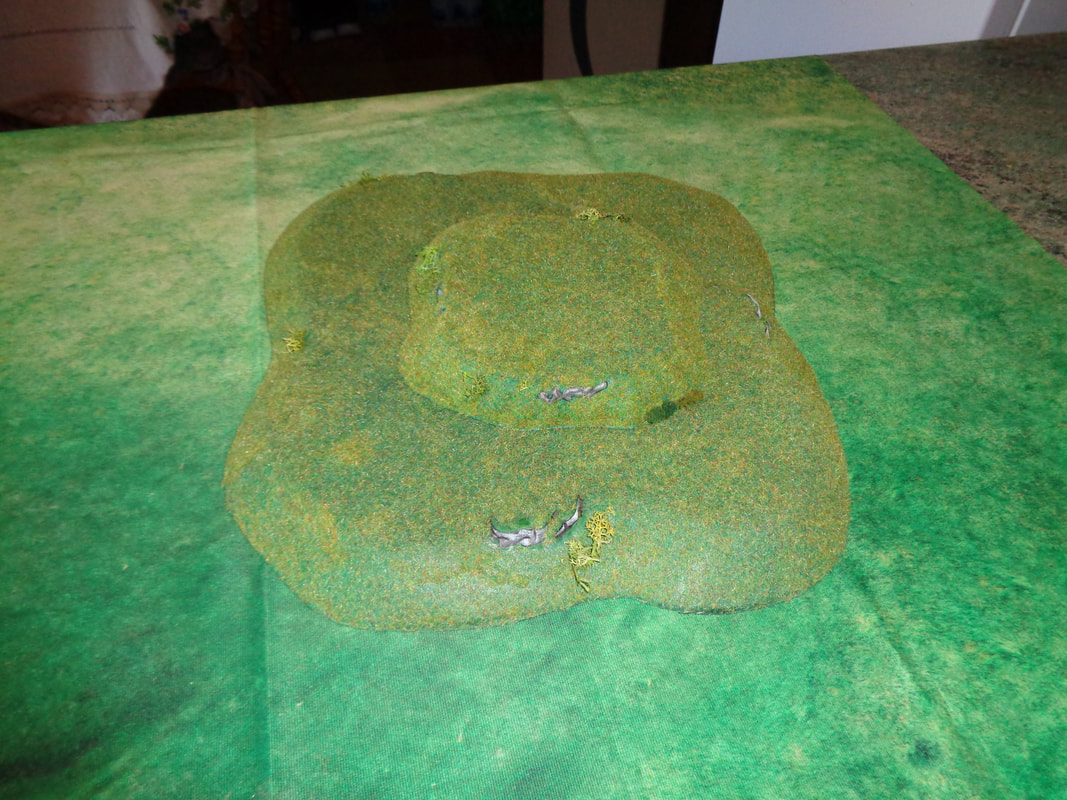
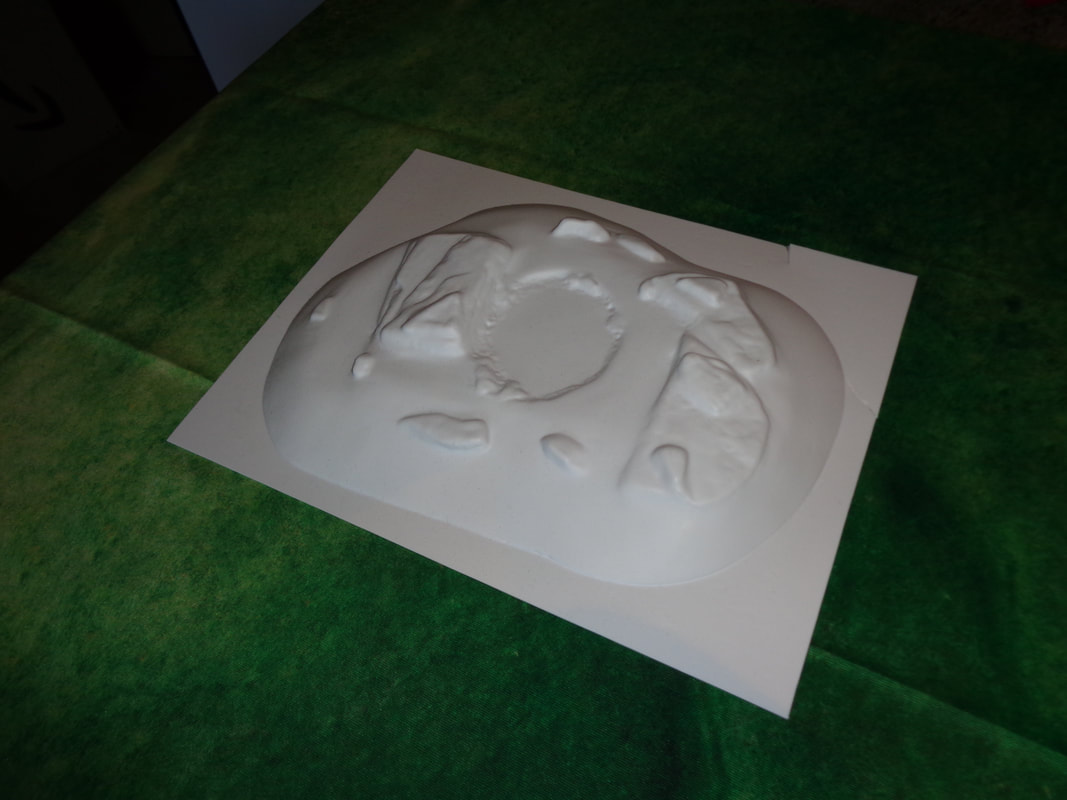
I've painted more than (I must have!?!) this over 2019, it's just there's no photos of them, honest... You'll have to take my word for it! Hopefully, the blog will see some use over 2020. So, at the start of the year I decided to blog about whatever I painted this year. So it's February and here's the 1st post. Amera Plastic Mouldings create 'vacuum formed' terrain and scenery. This scenery is thin (actually hollow), light and seems durable. Perfect for my needs - I tend to lug stuff around. This is the 1st time I've painted err... that's not right really. Mostly I just added grass flocking to the scenery and dry brushed the rocky parts. So anyway, this is the 1st time I've worked on something like this. It was easy to do and it should look acceptable. The scenery comes as squares of plastic that needs trimming and cutting. I said earlier that it was thin, but that doesn't stop it being a 'proper mission' to trim.
So there you go, first post done. |
AuthorI play, I paint. Archives
April 2024
Categories
All
|


 RSS Feed
