|
5th August 2022 It's a Friday and we're in Aldershot for some gaming! When you go into a national park, you may find yourself hiking along trails. Which is a slightly tortured segue into how Trails is actually a follow up to the excellent Parks game and shares some similar concepts. So let's hit the errr... trail and see how it stacks up? What's in a game?
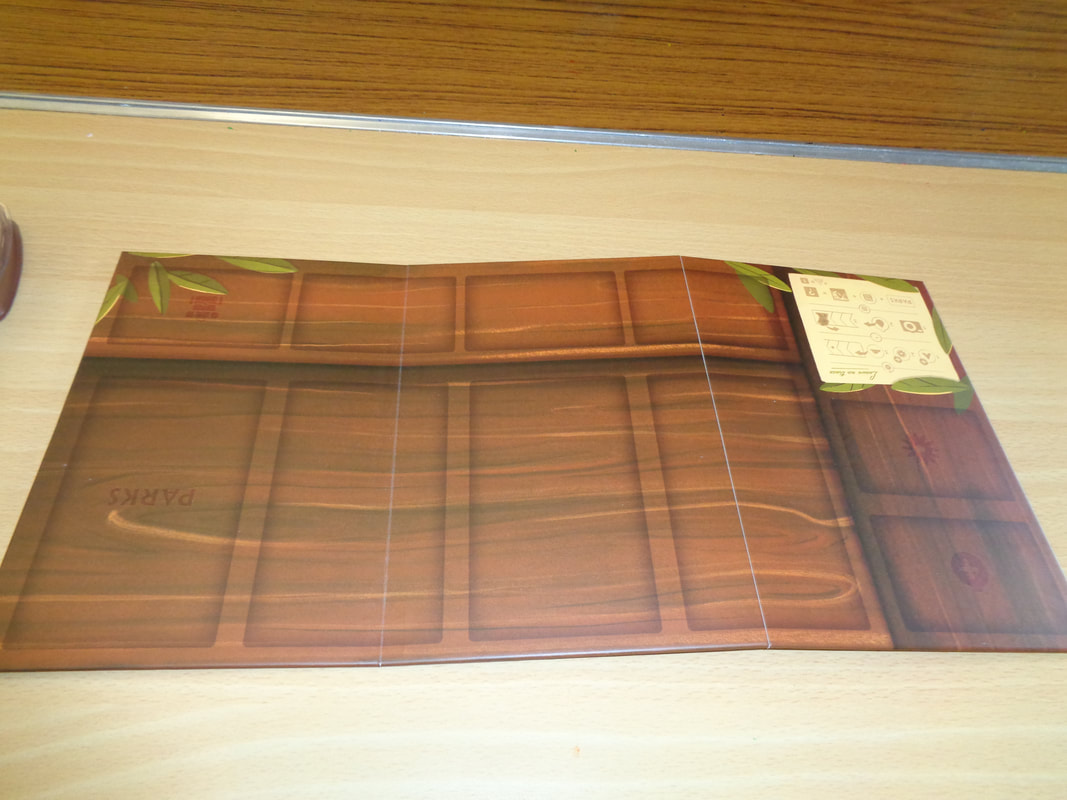
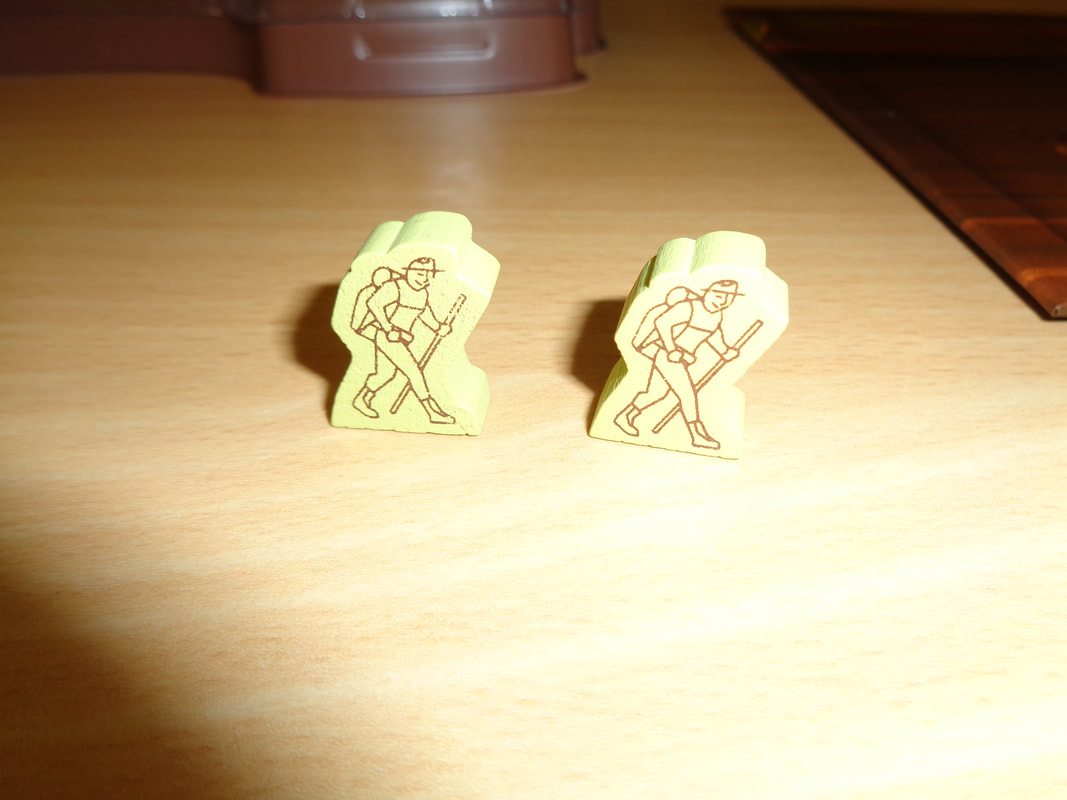
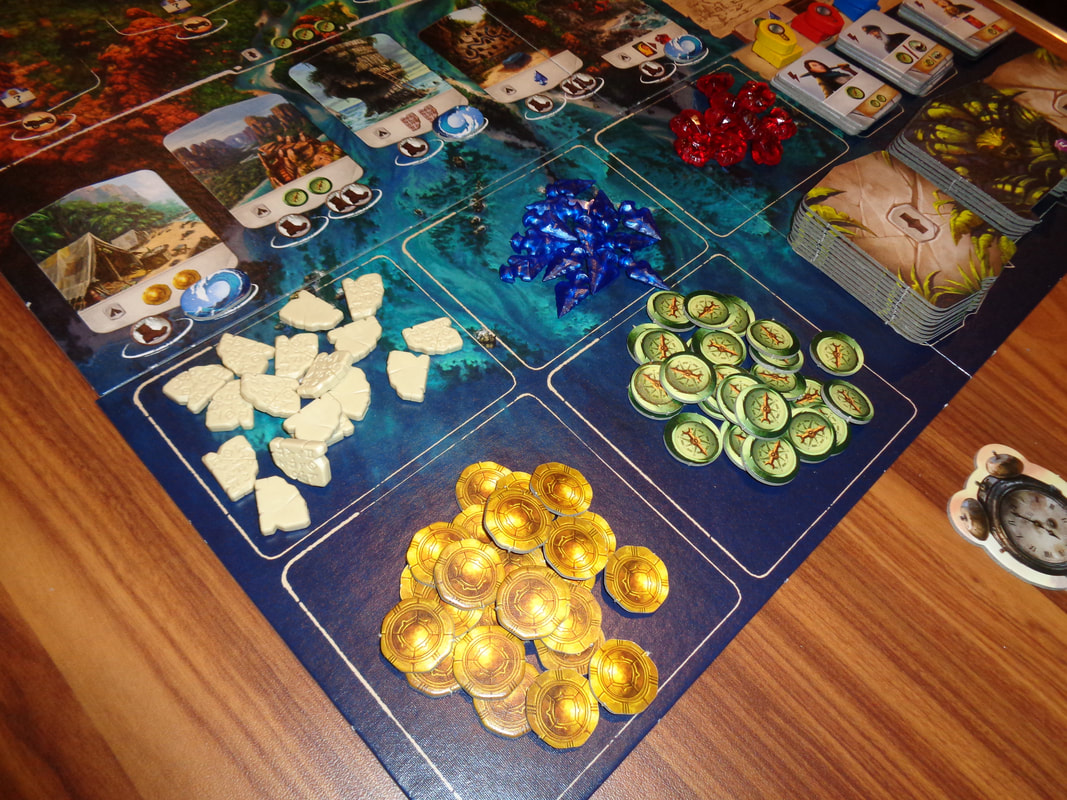
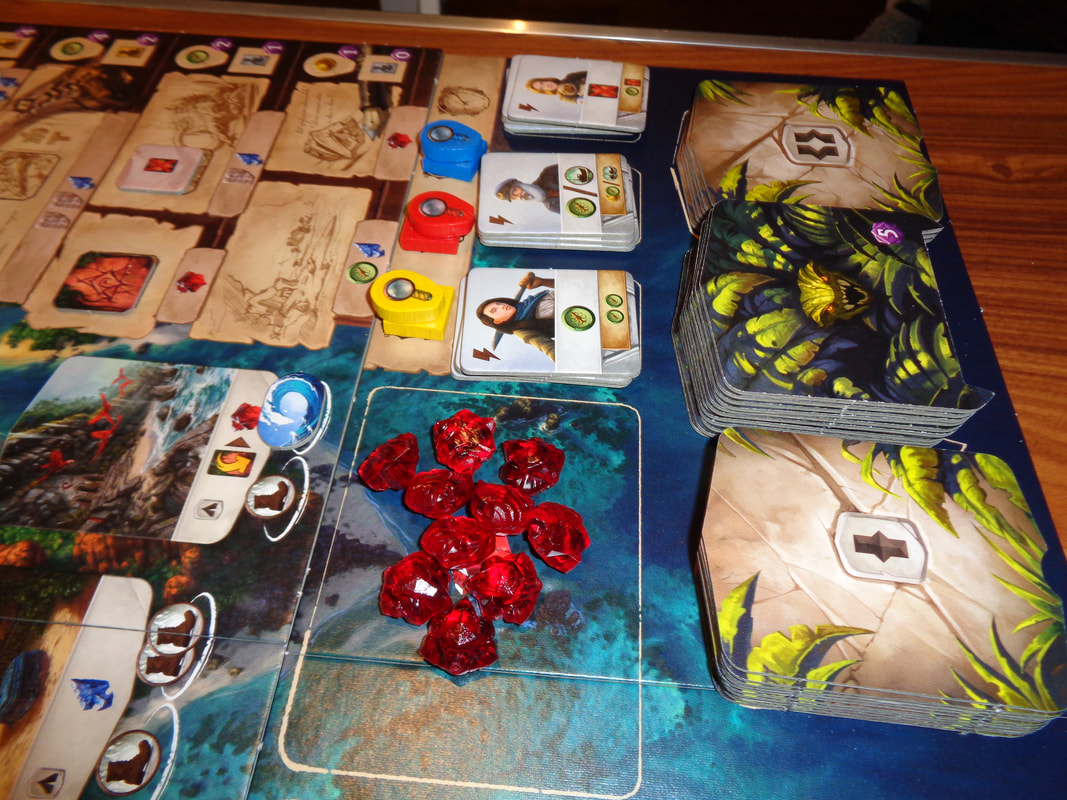
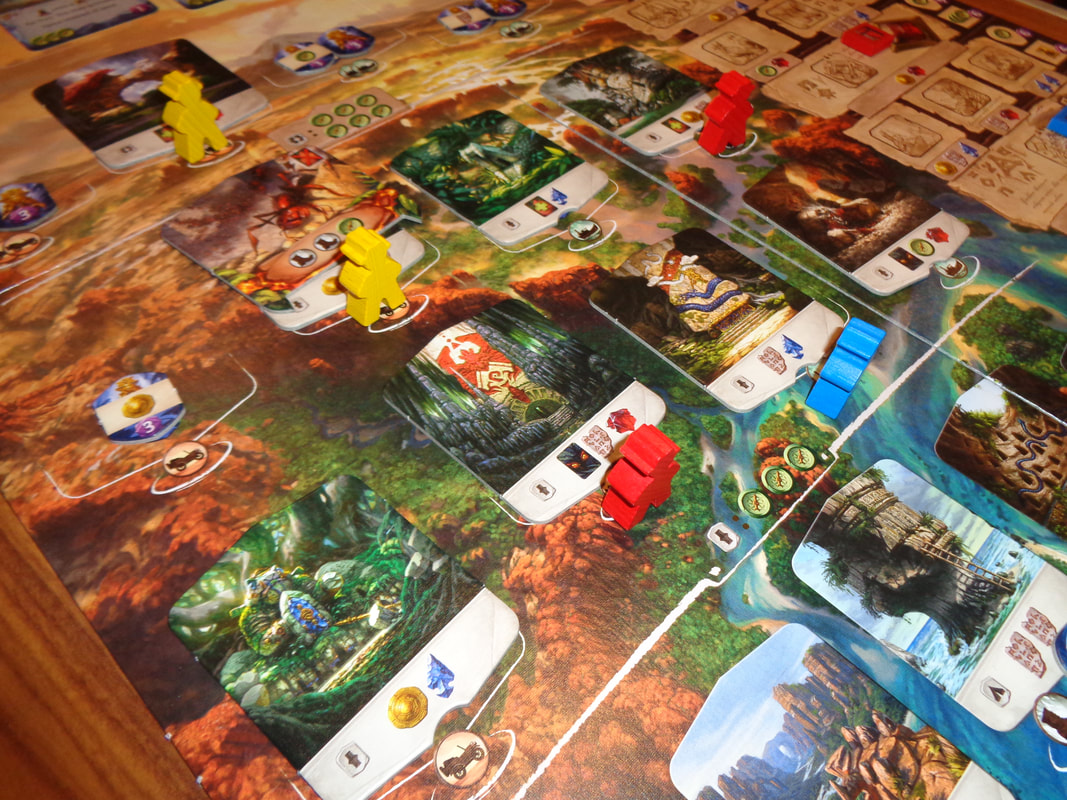
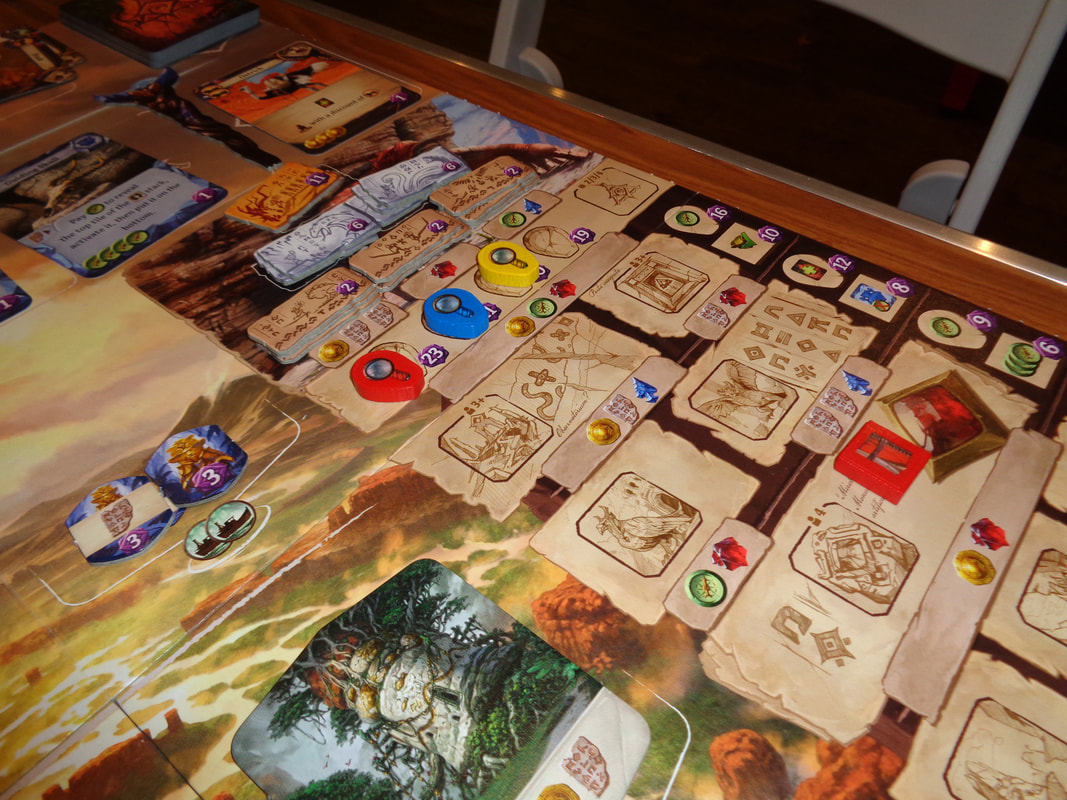
For the most part, component quality in Trails is good. The wooden meeples look and feel good as does the die. I also like the wooden resource cubes, although I'm not a big fan of the colours which I feel are a little too muted and sometimes in poor light, the grey and the green colours can feel hard to distinguish. I also found the player colours a little muted too. All the tiles and tokens are constructed of thick card and feel weighty. However, I would describe all the cards as average in quality and perhaps a little flimsy. It's not really an issue though, Trails is not a card game and they won't be handled much so should stand up to repeated handling. Without a doubt, all the art in Trails is excellent. Much of it is sourced from the Fifty-Nine Parks art project which also provided the same art for Parks and will be familiar to players of that. So even though Trails is reusing artwork, it doesn't matter because it's such good quality. Having said that, a lot of images are heavily cropped and the fact they're all on relatively small components means they just don't look as impressive. Original art appears on the badge cards in the form of a series of quite stylised images. It's a different style to art that appears on the tile and photo cards but I have to say I think it looks good. All the main icons which appear on the tiles and die are easily understood. It's not quite so obvious with some of the rewards on badge cards and players will need to refer to the rules and clarifications on occasion. It's nothing game breaking though. How's it play? Setup
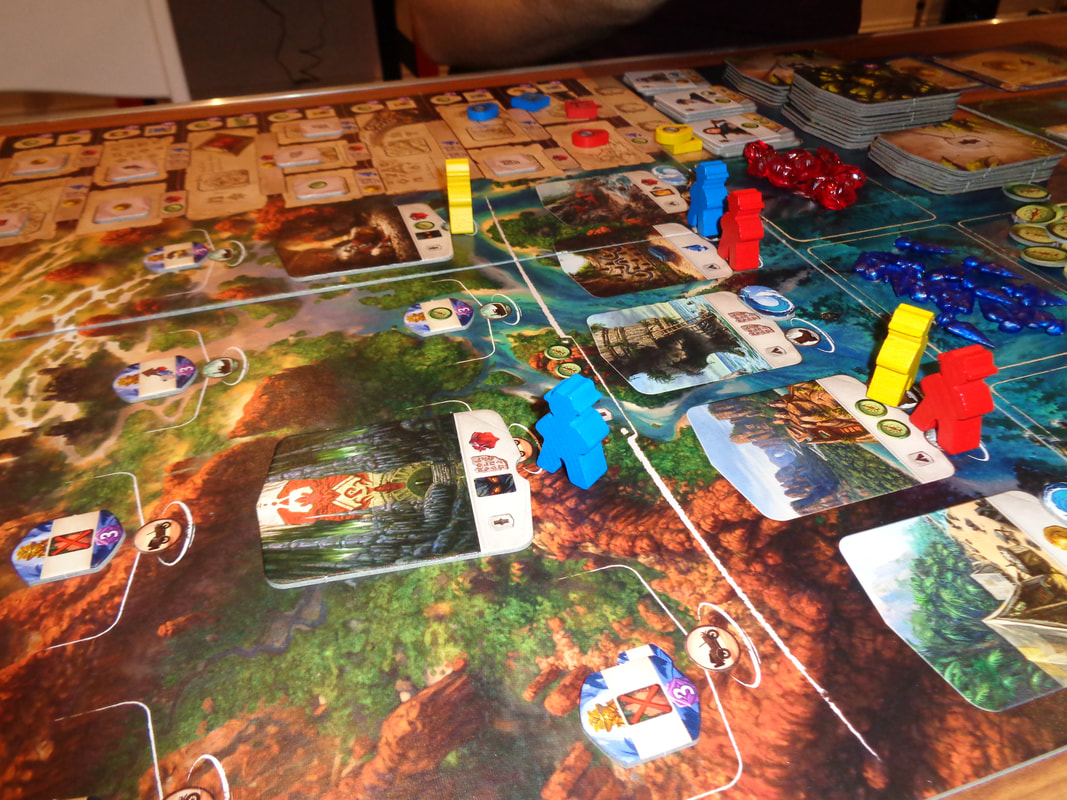
On to play In Trails, players will travel back and forth along the path, taking photos and accumulating resources which they will use to buy badge cards. The game follows a typical turn structure with the active player resolving their turn before play progresses to the left. As their action, the active player can move their meeple and resolve the tile it lands on.
Endgame When a player take as sun action that moves off the last leftmost icon on the trail end, they resolve that action as usual and take the sun token. Play progresses normally, until the player to the right of sun token holder has completed their action, upon which the game ends. I.e., once sun has taken the sun token, all other players get 1 more turn. Players now calculate their VPs.
Overall I'm not over fond of comparing one game to another, a game should be taken on it own merits but in this case, there might be some value in doing so. Parks and Trails come from the same family of games and as such share some thematic elements. Both are about hiking along tiles, collecting resources to acquire photos and cards, as well as using canteens for a bonus. However, Trails differs in several ways as explained below. Unlike it's predecessor, hikers from multiple players can happily coexist on the same space so the stress and need to try and anticipate where other players' hikers will go is gone, as the tactic of trying to block other players. It makes the game a little lighter (By no means a bad thing.) and focuses players on getting badge cards (Which are the game's biggest source of VPs.) and players will encounter something of a conundrum here. They may have the urge to collect as many resources as possible which can be prudent but at the same time, they'll want to reach the trail head & end tiles quickly to get a certain badge card before other players. Trails is a game about optimisation especially since there are only 3 types to manage - although that 8 cube limit can be punishing. I also like the addition of the day turning into night mechanic, not only is it visually pleasing to watch the sun set, it adds some momentum to the game, upping the ante by giving players more resources and making it easier to get more badge cards. Players that have done well in the early game are not guaranteed victory. So is Trails a sufficiently different game to Parks to warrant having both? I would say yes. I bought copies of both and I'm glad I did. Trails felt like an easy game to learn and despite the fairly lengthy rules writeup above, is a reasonably light game that requires a little less brain power and also a little less directly competitive. Although for a lighter game is has a reasonably long play time - far too long to be considered a filler game. That's a minor criticism though and ultimately, Trails is a fun experience and is worth trying.  Big brother, little brother.
0 Comments
30th June 2022 It's a Thursday and we're at Aldershot for some gaming goodness. Burger Boss! What's better than being a king? Being a boss of course! Be a boss of those burgers in this game of resource management and worker placement or if you want to be specific; dice-placement. What's in game?
All the game's cards are finished in vinyl/plastic and as such feel quite sturdy. The dice plastic, although they have nicely rounded corners. Wooden components are always a plus in my book. The discs used to represent burgers and ingredients are obviously wrongly proportioned but if they were correctly sized, they'd have to be much bigger, otherwise they'd make the handling ingredients even more fiddly than it already is - which is quite fiddly and is my one criticism of the components. Presentation wise, Burger Boss uses a cheerfully brash palette along with cartoonish illustrations. It's a bright, colourful art style that suits the game's light-hearted approach perfectly. There's little iconography used in the game and it's easily understood, mostly consisting of symbol ingredients and and dice values. The manager's special cards use text to provide information, which is a little sparse and will probably have players referring to the rules. It's not something that will occur too often though. Packaging I don't usually talk about a game's packaging - because usually it's just a box. Burger Boss however, comes in a giant burger! Inside are several layers to hold all of the game's components. Yes I know that it won't stack with other games and the manual doesn't fit in the burger and it'll just have to be put all back into it's normal, typical box anyway which technically defeats the purpose of the burger packing - but it gives the game a unique, eye-catching presentation and I like that. Yes, I also know it's just a gimmick but I like gimmicks! How's it play? Setup
On to play The objective in Burger Boss is to fulfil customer orders to earn money, this is done by gaining and cooking the required ingredients. All of these actions are achieved by putting dice on cards, many of these cards will require dice of specific values. The game does not have a traditional turn order and instead uses a mechanic that mixes randomness and player choice to determine player order. Once player order is established, whenever someone becomes the active player, they can take an action by using a die. Each round consists of the following phases.
Endgame The endgame is triggered when the customer card deck is depleted - although there will be customer cards in play. There is then 1 final round of playing then the game goes to scoring. Players total money from the following: Money earned from selling food to customers. Money earned from their secret objective card. Anything still on the grill earns $1 apiece; food in storage earns nothing. Cash is tallied, highest amount wins. Overall
Burger Boss is a light-to-midweight game, as written above, the rules seem a bit complex but in practice they're fairly straightforward. That's not say it's a good game for beginners - because it's not! There are several mechanics and concepts in Burger Boss that that require thinking ahead and someone nuanced decisionmaking. Quite often, it'll be impossible to complete a customer's order in a single round and generally there isn't enough cold storage to hold the required ingredients. This means that players will probably have to put ingredients on to their grill and hope to complete them in a later round. Mistake's can be costly and $1 is scant compensation for losing food. Which brings me to customers. There's a balance to be found between completing a customer order as quickly as possible and waiting for a later turn to earn more money but risking another player getting that customer first! While there is no direct interaction between players in Burger Boss, the game has a lot of open information and it definitely pays to watch what other players are doing; what they've got on their grills, where they're putting their workers and responding to this. This ties in with the turn order mechanic, sometimes players will want to use less workers to go earlier. Worker spaces to gain ingredients are limited and turn order can play a vital role when fulfilling customer orders, in both cases, going later and being stymied by other players' actions (Whether accidentally or deliberately.) can be infuriating. Burger Boss also has a a bit of the unexpected, manager's special card can also throw spanners into the works with unexpected special actions, especially when used judiciously. Despite this, the game provides options to gaining other benefits - or benefits other ways, if the baker or butcher is inaccessible for any reason, there's always the supermarket. There's a pretty generous number of worker spaces on the card for the aforementioned manager's cards. All of these means that rarely is a player presented with meaningless decisions which is always a good thing in games. I found Burger Boss to be a colourful, visually appealing game of making burger (OK, they stacks of ingredients, but still it looks good.) and fun worker placement and resource management game with a reasonable play time and gameplay that's tricky enough to tax the brain enough to be engaging, along with a side order (SIC) of competitiveness. 2nd May 2022 It's a bank holiday Monday and we're round Simon's for some gaming fun. Waterdeep, famed city in The Forgotten Realms and home to many a adventurer, ready to brave the wilderness in the search for treasure and glory... oh wait... This Dungeons & Dragons setting licensed game is nothing to do with Dungeon & Dragons... It's actually a political-intrigue themed worker placement game! What's in the game?
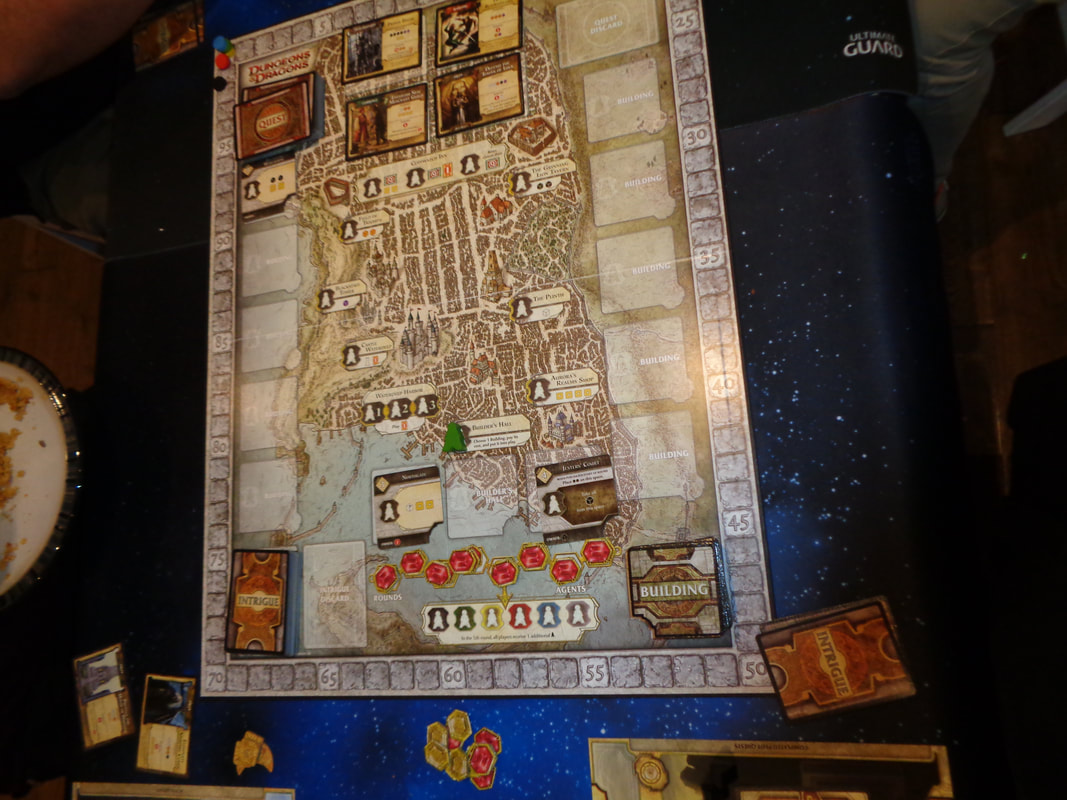
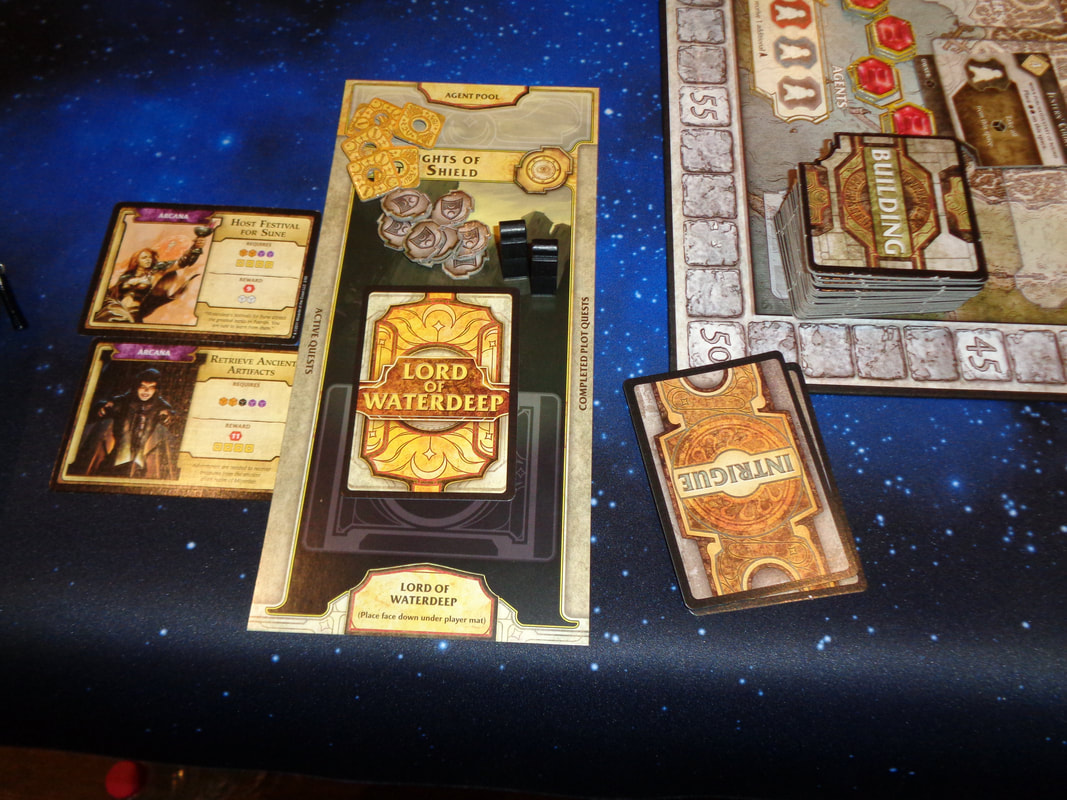
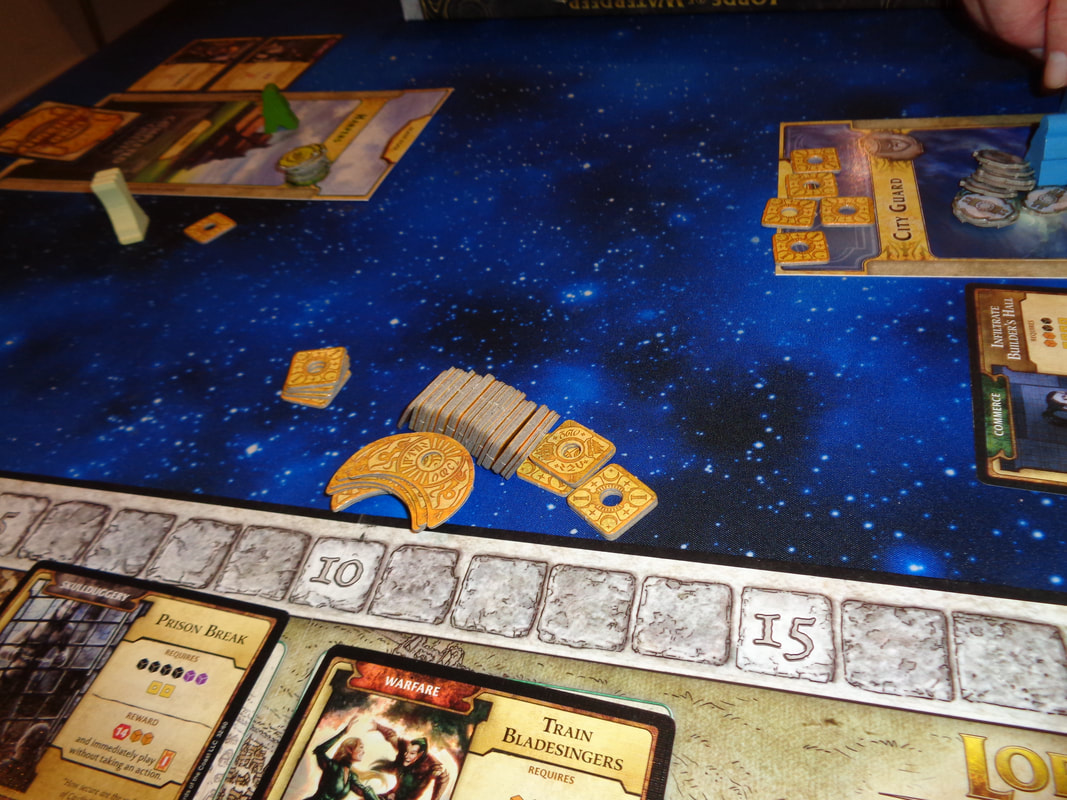
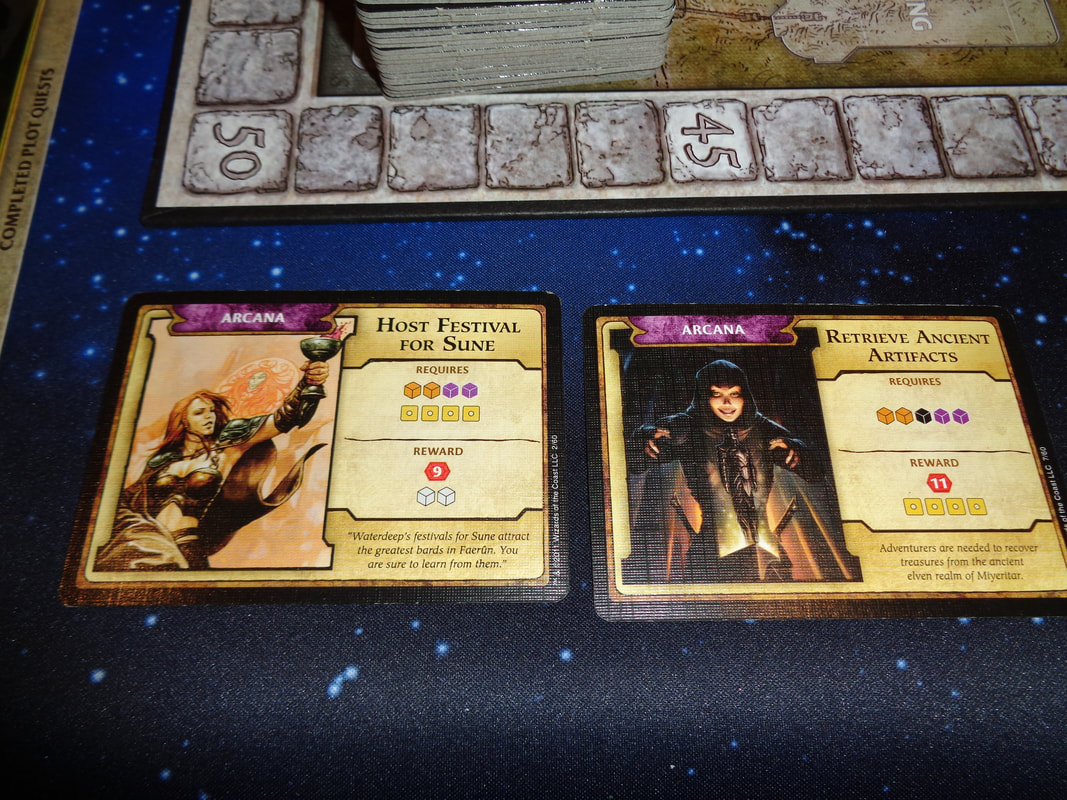
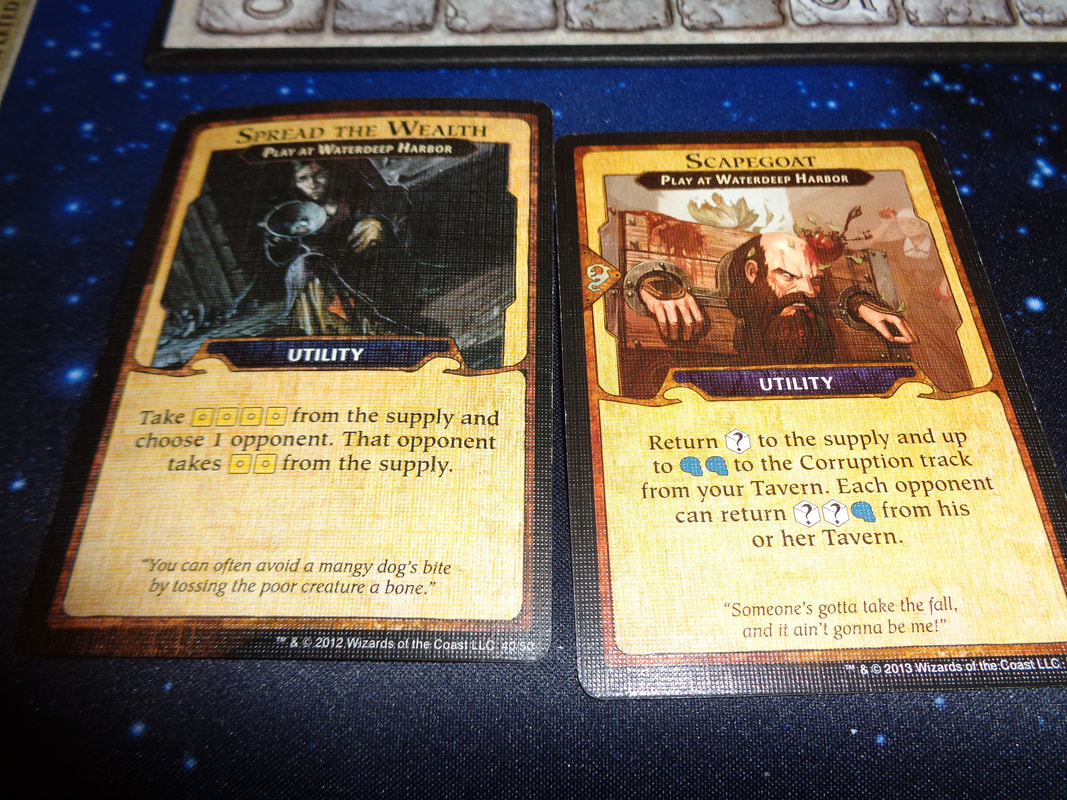
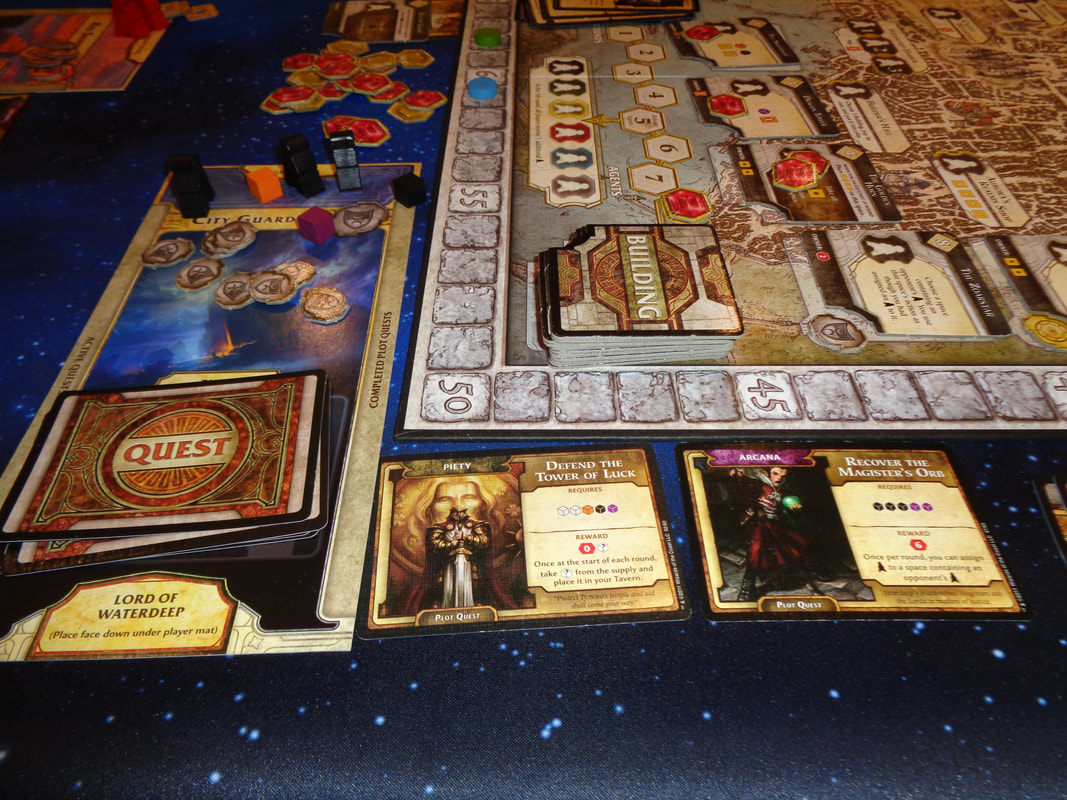
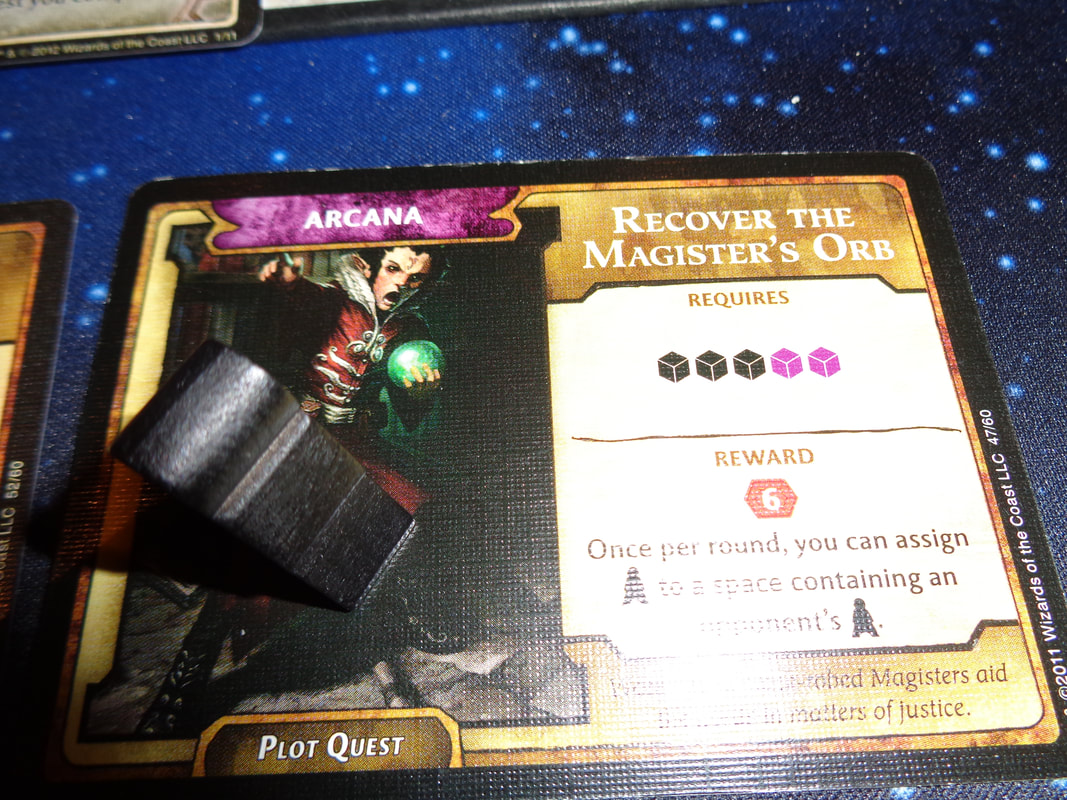
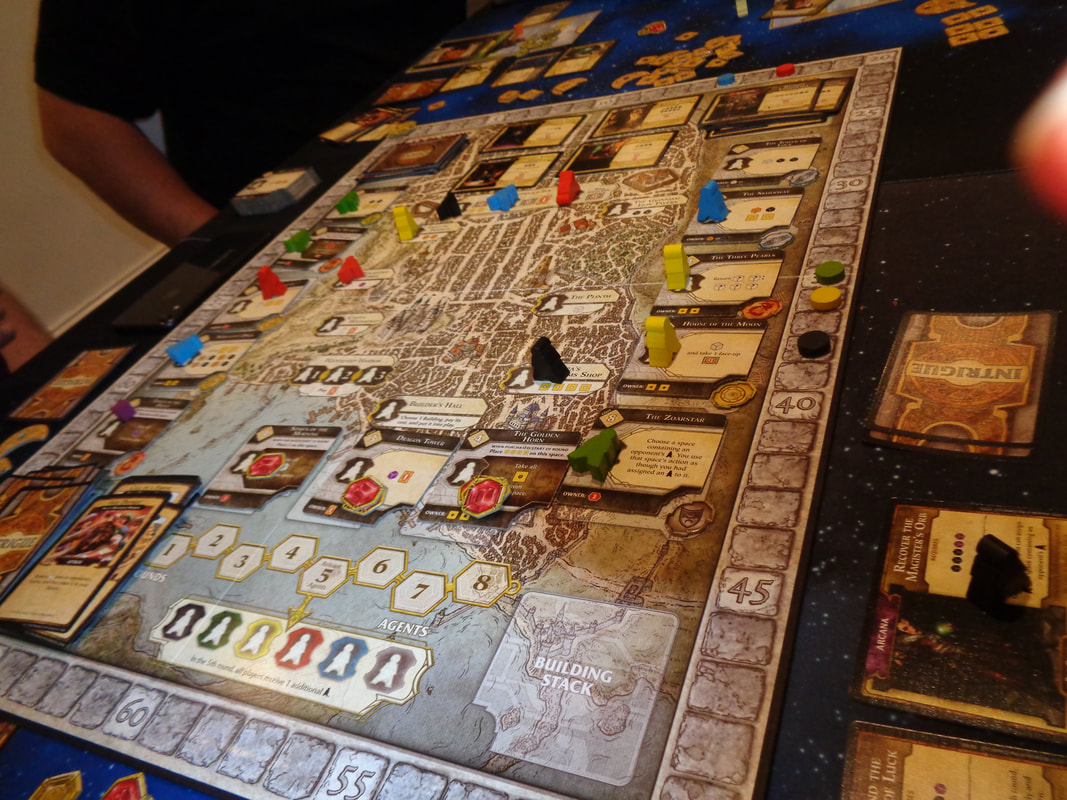
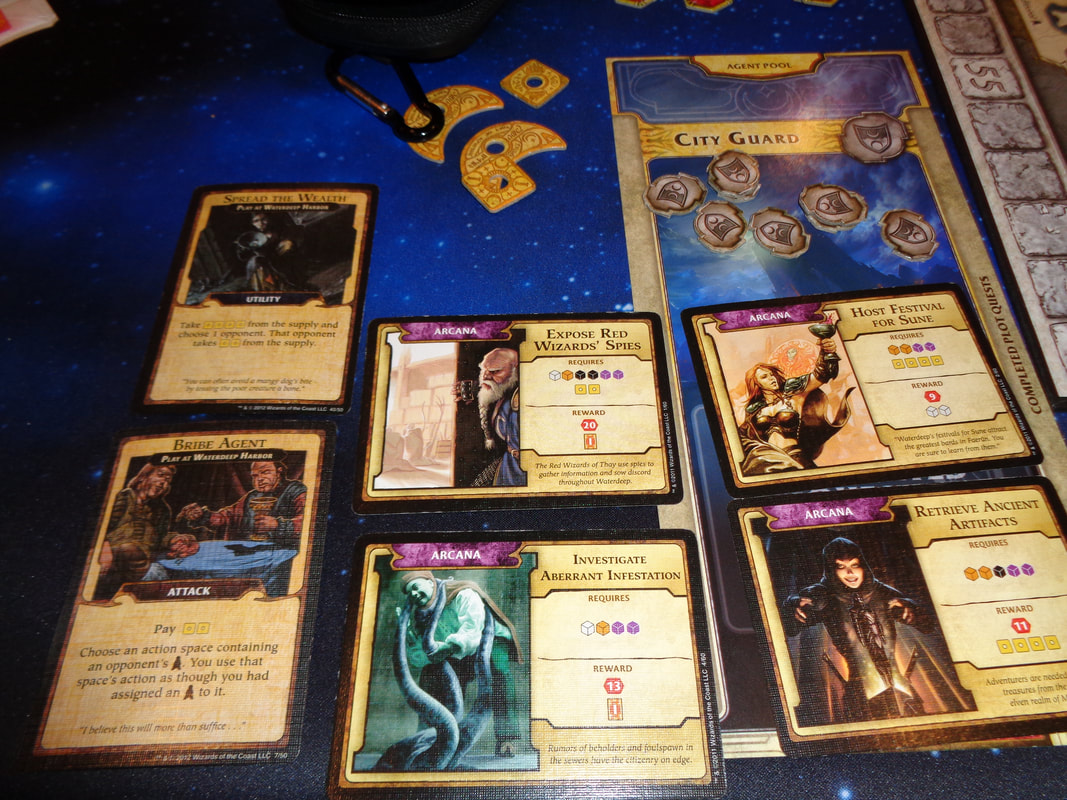
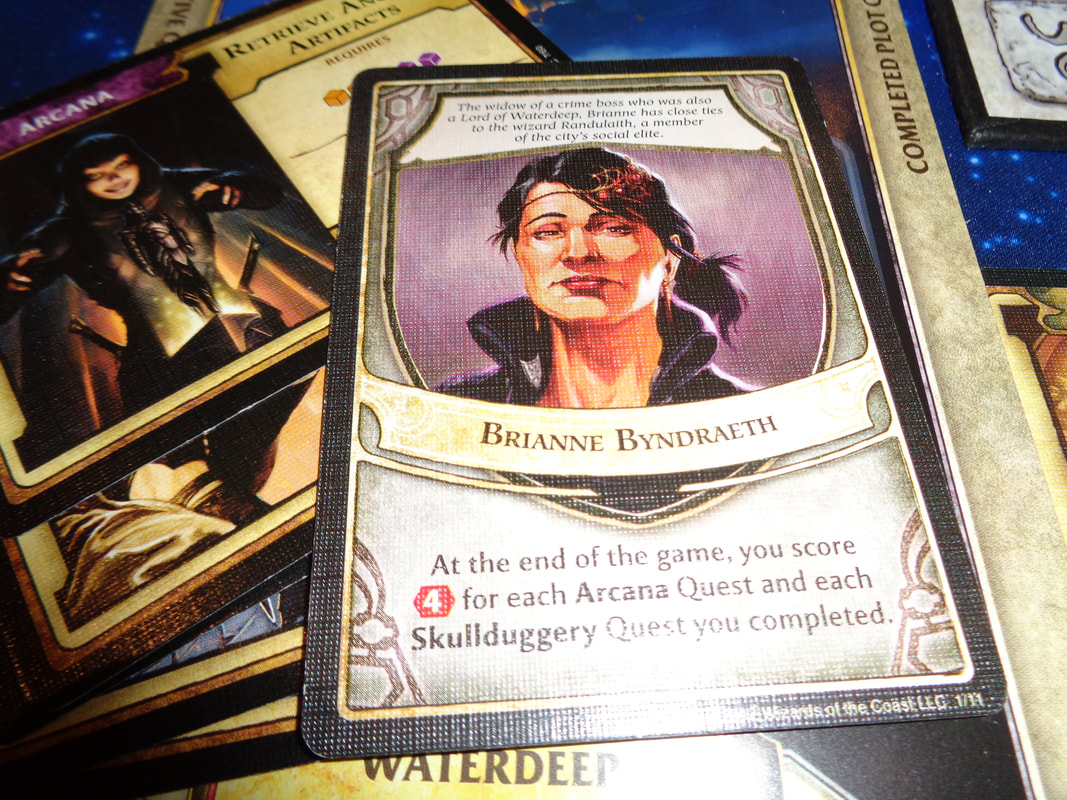
There's a lot of excellent art throughout the game. I'm not sure if it's been created specifically for Lords of Waterdeep or sourced from the large amount of Forgotten Realms/D&D artwork that's been produced over the decades but either way, it's good quality and generously used on all the game's cards. The other piece of significant artwork is the map on the board, it's very well detailed, although it does make the board look a little 'busy'. Regardless of this I still quite like it. The game does use a fair amount of iconography, for the vast majority of icons, it's pretty clear what they mean and there was minimal need to refer to the rules. How's it play? Setup
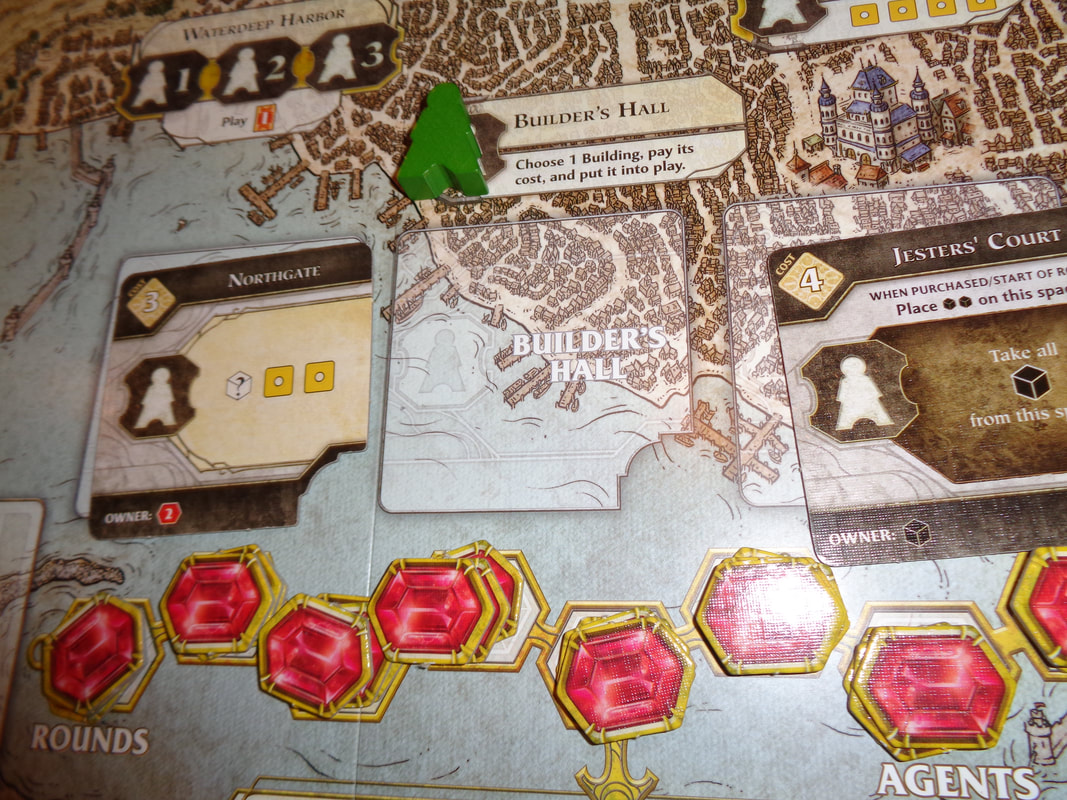
On to play Lords of Waterdeep uses the traditional turn structure with the active player taking an action and play progressing to their left. When someone is the active player, they can act in 2 phases. Firstly they must take their action, a player can only pass when they have no more agents to play. finally, the active player may complete a quest if possible.
Endgame The game ends at the end of the 8th round and goes to final scoring. VPs come from the follwing sources.
Points are tallied, highest score wins. Overall
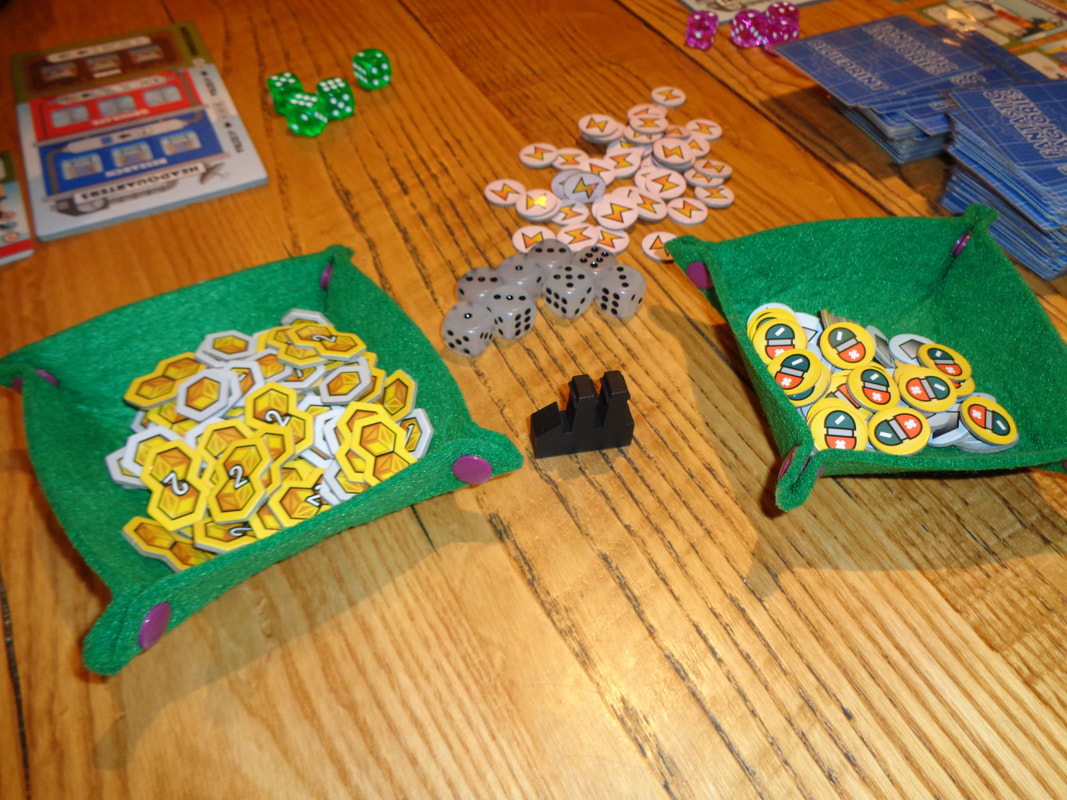
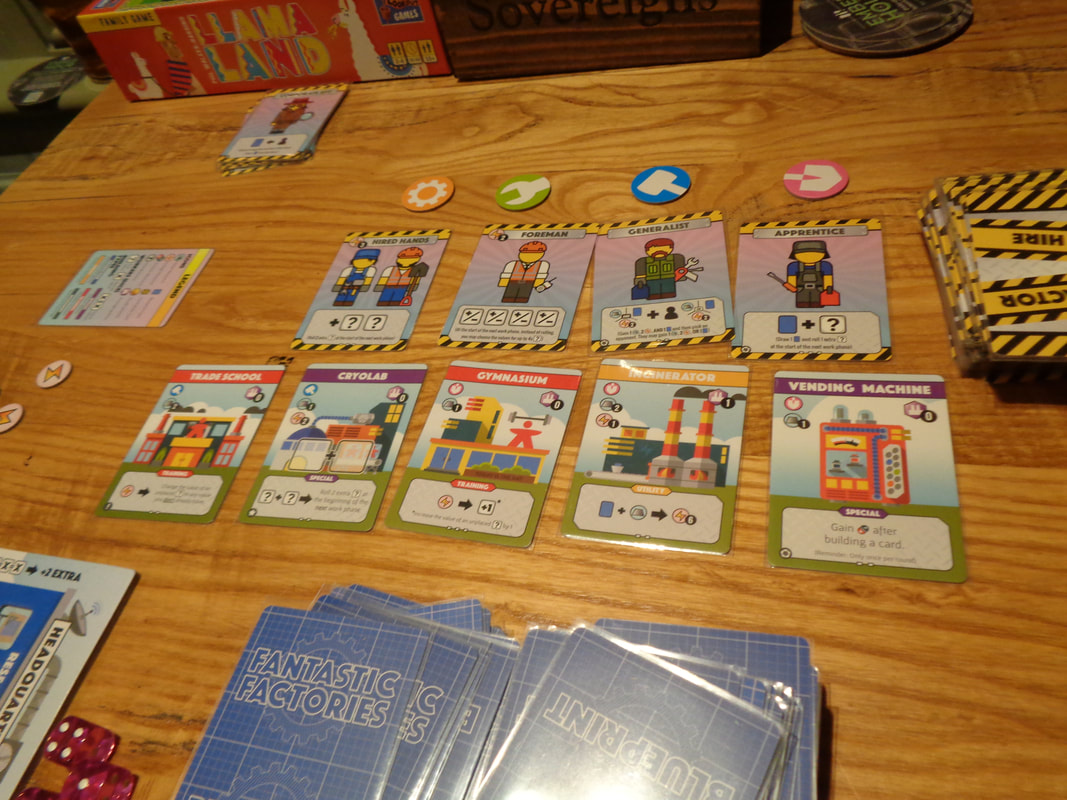
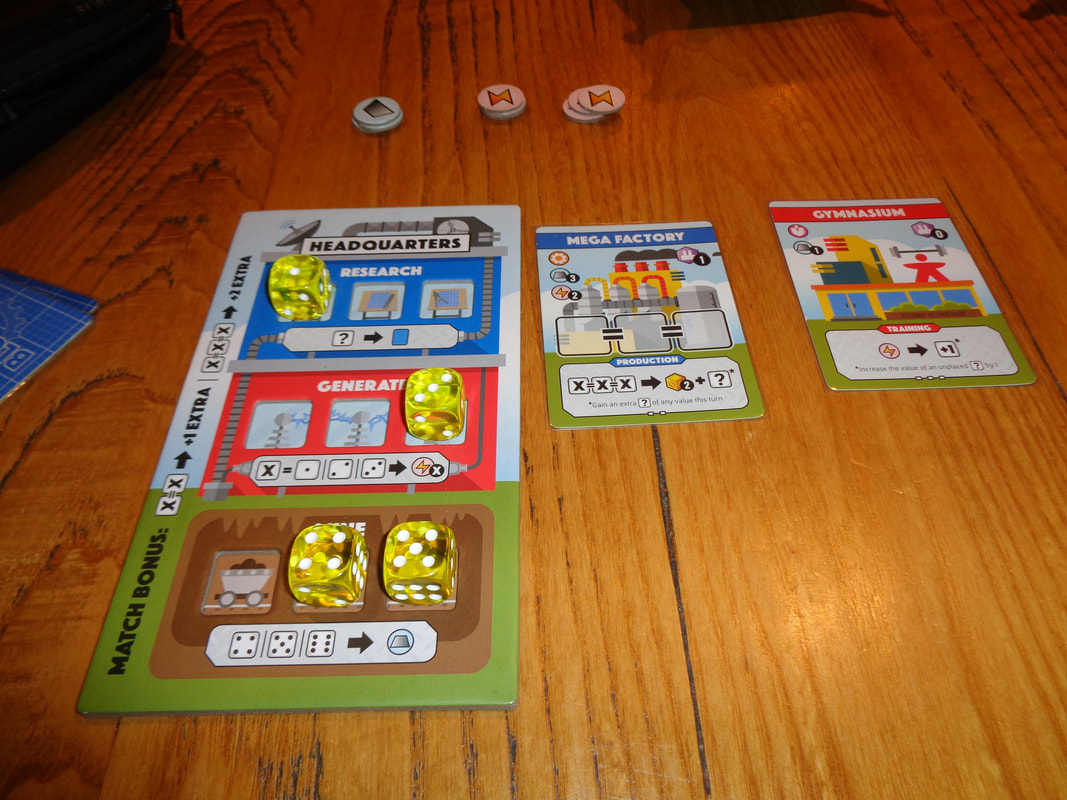
Now, I'm by no means whatsoever particularly knowledgeable about the Forgotten Realms setting but it's quite impressive how Lords of Waterdeep manages to marry a worker placement game with the flavour of the setting, or at least a part of it that takes place in Waterdeep. It's not vital to the rules or gameplay but conversely, neither is it jarring or hindering. The game is all about optimising actions to gain required resources as efficiently as possible to complete quests which must also be acquired while at the same time trying to predict and out manoeuvre other players: Most of the locations that confer resources will only have space for a single worker, making it unlikely that players will get all the resources they want in a single round, prioritising is very important because completing quests is very important, not only do quests provide VPs, they can confer useful benefits as well. This ties in with the Lord cards which are essentially secret objectives. Not only may players be competing for certain quest types and their respective resources, there's also a higher level of play where resources and quests can be denied to other players, provided their objectives can be guessed of course. The advanced buildings is an interesting proposition, it adds an element of emergent strategy to the game, changing the status quo, giving players new options and making them re-asses their plans. Constructing a useful building also has the benefit of earning the builder its bonus and inevitably, it'll be used by other players. There's not much else to say really, the gameplay is solid if somewhat unremarkable; players of worker placements games will find themselves on familiar ground here which may or may not be good thing - depending on your mileage. Perhaps the playing time is a touch too long for what it is but none of this stops Lords of Waterdeep from ultimately being an enjoyable game. If the Forgotten Realms setting doesn't put you off for some reason and you want to try a worker placement game, then Lords of Waterdeep is probably worth a look. 8th February 2022 Tuesday night games with the Woking Gaming Club at The Sovereigns continued with Fantastic Factories. I don't know if factories are fantastic but I guess we're going to find out. What's in a game?
From an art perspective, the game makes good use of cheerfully bright colours. The art itself uses heavily stylised illustrations of both factories and contractors which is fine and suits the game's slightly light-hearted theme. When built, factories provide a varied amount of special actions, consequently the game makes use of quite a varied amount of iconography. For the most part it's straightforward, however, on occasion 2 cards may seem similar but they'll be a small difference between denominated by a single small icon or sometimes they'll just be something I wouldn't say it's any kind of a gamebreaker or that there's too much iconography but for a few turns players will probably end up referring to the rules. How's it play? Setup
On to play Broadly speaking, a round is broken into 2 phases; a market phase which occurs in turn order and a work phase, which can be performed simultaneously by all players.
Endgame Play continues until either a player has built their 10th card or acquired their 12th good. In either case, the current round ends and 1 more round is played. Players then total the VPs from their buildings and the goods they gained. Points are tallied, highest score wins. Overall
On a basic level, Fantastic Factories is mechanically pretty straightforward; acquire blueprints, acquire resources to build factories, use factories to acquire resources. It's a mid-weight engine building game that provides players with strong card synergy and offers a good selection of choices and avenues to follow for building that engine. I feel for the most part that players will want to focus on blueprints and building them, which is natural as this is what gets resources and VPs. Players shouldn't neglect the contractors who provide instant if transitory benefits for a relatively low cost. Applied at the right time, they can be game changers - provided they're available at the right time! Once again, it's a case of reacting to opportunities as they are revealed. There are a couple of there elements that make Fantastic Factories interesting. Firstly; dice rolling. Players will never be guaranteed getting the results and thus the resources they want. It means that players may not be able to build the card they originally wanted to and will need to adapt and react to the situation as it arises for optimal play. Of course it's always possible to play it safe and have all the required resources before getting a card, it's safer but it's also slower. Secondly; Fantastic Factories makes use of a hand-as currency mechanic. This forces players to think ahead, players may need to get blueprint cards just to discard for another building, or may be forced to discard a blueprint they still want in order to build another, it can be a tough decision. There's also some high level play, where it pays to watch what other players are working towards then wipe the marketplace to deny another a player a card they want. Fantastic Factories is a well balanced game, it's rules aren't particularly complicated and are easy to learn but also have depth that comes from recognising how to exploit the available cards that appear during the game to build their engine optimally and to maximum efficiency. The gameplay is solid and will appeal to fans of engine building games, which I am. so I guess factories can be fantastic! 28th January 2022 It's Friday evening and we're round Simon's for a night of gaming. The game of the night was Apollo. Houston.... we've had a game here. One small step for gaming and errr, umm... one cooperative game for gamers? Anyway, enough of the bad jokes. What's in a game? Apollo is an symmetrical cooperative game where 1 player take on the role of mission control and the other players take on the role of astronauts on the titular mission.
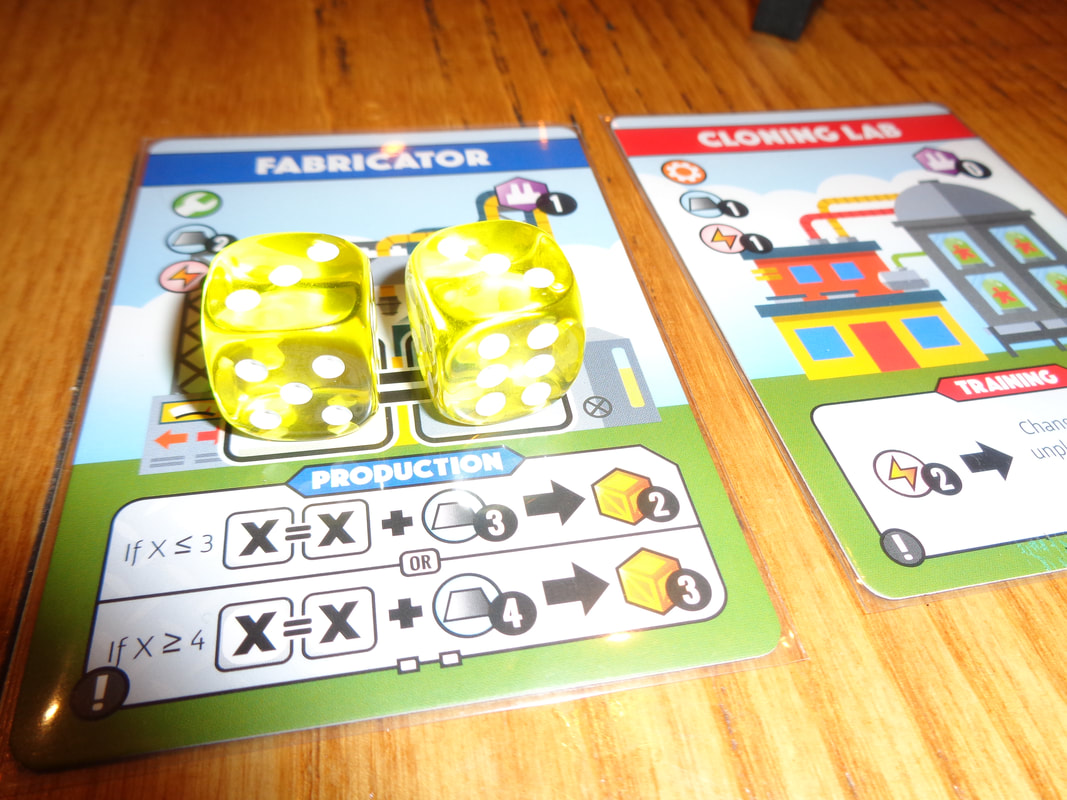
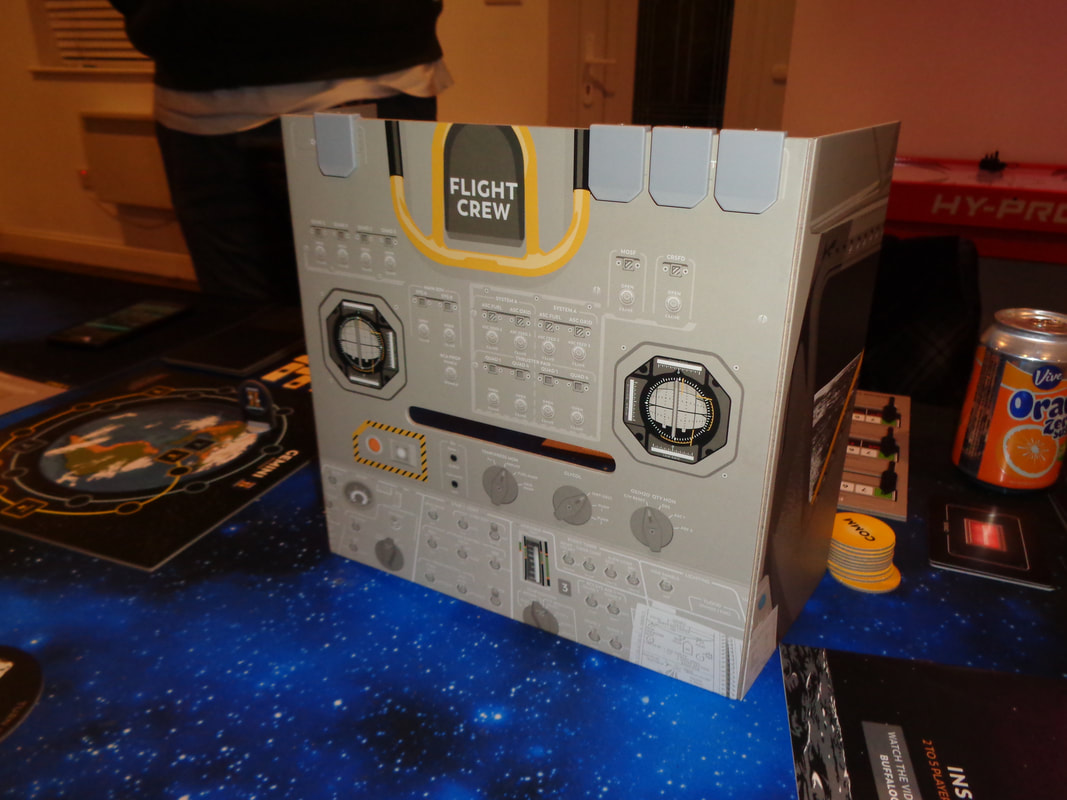
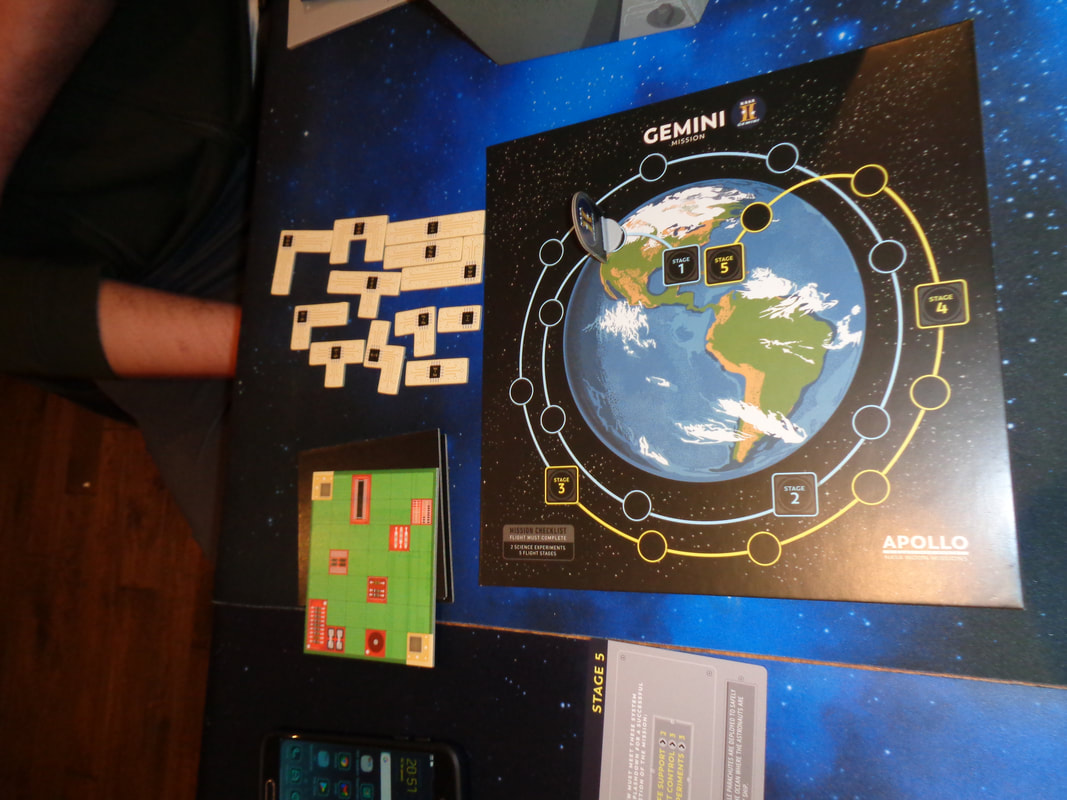
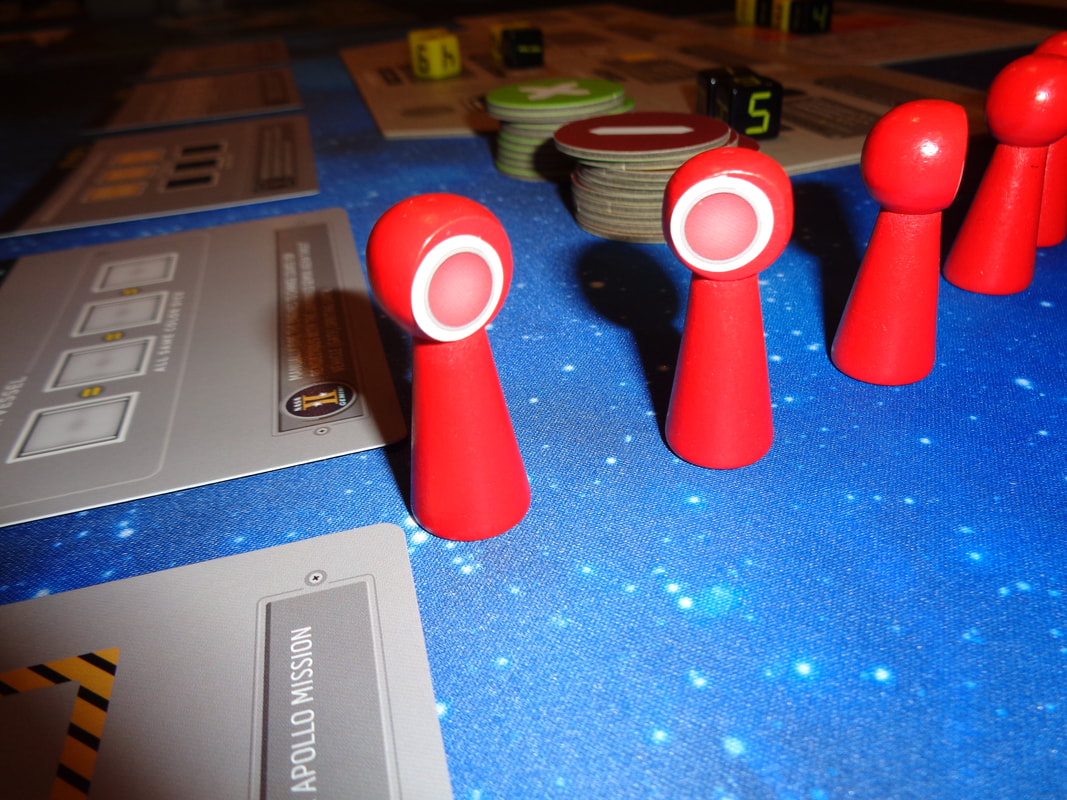
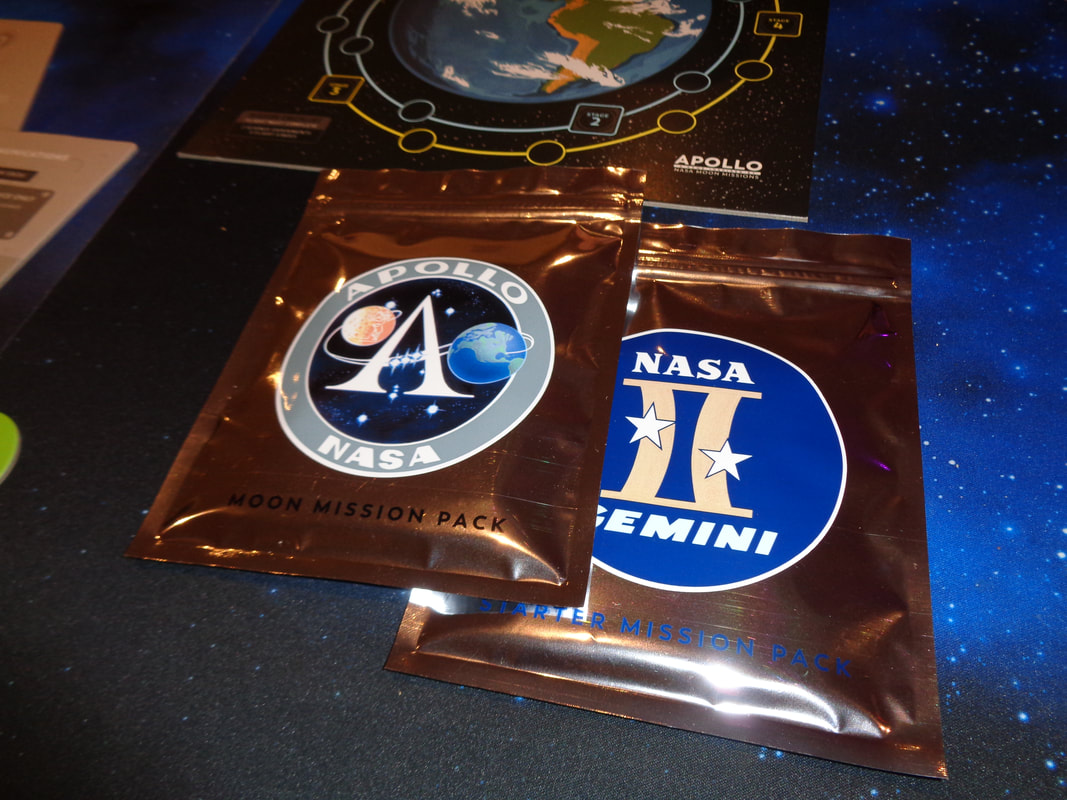
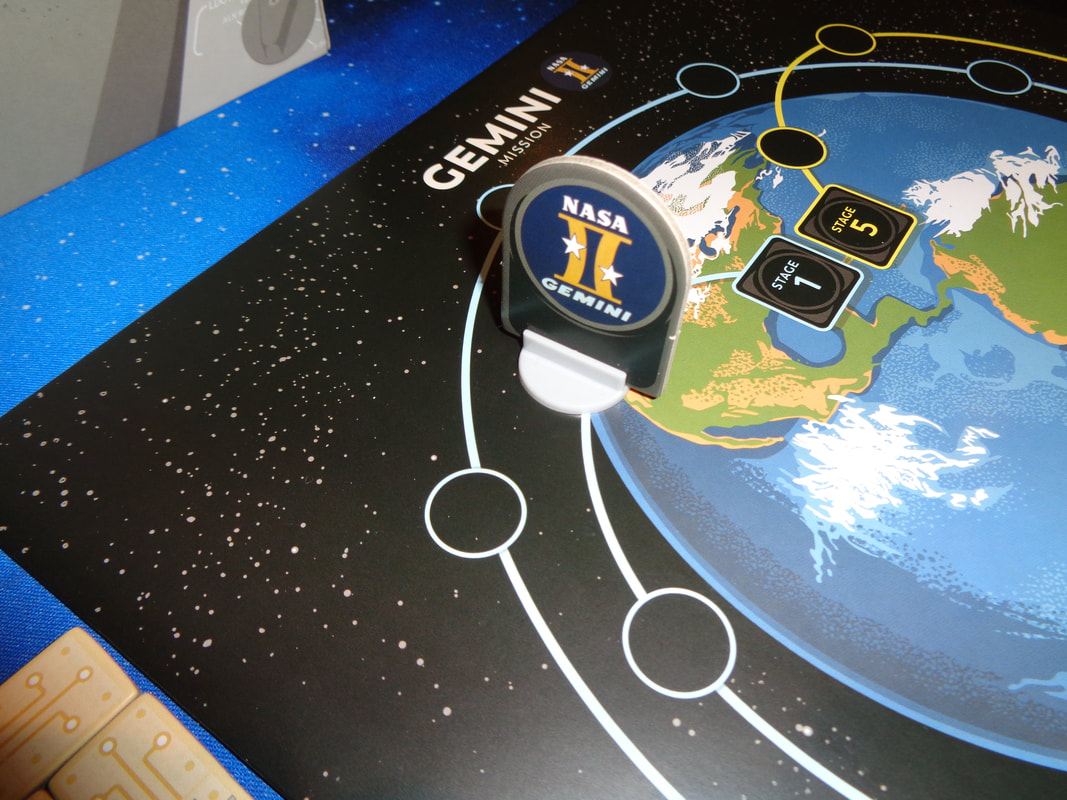
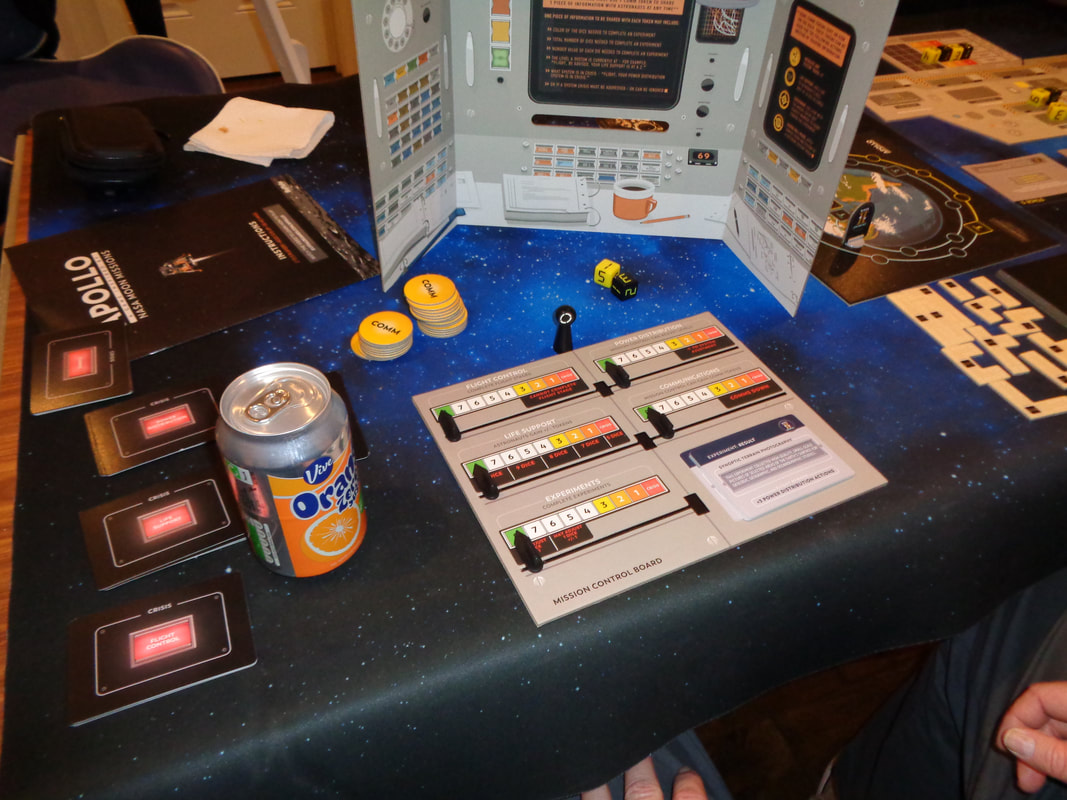
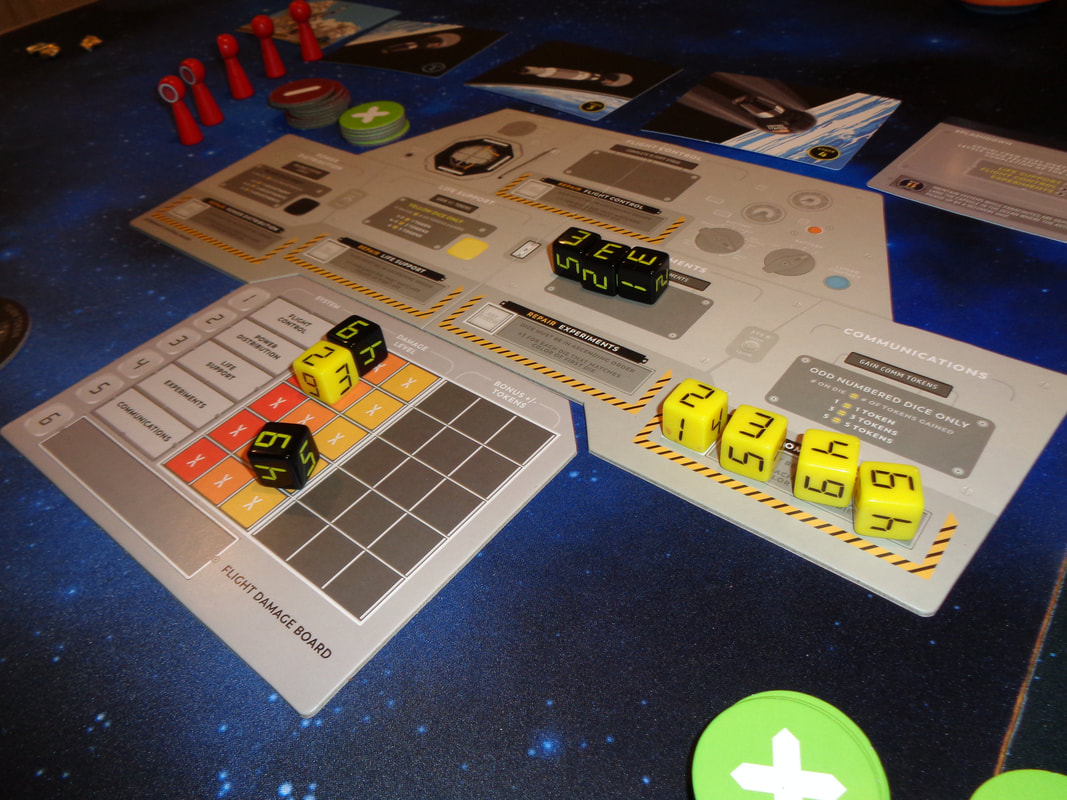
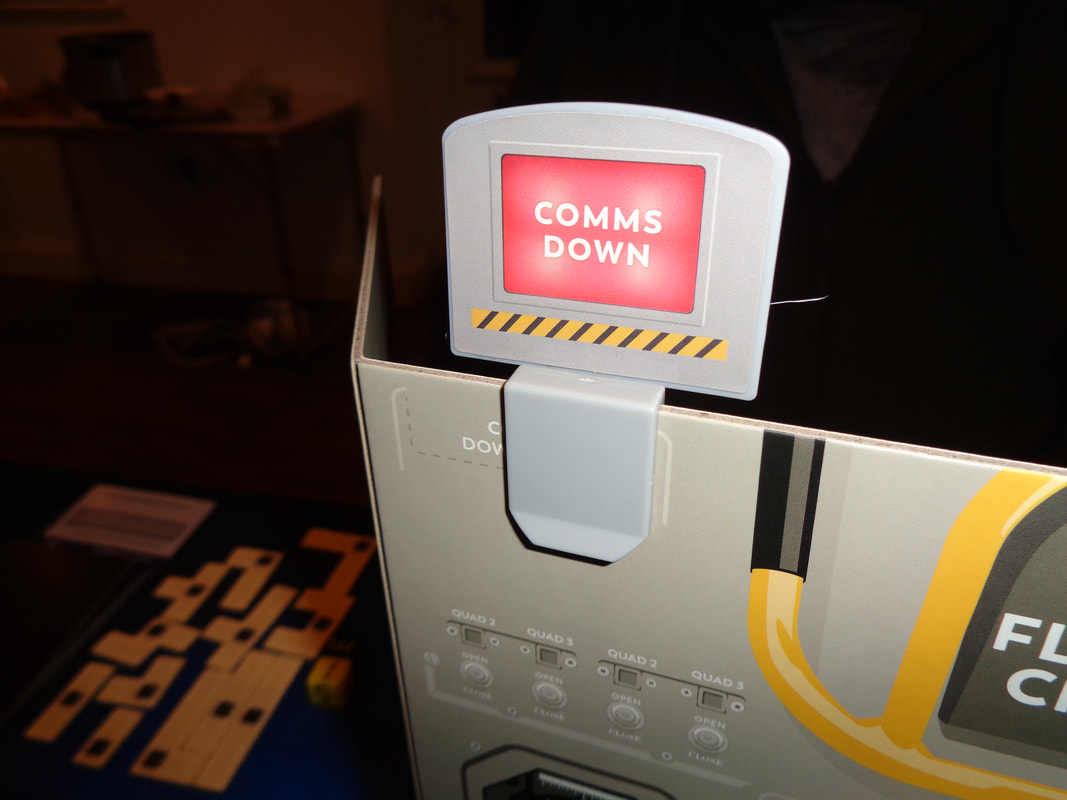
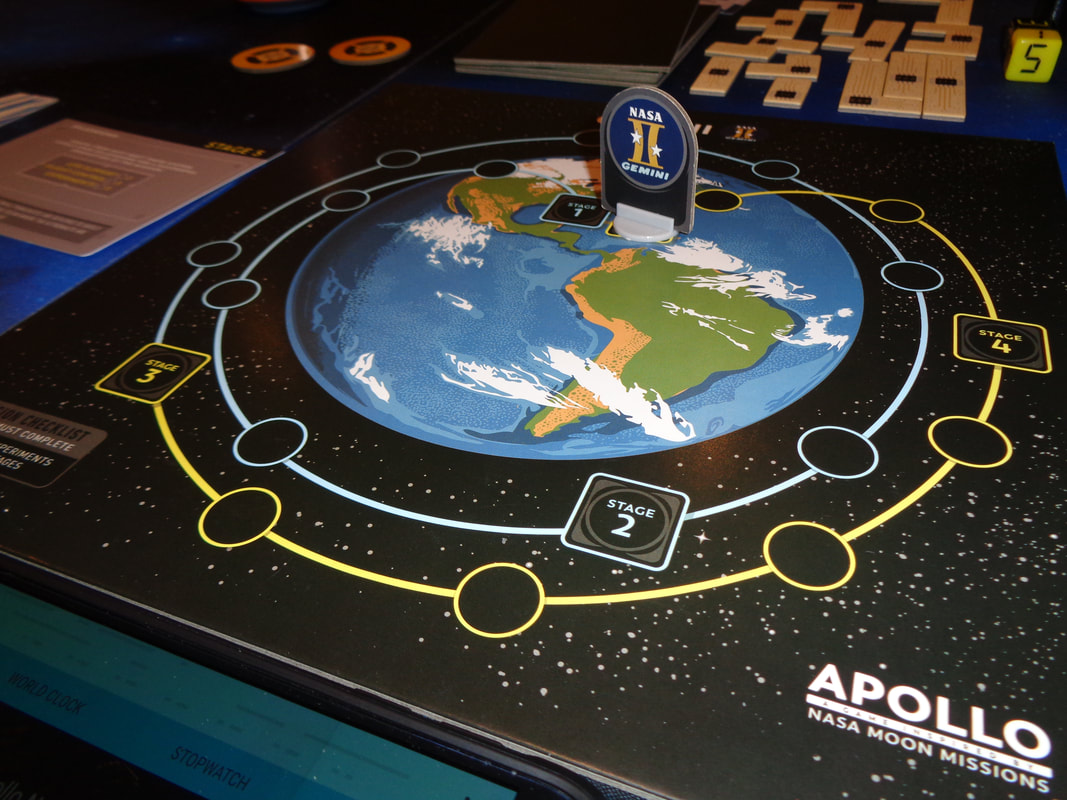
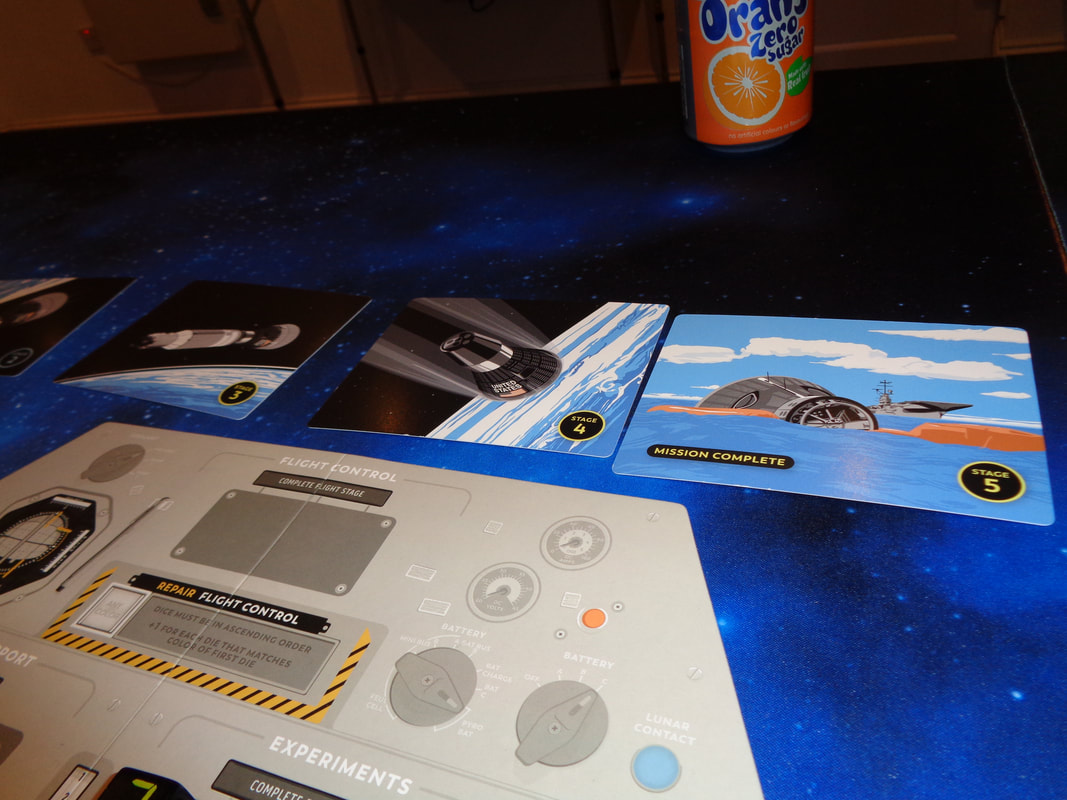
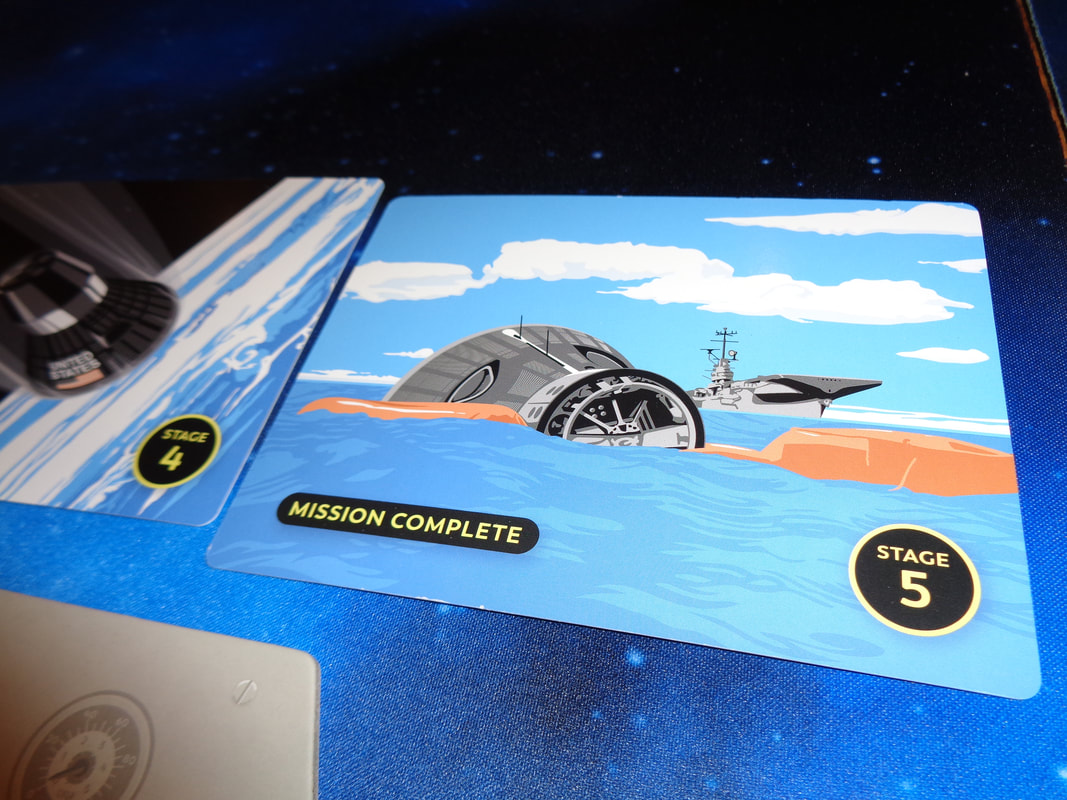
The boards, tokens and player screen are all constructed of suitability thick card. While the dice are not wooden, they use a old school LCD numeric font for the numbers which is pretty cool, as are the pouches to store the mission cards. The astronaut board and particularly the player screen feature very well themed artwork that calls back to sixties computer tech. The art on the astronaut board displays various dials and buttons is perhaps a little sparse but is also clean and doesn't interfere with the game element. Most of the player screen is decorated with evocative artwork of of what I imagine is module controls, the inside has some game information but the rest is an illustration of what mission control might look like. Dig the cup of coffee! The art that depicts the Earth and the Moon is perfectly fine, they look like what they're meant to. Finally, the flight stage cards are double-sided and as each one is completed, it's flipped over to show an illustration of that actual stage, which is a nice touch. The game features little in the way of dedicated iconography, all the information is presented clear terms and is easy to comprehend. How's it play? Setup Since Apollo is a asymmetrical game, it has a asymmetrical setup.
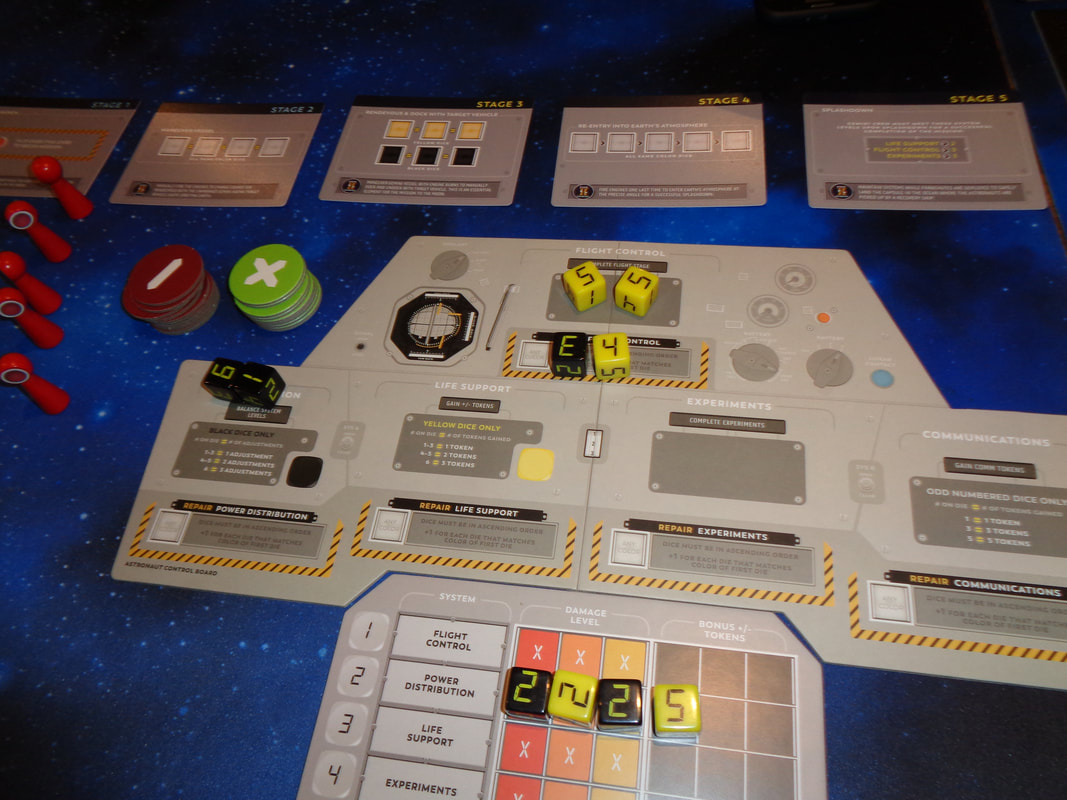
On to play Apollo is played over a number of rounds, each round has its setup and then is played over a number of turns. To make matters worse, Apollo is played in real time and each round only lasts 4 minutes.
What are these actions and how do they work?
Endgame During play, if the module passes a flight stage space on the board without completing its requisite task or the flight control rating is lower then 4, then the mission immediately fails. If the module reaches splashdown without completing the required number of experiments, then the mission fails. However, if all the flight stages and experiments are completed, then mission is a success and the players win the game. Overall
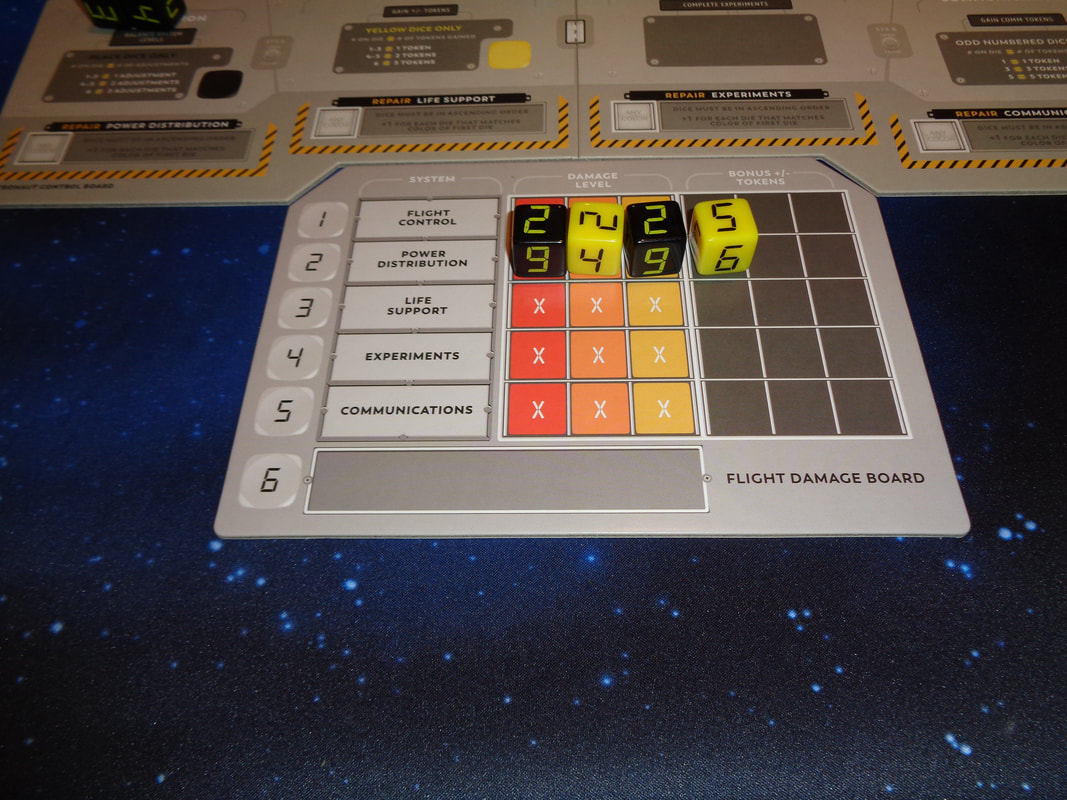
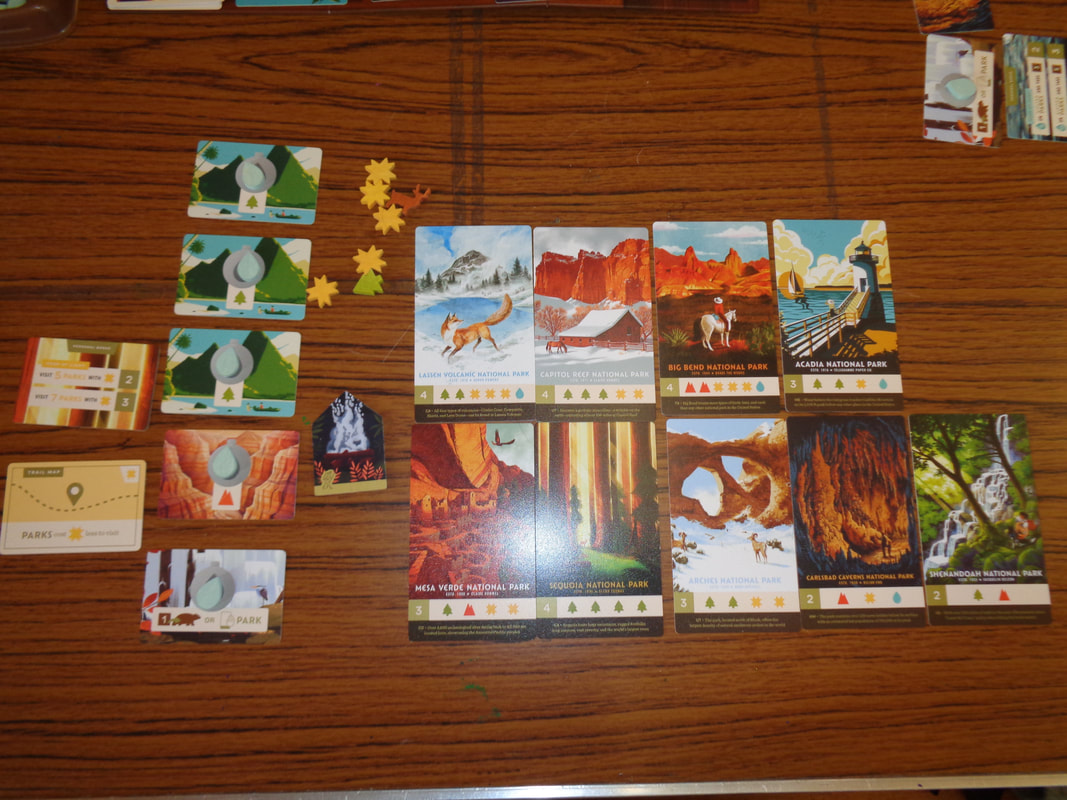
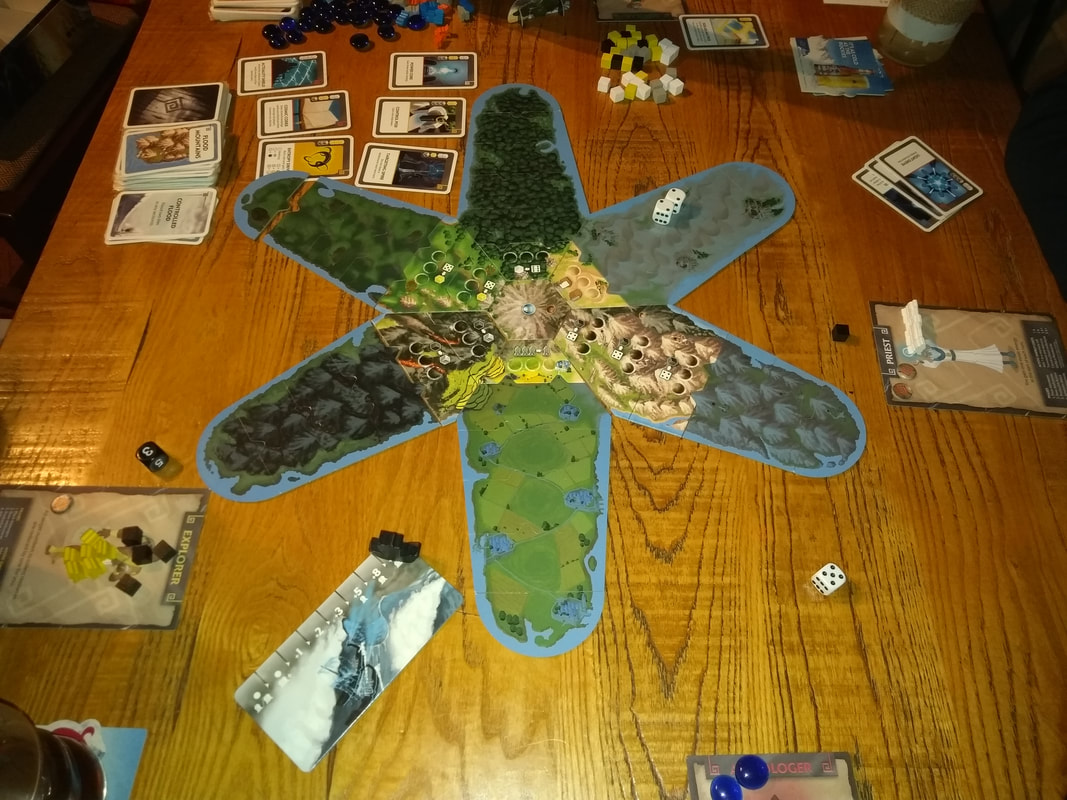
The rules for Apollo sound quite clunky in writing but in actual play, they felt straightforward and once players begin performing actions, it becomes quite understandable. I wouldn't call it a crossover game but I imagine that it would be easy to pick up. Apollo is quite unusual, being an asymmetrical cooperative game and I think it fits its theme quite well too. Having that slight disconnect between mission control and the astronauts somehow lends the game a greater sense of teamwork. Astronauts having to rely on mission control to get information and mission control having to rely on the astronauts to get comms tokens and to be able to make changes to systems means players have to work together. It's definitely a bit different to the typical cooperative game where players are cooperating but generally sort of off doing their own thing. Another noticeable and welcome difference is how there's no characters running round a global board trying to stop the spread of something here. During the game, players will be, broadly speaking, faced with 3 types of obstacle; successfully completing flight stages, successfully completing experiments and firefighting damage that occurs during the flight. There's a real need to strike a balance between these 3 priorities and players will also have to approach this as efficiently as possible, the flight module moves along the board after every turn and is in essence another countdown timer. It means planning for the known variables of the flight stages, somewhat knowable experiments and also reacting and adapting to unpredictable damage inflicted on the command module and there will be damage! There are 15 damage spaces on the flight damage board and only 10 dice to cover them, that means at least 5 damage to the systems every round. Being a cooperative game, Apollo uses the luck or specifically the bad luck that arises from rolling those dice to challenge players. The game also features a time limit in the form of a 4 minute timer: On paper this might not seem like much time but in play it's perhaps a little overgenerous. 4 minutes to assign 10 dice works out to be 240 seconds for 10 dice or 24 seconds per die, which we did not find much of an issue. We played the Gemini mission board a couple of times and it didn't present too much challenge for us, there were a definite couple hiccups and dicey (sic) moments but otherwise it was pretty much plain sailing or more accurately, plain err.... orbiting? Mission control never had to reach for the puzzle boards. However, we are a fairly experienced band of players and maybe for once, the luck went our way this time. We didn't get round to playing the Apollo mission board which is probably where the meat of the game lies and certainly looks more challenging, so I'm reserving judgement on the game's difficulty. I'm not certain about the game's replay-ability either, it wasn't boring but at the same time felt a little samey, players are ultimately just assigning dice to tasks, some of which may become quite familiar over multiple plays. Easy to learn with a reasonable play time and providing some interesting decisions to make, I'd say that Apollo is a good game to play every once in awhile and if cooperative games are your cup of tea, then it's definitely worth checking out this fresh take on cooperative gameplay. 15th January 2022 It's a Saturday and we're at the Bisley Scout Hall with the Woking Gaming Club for Wogglecon, for a day of gaming and hanging with with friends. There are a lot of national parks in the USA and you're about to hike a bunch of them in the first game of the day; Parks. What's in a game?
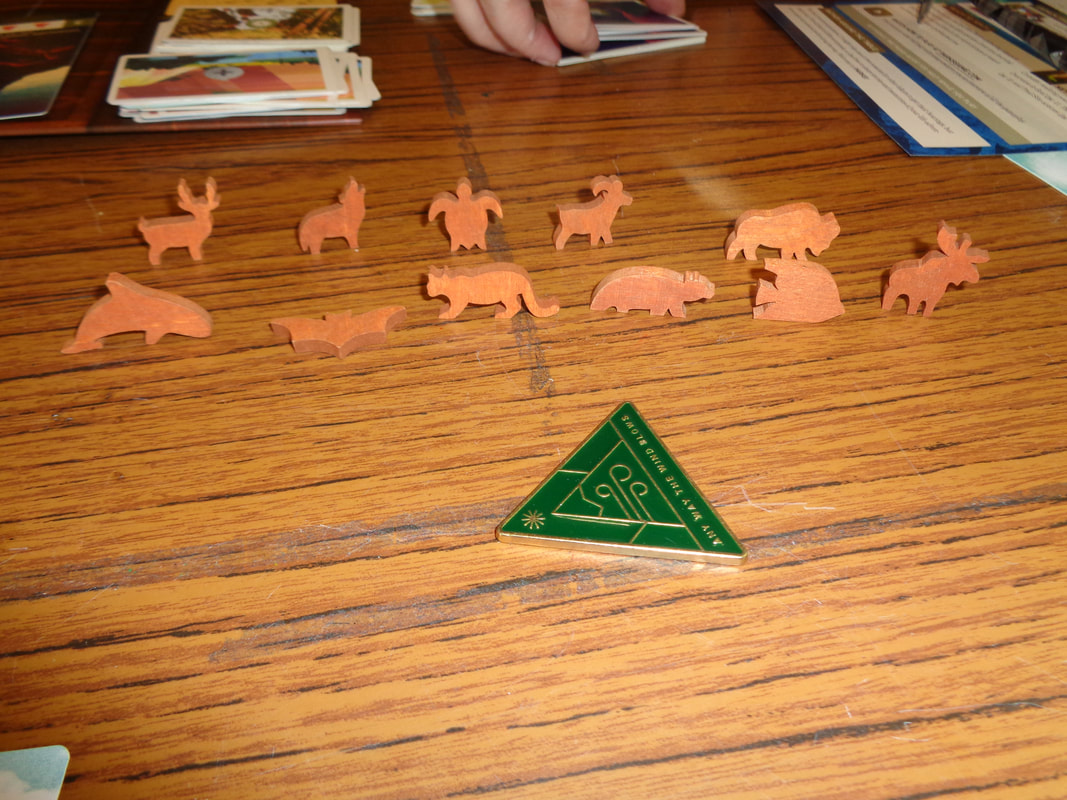
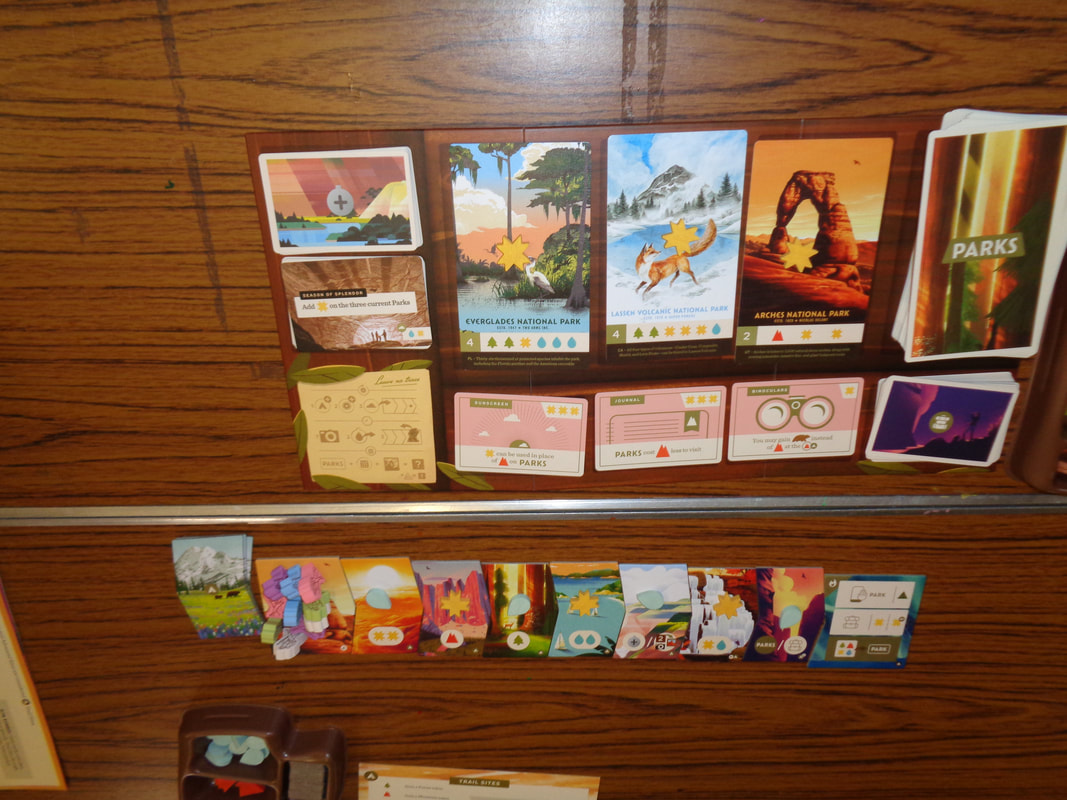
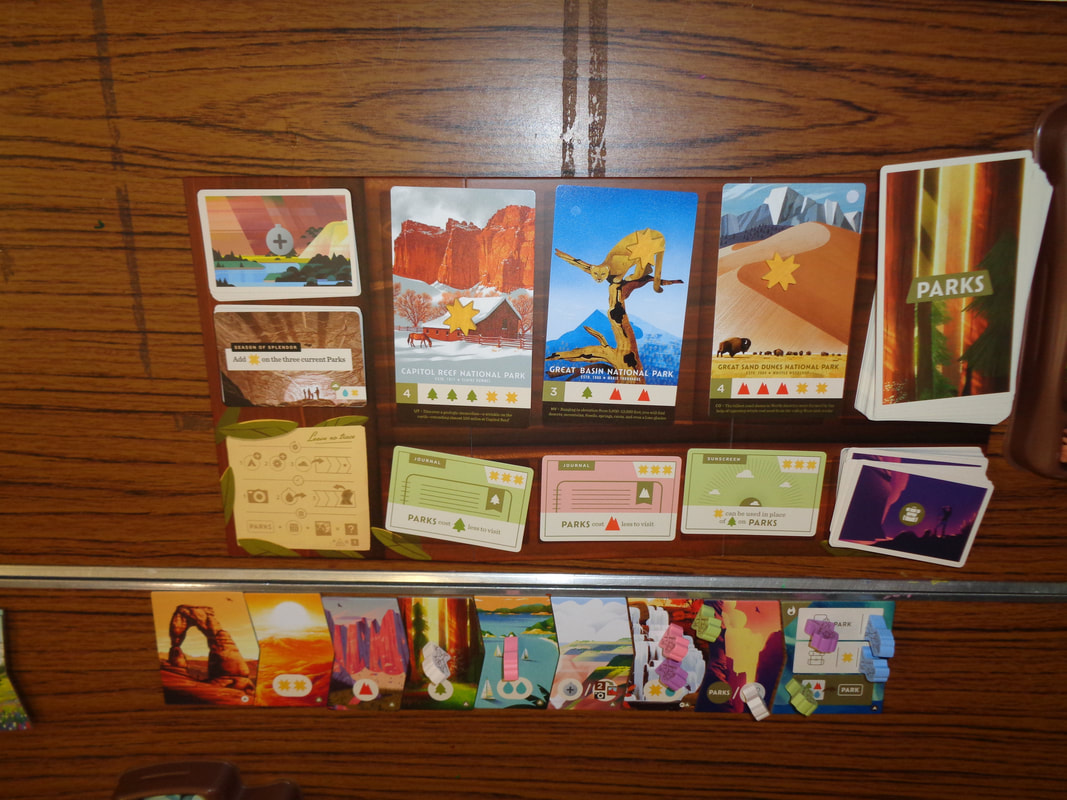
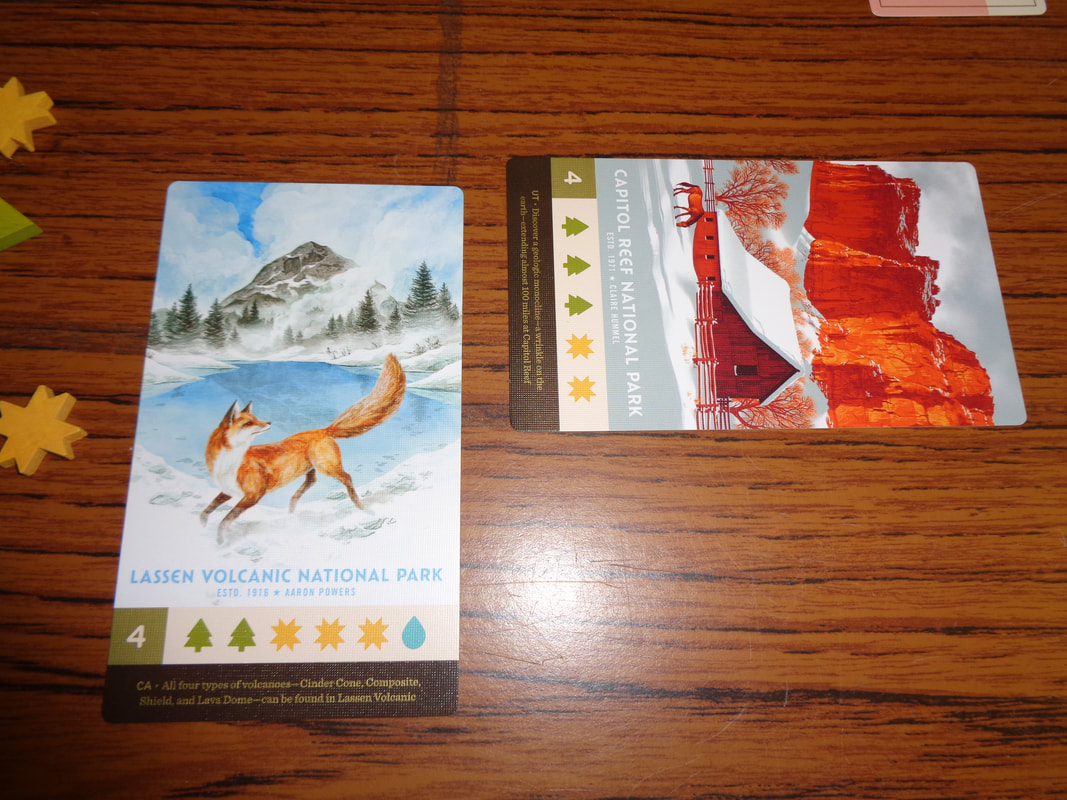
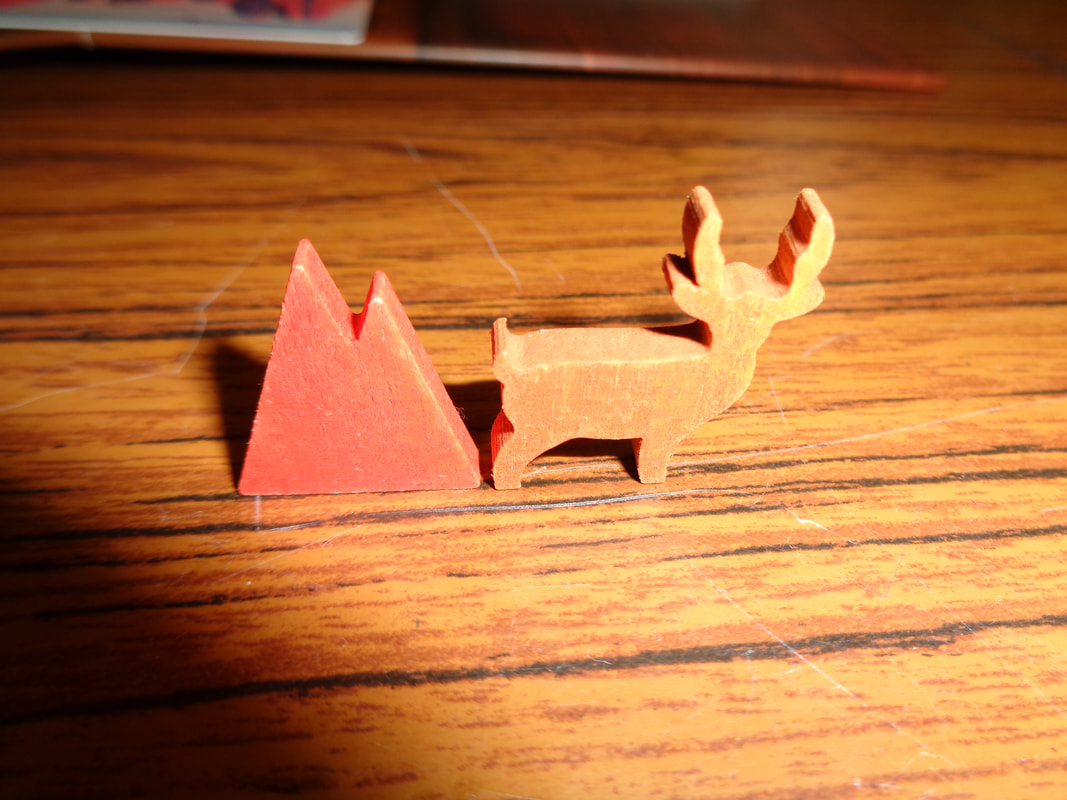
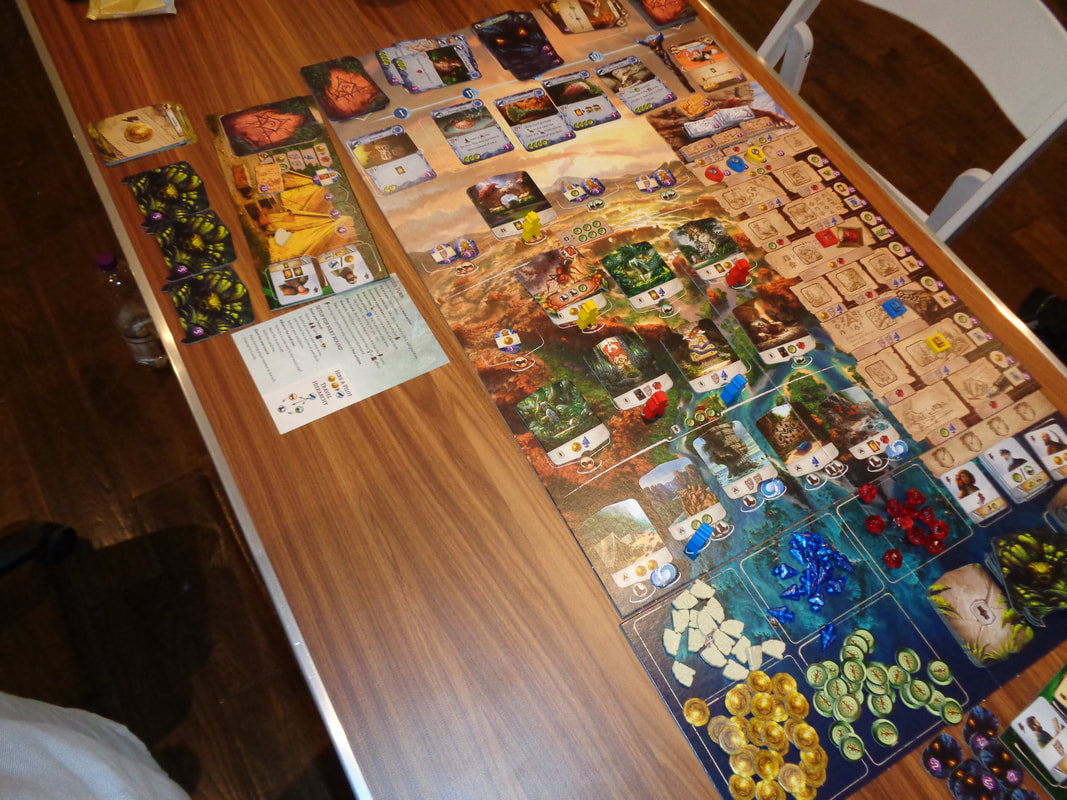
The quality of Park's components is universally high and it's obvious that a lot of care and attention has been put into the game, this extends even to the packaging and token trays. The cards are fine and the tiles are appropriately thick. The tokens are all wooden, well made and colourful, the individually shaped wildlife tokens are the standout here. Finally, the inclusion of a metal first player marker is pretty unusual but it has a satisfyingly weighty feel to it and is a cool addition. For nearly all of it's artwork, the game sources The Fifty Nine Parks Print Series which as the name suggests, is a project which consists of a picture of each American national park created by a different artist. Perhaps it could be argued that doing this saves on the art budget but honestly, it feels like a great collaboration. As a result the game features excellent and varied artwork throughout, all the park cards and photography tokens are uniquely illustrated, the art also features on all the card backs and even the inside of the box lid! Fantastic! Parks makes use of a fairly wide variety of iconography but for the most part it was easy to comprehend and presented no obstacle to the game. How's it play? Setup
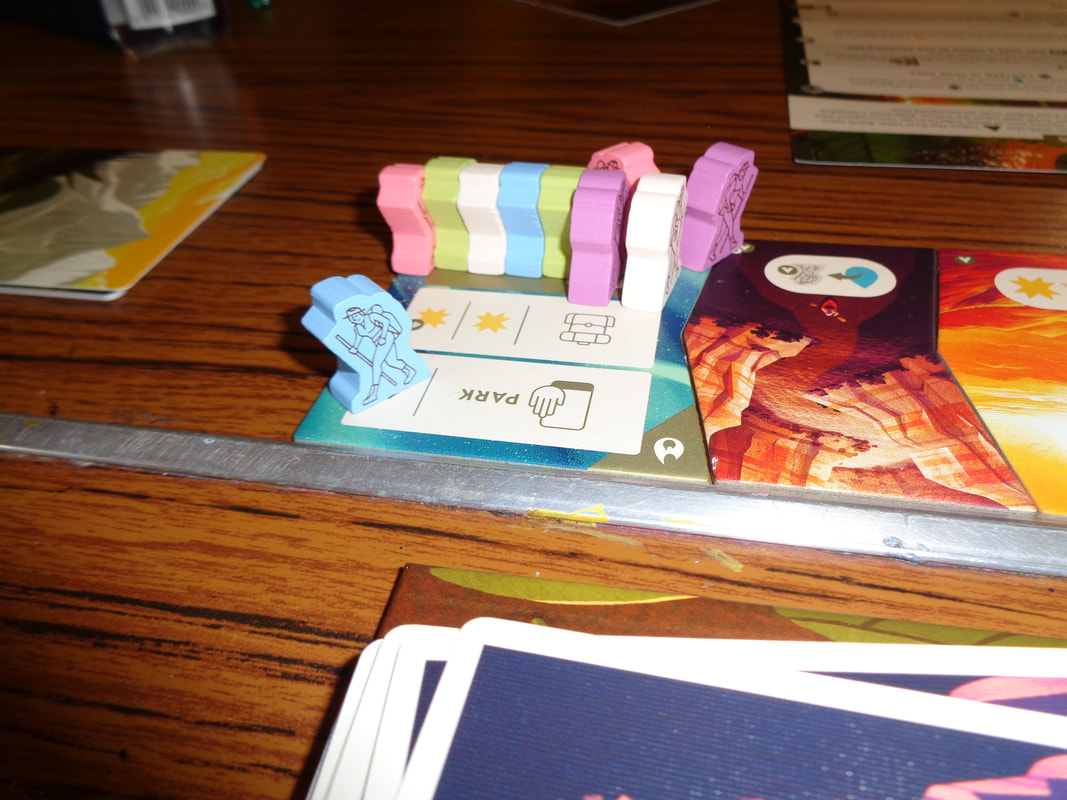
On to play Parks is played over 4 seasons during in which each the players' hikers travels along that season's trail from left to right.
Endgame Once the 4th season has been completed, the game ends. Players score points from the parks they've visited (Bought.), they also score a point for each photo they took and whoever has the first player token at the game end scores 1 point for it. Finally; players reveal their year cards, completing the objective on these usually scores 2-3 points. Points are tallied, highest score wins. Overall
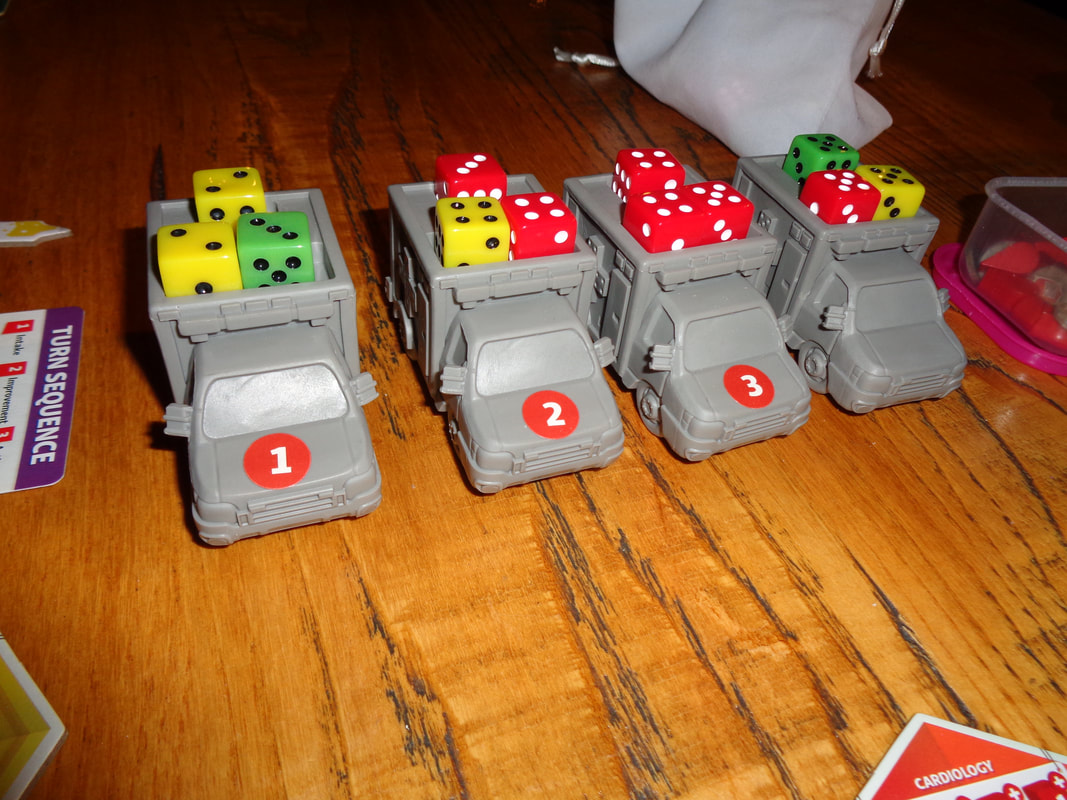
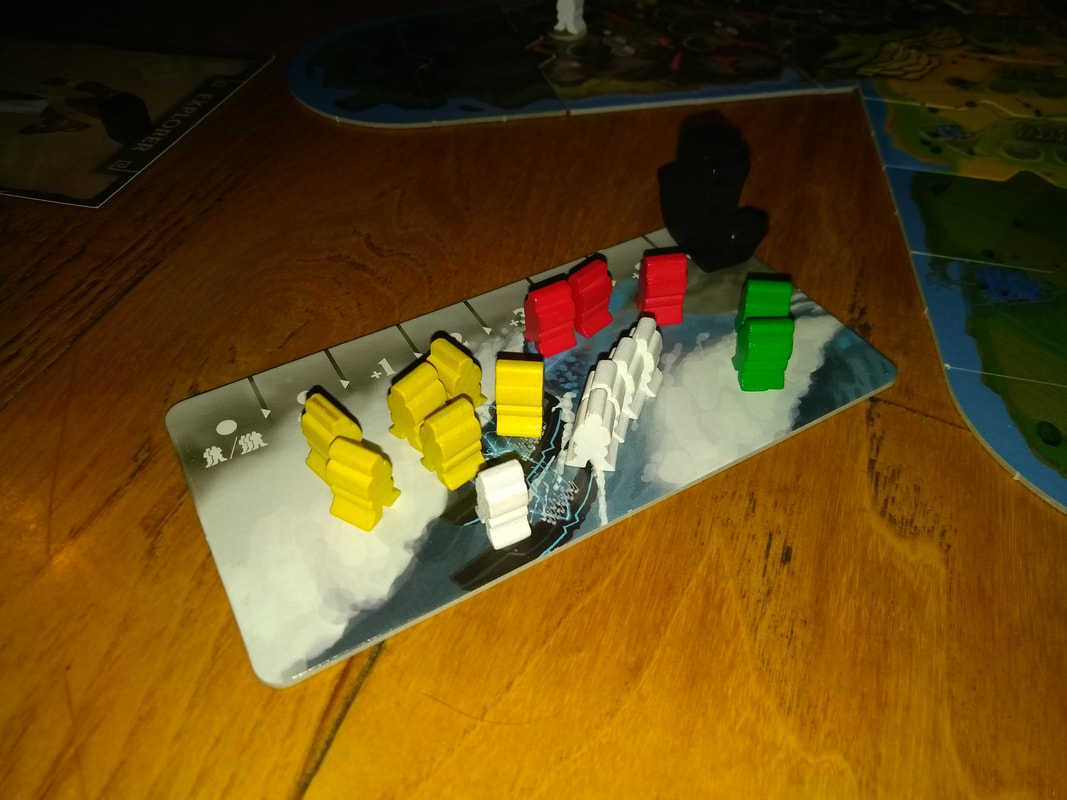
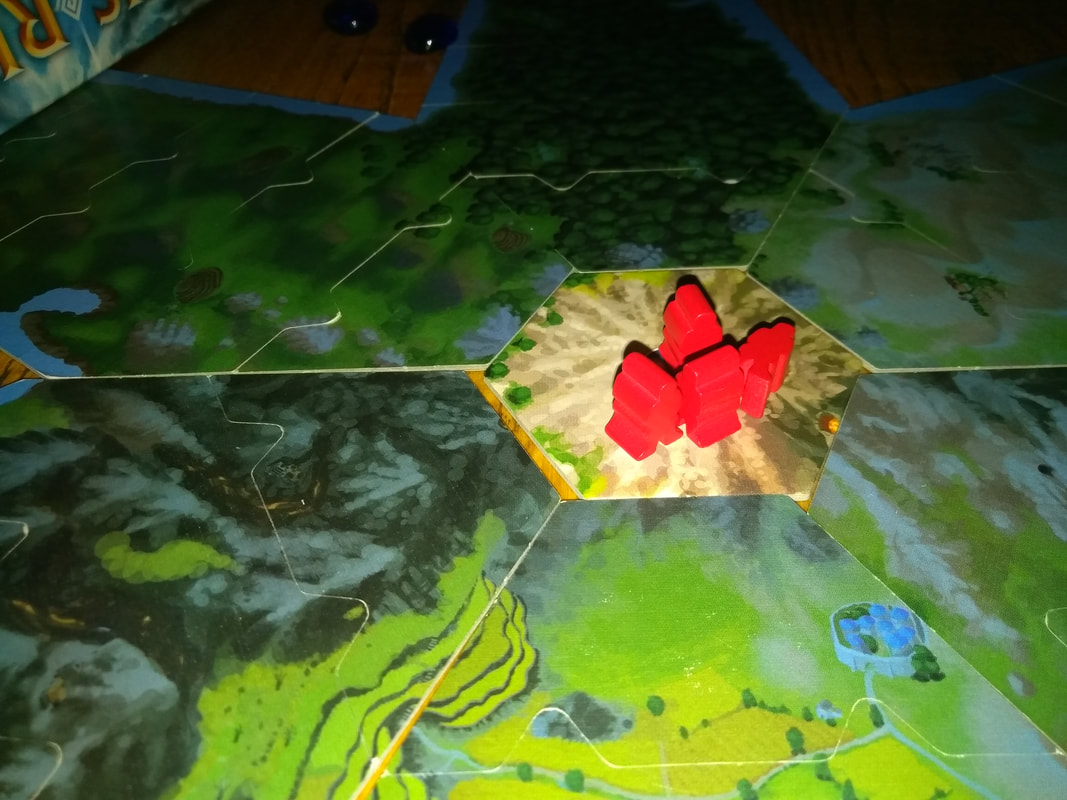
Parks is essentially a light worker placement game added where your 2 workers only ever head right combined with resource management. It's a game all about planning trips that means that it's about acquiring resources to buy park cards which generally provide the majority of VPs required to win the game. However, it is impossible to fully plan things out. Going from season to season, players will have a good idea what resources and tiles will be available but not where they will appear. It requires adaption and some creative thinking when faced with a different tile layout. Limiting the resources a player can own to 12 is an solid rule, it prevents players hording too much and splurging out big at once. It also makes players think about optimising their strategies. The initial urge in Parks is to travel as slowly as possible to collect as many resources as possible and in the early-game that's not a bad idea but sooner or later, players will need to use them up and that means visiting parks. Remember, players have only 2 hikers and that means they can only use the visit park action on the trail end twice per season (Provided they don't use any other actions on the tile.), this means that players have 8 opportunities to visit parks, yes; there's an advanced trail tile that allows extra buy actions but there's no guarantee where and when it'll appear. This brings me to the worker placement element of Parks. Each player can use their campfire a maximum of 2 times in a season, it means thinking carefully before moving on to a occupied tile, it also means trying to anticipate how other players will move and if necessary, getting there first! Or perhaps moving the other hiker so that whoever is occupying the tile you need may have moved by the following turn. Ultimately it means that players should look to optimise their moves, balance resource acquisition with card acquisition, players might well be competing for the same park card and watching a card you want being taken by another player because you tarried to collect an extra resource can be galling. Players will have the double-obstacle of reacting to both seasonal changes and the choices made by the other players. The game's rules are not over-complex but also provide a fair amount of depth. There's enough interaction between players to force you to pay attention to their choices . Decisions that players face are always meaningful and getting wrong could lose you out. Add to this the game's top notch thematically appropriate production values and you have a small package that delivers a big game. Having said that, it's not without a couple of drawbacks. Most significantly; the game experience can change notably with player count. A 3-player game will feel quite different to 5-player. The hiker count goes from 6 to 10, the tiles become a lot more crowded and it becomes more challenging to do what you want. While in games with 4 or more players an extra basic tile is added into the mix, it doesn't quite alleviate the increased clutter on the trail. Secondly, a 5-player game seems to last around 2 hours and that perhaps feels a little overlong. Parks doesn't outstay its welcome and it's not a game-breaker but it can feel a little long for what it is. Other than that, Parks is well presented, accessible and satisfying to play (At least when you get the park card you want!). It's definitely one that's worth trying. 30th December 2021 Thursday afternoon gaming on Board Game Arena continued with Dice Hospital. Doctor, doctor, please Oh, the mess I'm in Doctor, doctor, please Oh, the mess I'm in Mismanaging your hospital in Dice Hospital will definitely lead to a big mess! What's in a game?
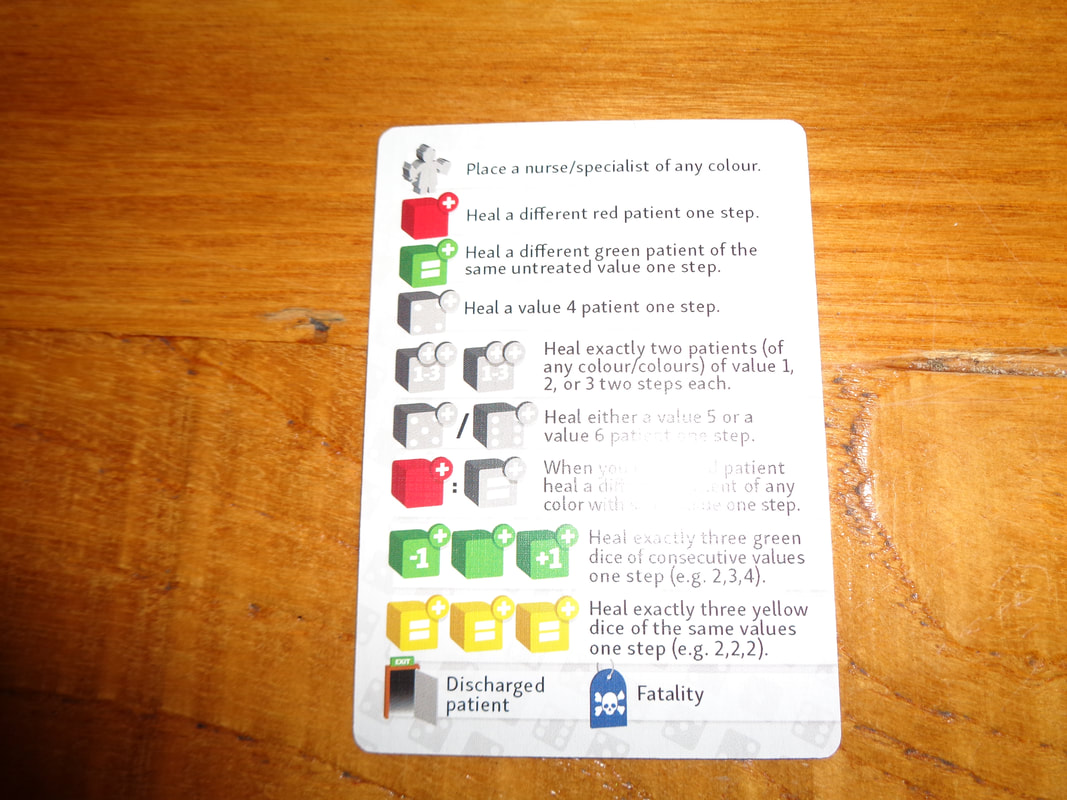
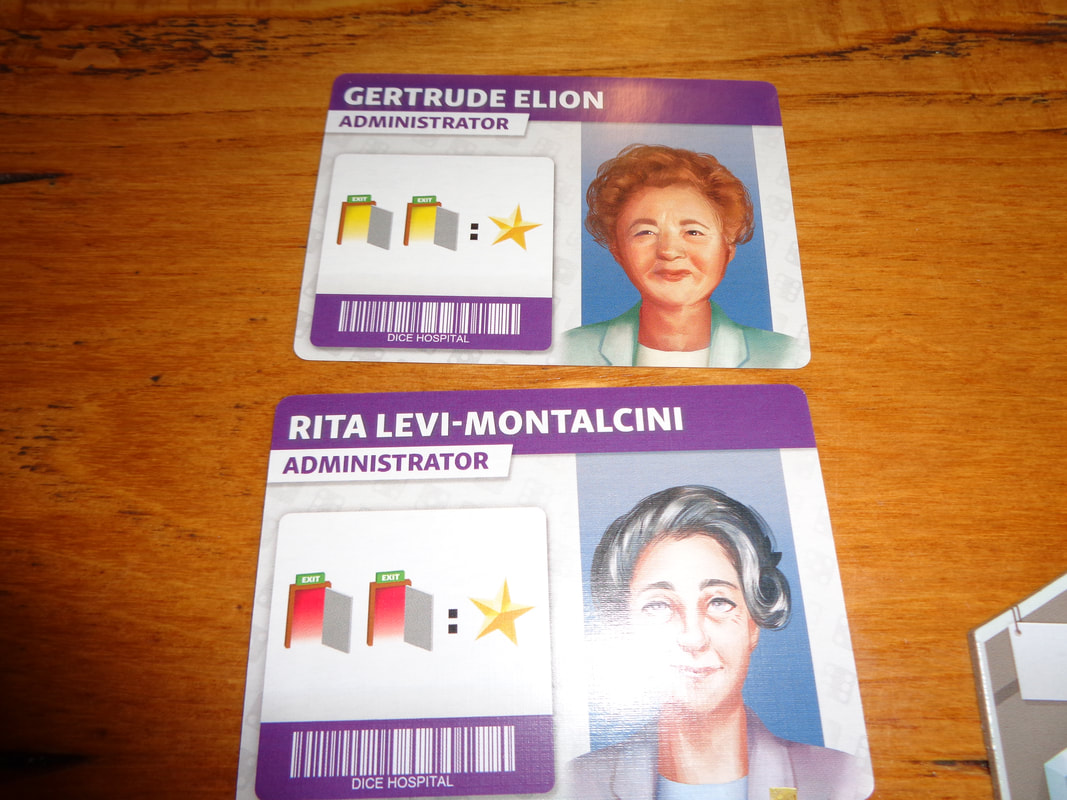
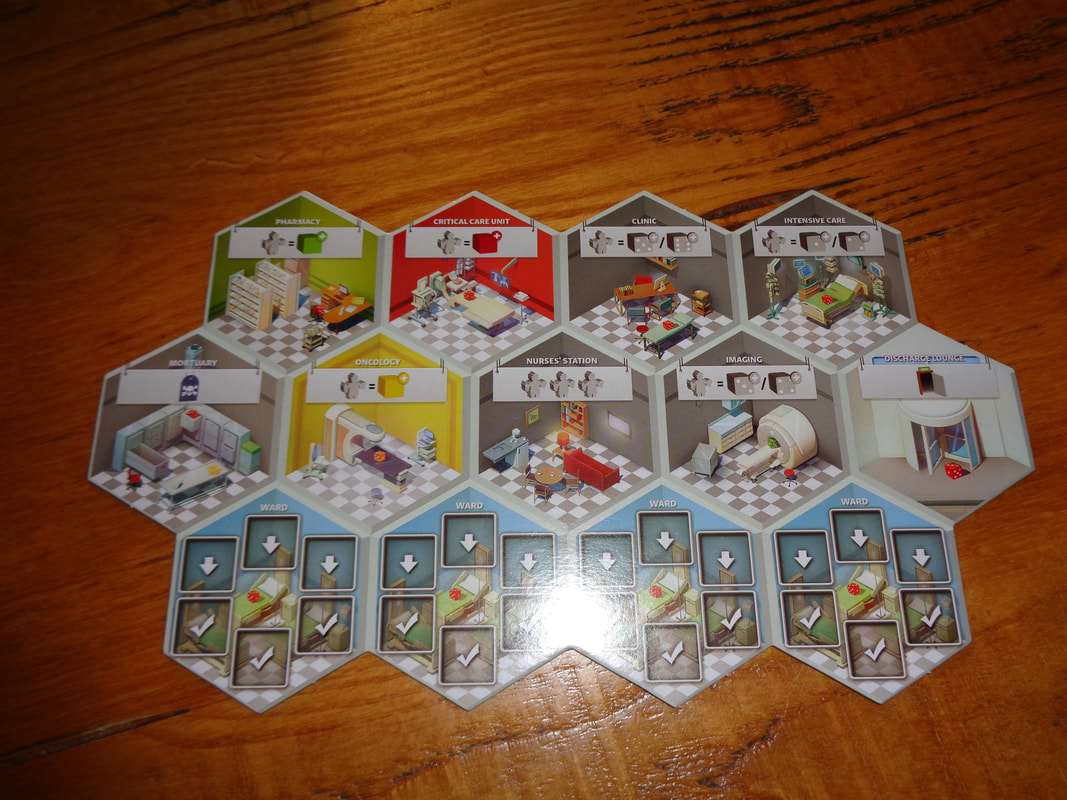
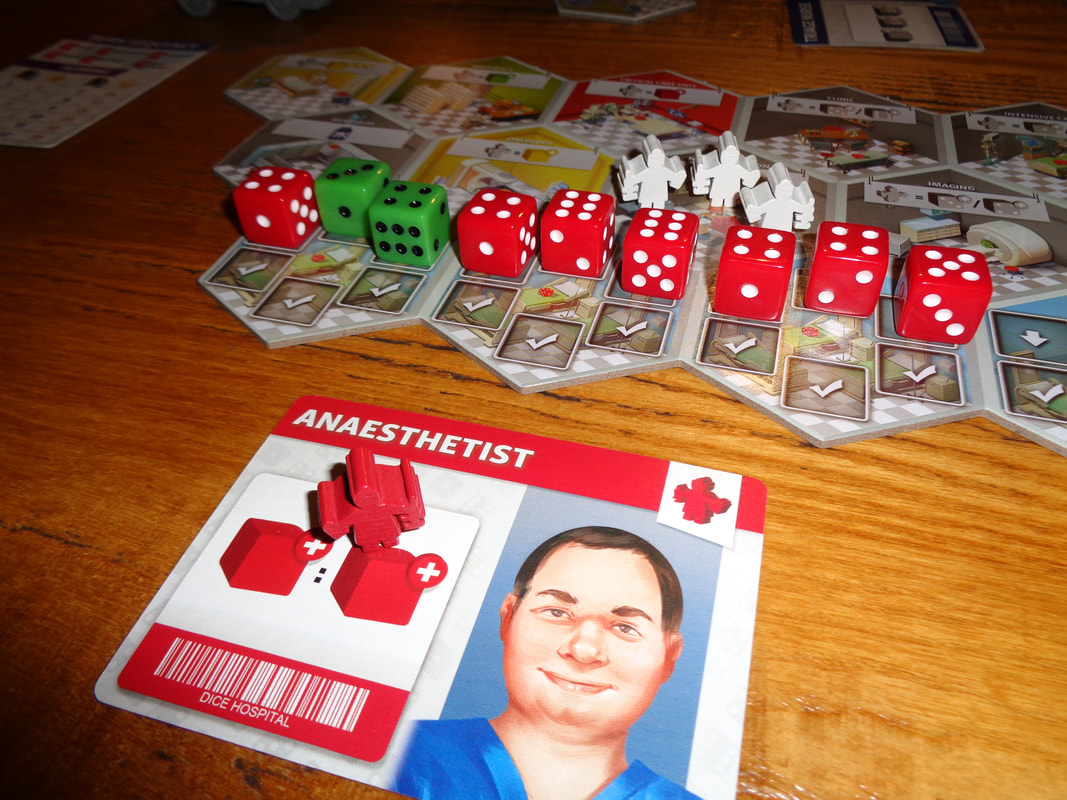
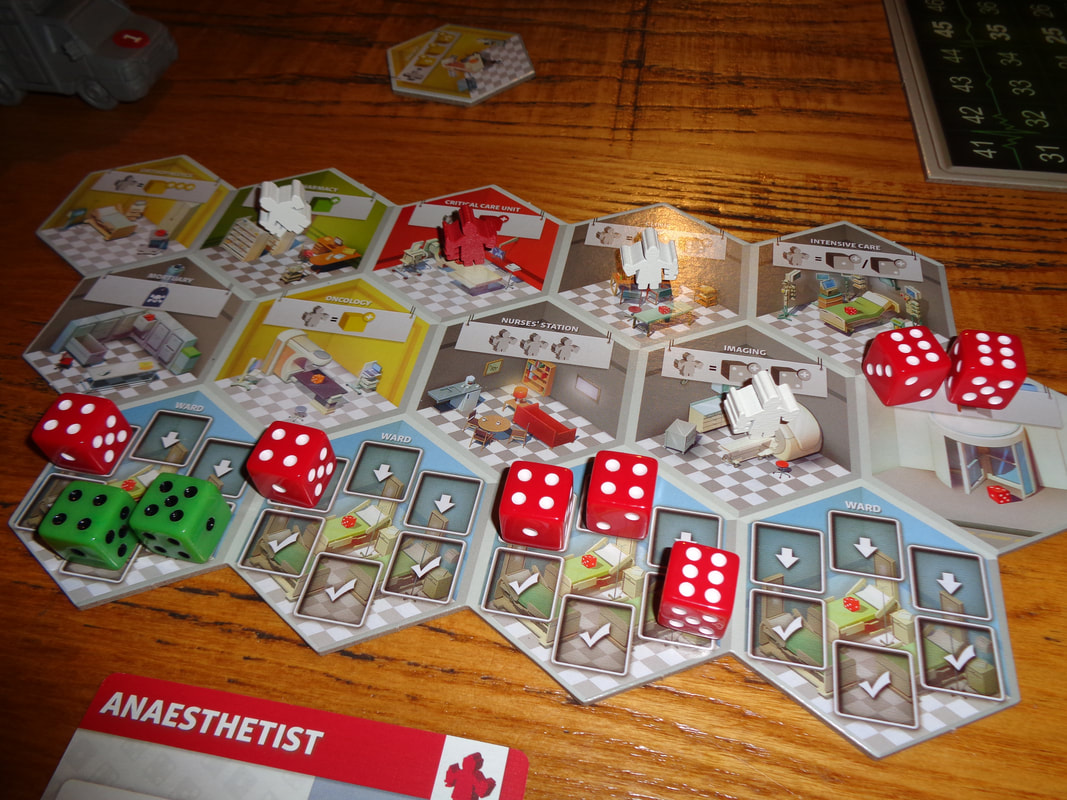
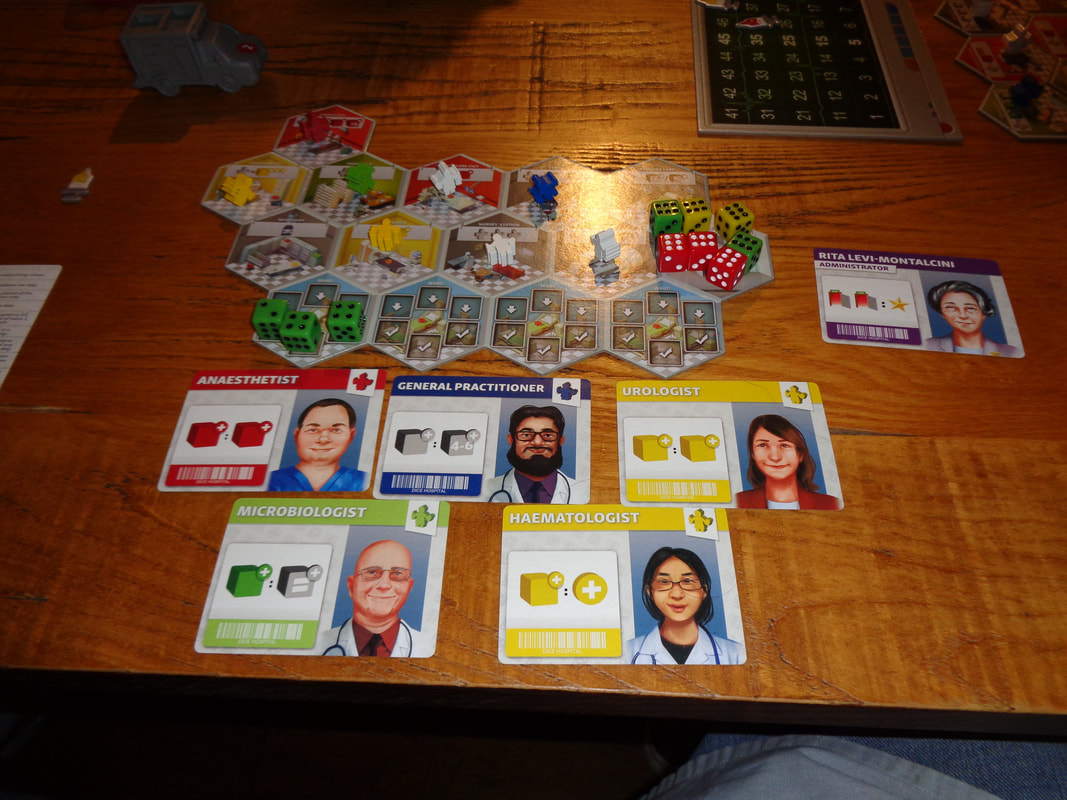
The component quality in Dice Hospital is all round good. The tiles are study and cards are of the expected quality. The game's 60 or so dice are plastic but with well rounded corners and satisfying to roll. Finally, all the meeples are stylised after medical staff, it's a nice touch and appreciated, they're made of wood too! Good stuff. All of the art for the different departments on the hex tiles is quite small but also well detailed and depicts a variety of different medical equipment and hospital furniture, I quite like it. The specialist cards have headshots of doctors, it's sort of average artwork but on the hand, they look like medical staff, what more could you want? Besides, how much more exciting could you make the portrait of a urologist look! We found the game's iconography initially a little confusing but after a couple of references to the rulebook, it was always sorted out. None if it's a dealbreaker. How's it play? Setup
On to play Dice Hospital is played over 6 phases, some of these phases are completed in turn order and some can be completed simultaneously.
Endgame Play continues until 8 rounds have been completed. Upon reaching the end, players calculate their final scores, this includes: VPs for discharging patients over the 8 rounds. +1 per unspent blood bag. -2 per fatality token acquired. Scores are tallied, highest score wins. Overall
As well as randomly determining which improvements appear, I like how the game makes use of dice as both a randomiser and a resource to be managed. Using dice value to gauge health levels and colours to represent different types of malady is innovative and great. There's a lot of good gameplay in Dice Hospital and a lot to like. Figuring out how to strike balance the hospital's different needs, requirements and aspects is a satisfying challenge. In this regard, the game's 2-tier drafting mechanics work well, drafting patients that are easier to heal means going later when drafting hospital improvements, that's a good balancing mechanic with meaningful decisions. There's also a higher level of play at work here, if you can anticipate which patients/improvements other players are looking to acquire, you can either try and either deny them what they want or make it easier to get what you want. For example, if no one else wants a red doctor, then going last in the improvement drafting phase is not a problem. Knowing what and when to draft is probably the single most important aspect of the game, using those combinations of special abilities to heal multiple patients at a time is vital. It's also contextual, depending on the colour of patients and improvements appear and what a player already has in their hospital. Players may find themselves having to reappraise their strategy from turn to turn. Willingness to trash an improvement for a blood bag can also be a powerful play, used right, blood bags can provide much more than a single VP. Luckily, the game provides fairly good opportunities to combo departments and specialists off each other, especially toward the latter half. However, getting that balance wrong leads to sub-optimal play, having to many departments leaves them unused and too many specialists means they just do nothing. Even though it's an abstract dice game, it genuinely feels a bit like you're running a hospital, having to try and find ways to treat and discharge patients before the next influx of unending patient. This is not a coincidence. Players start the game with 3 patients and acquire 3 more every round, this means by the end of the 3rd round, they'll have filled all their wards (Provided they haven't already discharged any patients.), as a consequence, players will need to discharge 3 patients a round just to avoid sending some to the morgue. Thanks to the scoring though, there's a wrinkle here. Discharging patients in drips and drabs doesn't score many VPs. Players will actually want their patient numbers to build up a bit and discharge as many of them at once as possible to optimise scoring. It's a another balancing act and it all combines to make Dice Hospital a good game. If you like worker placement mechanics, blended with a bit mid-complexity, light randomness, meaningful choices and almost engine building elements; then Dice Hospital is worth a try. One I found an enjoyable experience. 29th December 2021 We're at Simon's for some Wednesday evening gaming goodness during the mid Christmas break. The game of the night was Lost Ruins of Arnak. "That belongs in a museum!" What does? Cliched old one liners! Lost Ruins of Arnak is a game about raiding temples of a long forgotten ancient civilisation on an uncharted island. What's in a game?
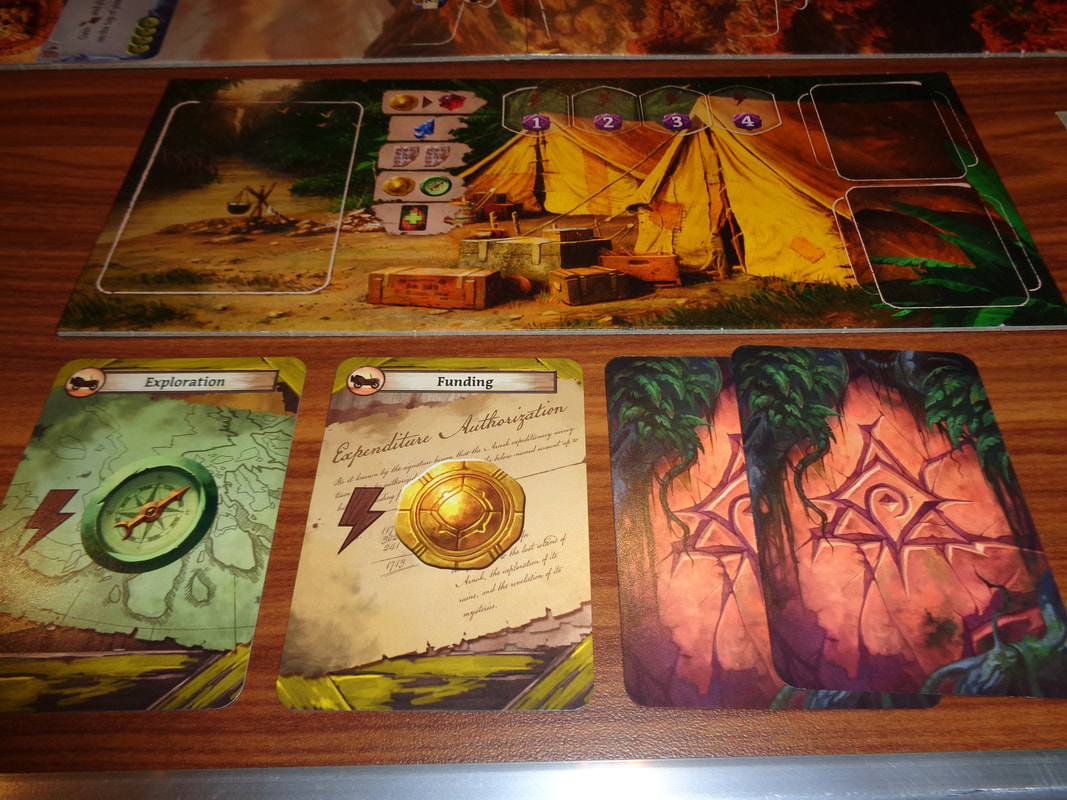
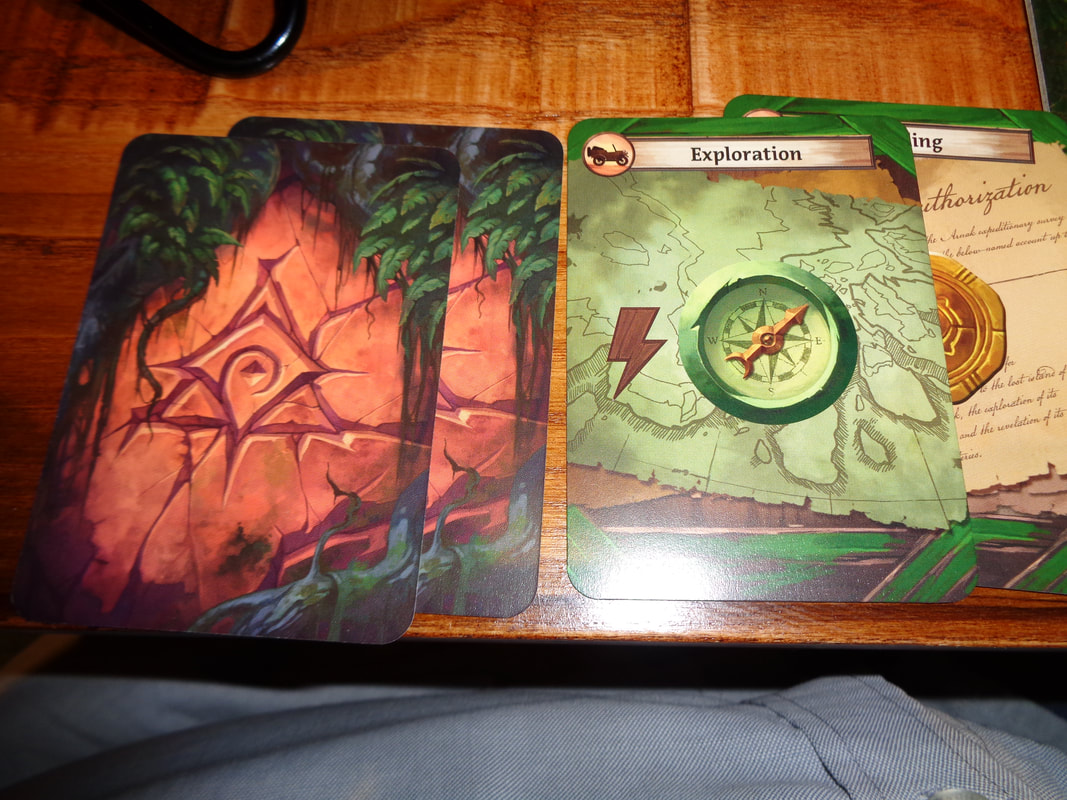
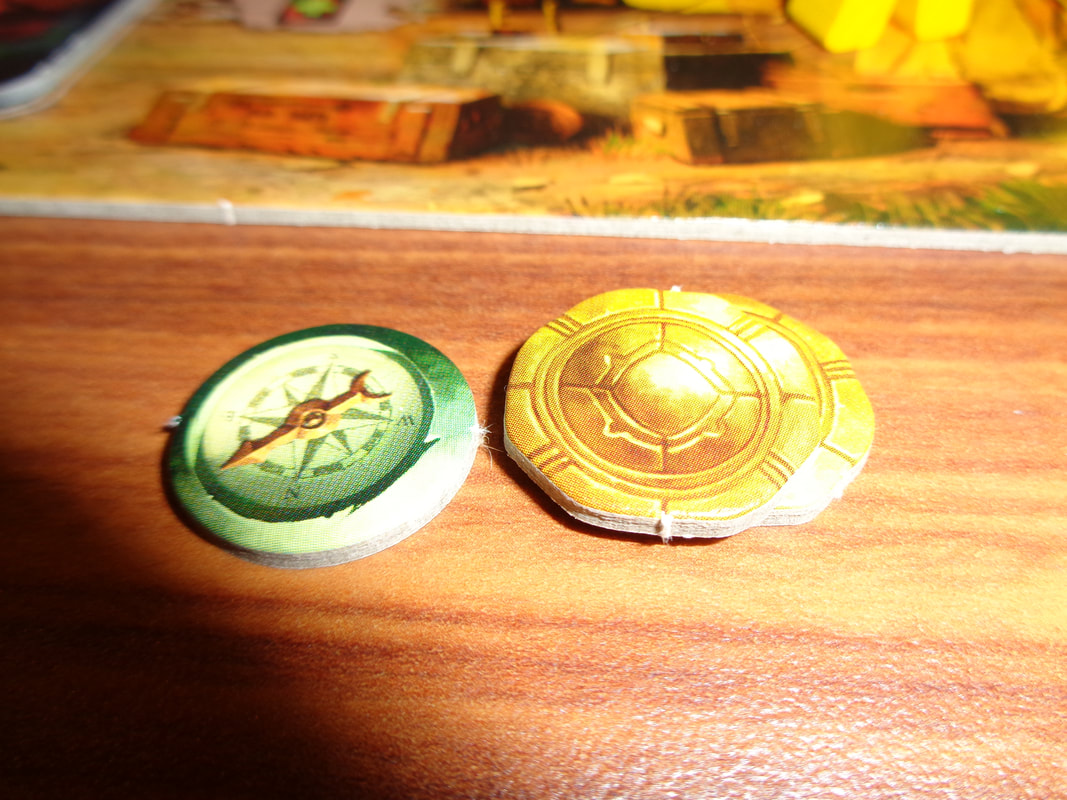
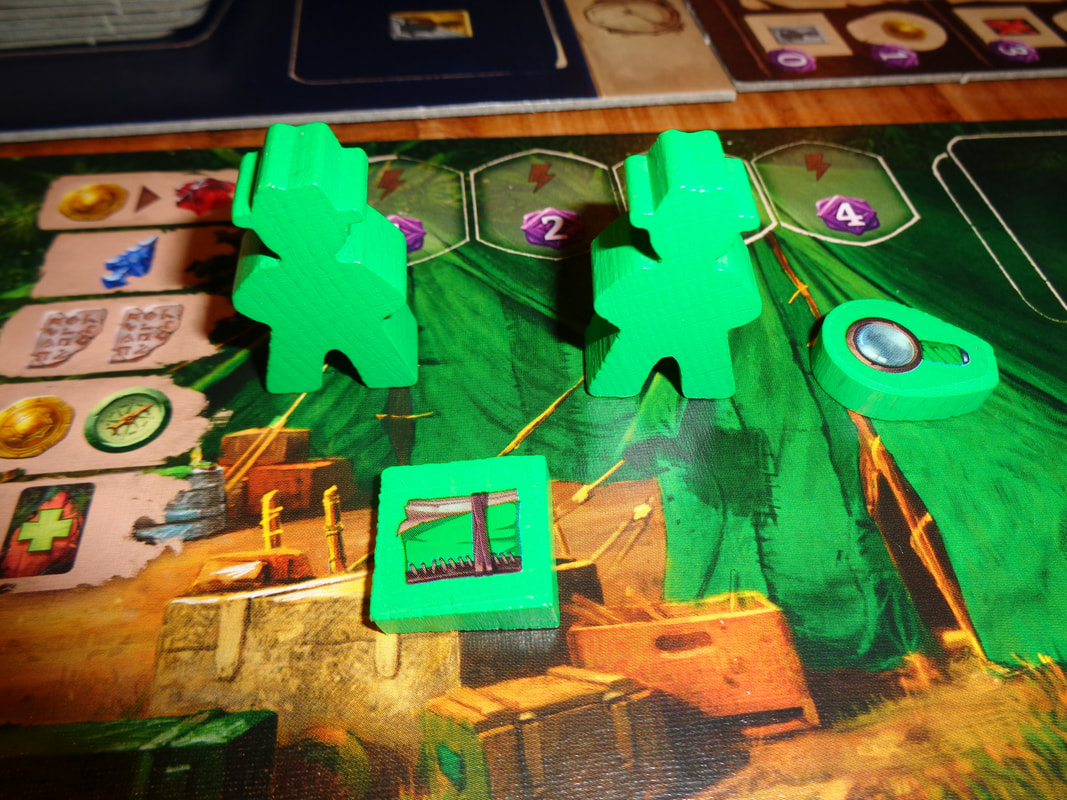
The game has really nice plastic pieces for arrowheads, tablets and jewels, along with wooden meeples, magnifying glasses and notebooks, you can never go wrong with wooden components and yet, makes use of unremarkable card tokens for coins and compasses. Yes it's a minor quibble but it's definitely noticeable. The game's cards and tiles are standard quality. From an art perspective, it's all pretty good, cards and tokens all have nice, clear and colourful thematic art. The standout however, is the board, with a pair of lovely landscape images, it's almost a shame that they'll mostly be covered with components during play. The game contains a fair amount of iconography, none of it was particularly unclear though. How's it play? Setup
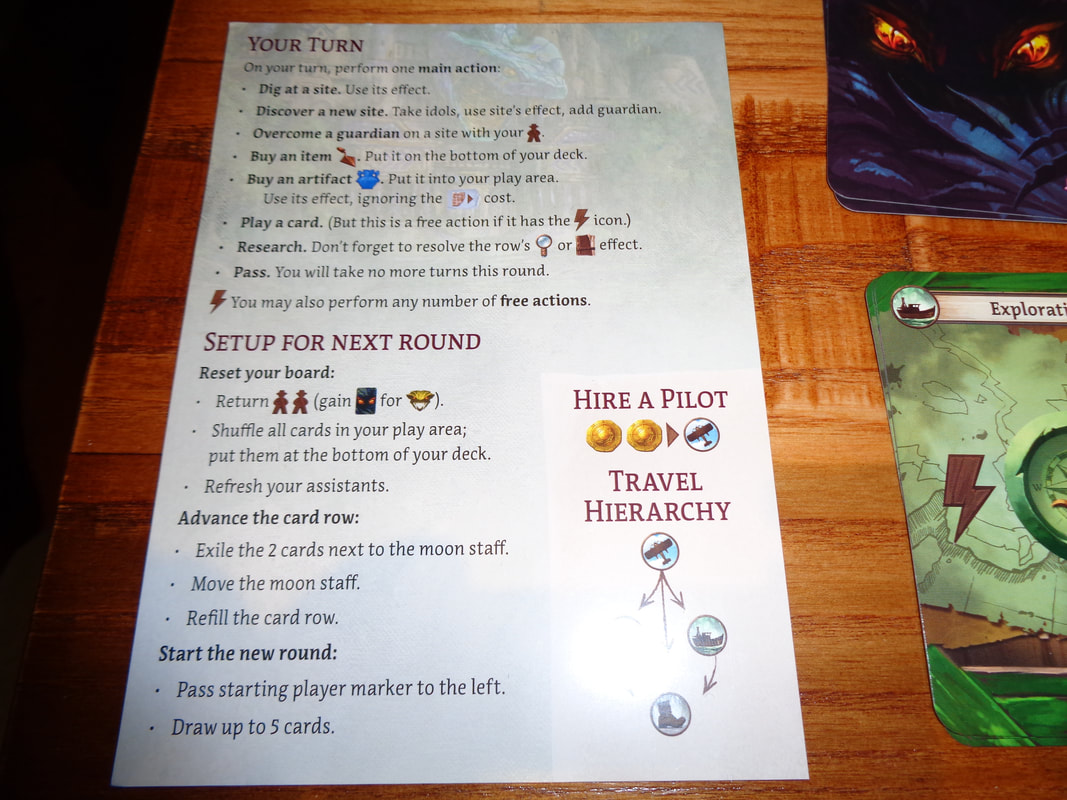
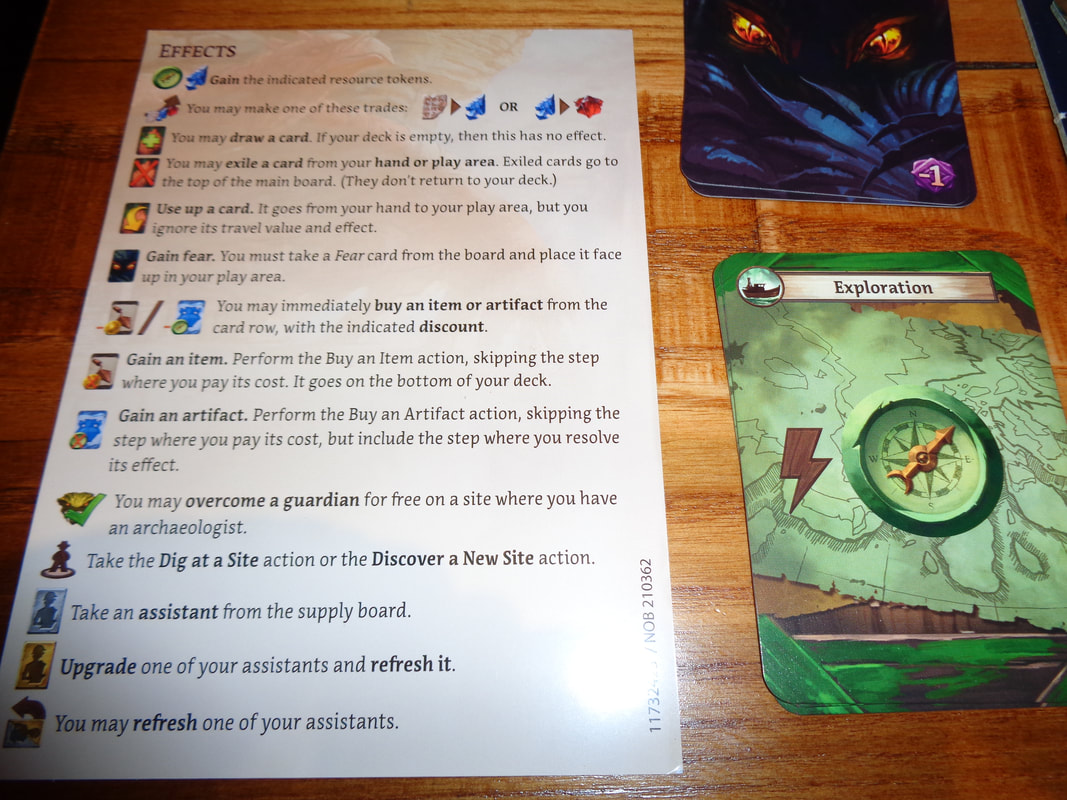
On to play A round in Lost Ruins of Arnak continues until all players can no longer perform actions (Free actions don't count.) or have passed. The game features a pretty standard turn order that goes clockwise and in their turn, players will get 1 main action and any amount of free actions. A round proceeds as follows:
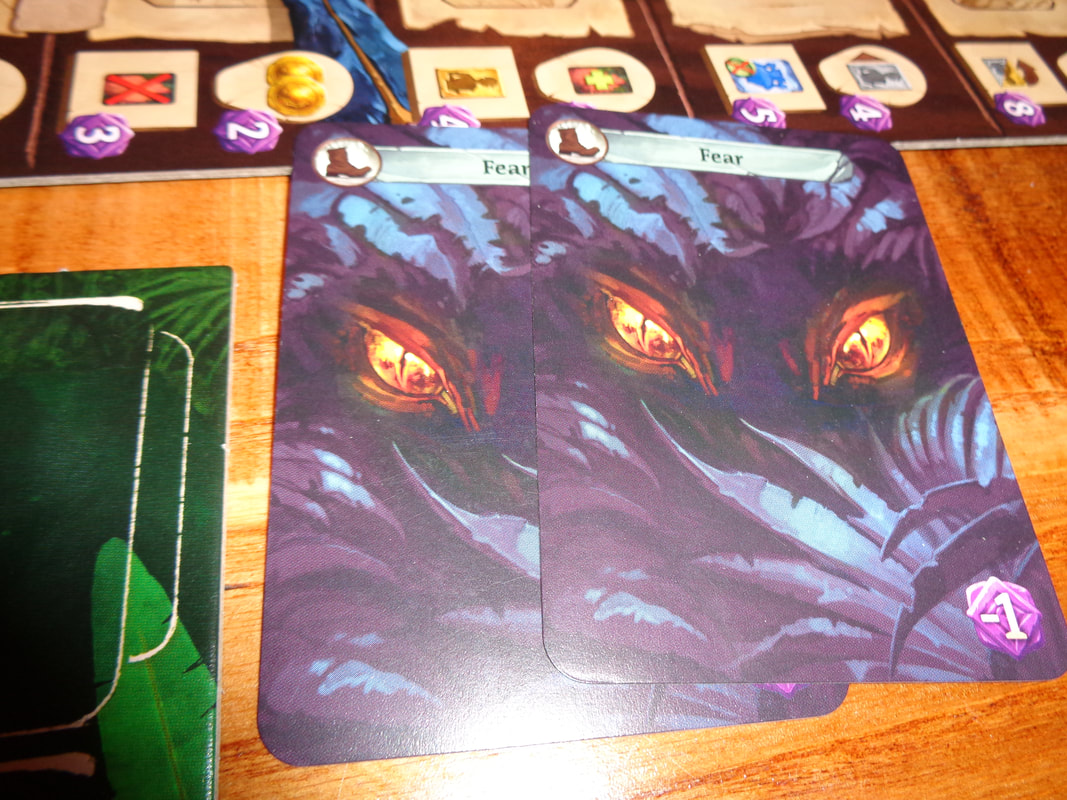
Endgame When the 5th round is completed, then so it the game and we go to scoring. There are a variety of opportunities to score. Research: Research tokens earn VPs depending where they finished on the research track. Temple tile: Players who reached the temple can score the VPs on these tiles: Idol tokens: each idol token acquired earns 3 VPs. Player board idol slots: Each empty slot on a player's player board earns the VPs it displayed. This means when an idol is slotted for a benefit, the VPs it covers are not scored. Guardian tiles: Each guardian defeated earns the player 5 VPs. Cards: Aretfact and item cards can also earn the owning player VPs. Fear cards: Finally; fear cards. Each fear card a player has deducts 1 VP from their total. Points are tallied, highest score wins! Overall
Hmmm, what to say about Lost Ruins of Arnak. It would only be a slight exaggeration to say that this game is sort of a jack of all trades and master of none. A little bit of deck building, a little bit of worker placement and a little bit of resource management, this game has it all! Joking aside, this, on a basic level represents 3 different approaches to accumulating VPs. That is; buying cards and using cards, visiting sites and moving up the research track. Card will get players useful special abilities and travel points, visiting sites will acquire players resources and going up the research track gets other benefits, including assistants. Players will not want to neglect any of these elements and there's fairly good synergy between different parts of the game, but generally players end up focusing on 1 of them during play. While the game isn't overly complex, there's quite a lot to consider. Personally, it felt like going up the research track was a good way to score big but it's hard to be sure. Another very important factor to think about is turn-economy, there's no set number of turns per round in Lost Ruins and finding ways to get extra main actions is vital. A player who gets 10 actions per round instead of 5 is going to just do better and I have to say, finding way to combo actions into more actions is pretty satisfying. For example, a player might use a card to get resources to move a worker to get different resources to spend on the research which would provide another benefit. Having said that, taking a single main action at a time can feel frustrating, yes it's a combo system, but it's a slow one - unless you're the only player still with actions. I found Lost Ruins of Arnak a fun game, but not a particularly compelling one; it's hard to put a finger on. The game's theme fits it's mechanics well and it has great presentation. I think maybe that all the game's systems, the worker placement and the deck building and so on are all on an individual level, a little uninspiring and bland. The deck building mechanic would never stand on its own for example, neither would the worker placement, on the other hand, they don't need to. So is the sum greater than the parts? The jury's out. When I encounter a game I like, I get the urge to buy a copy and I don't get that with Lost Ruins of Arnak. The game was entertaining but it wouldn't be first choice of mine to play but I happily play it if someone else wanted to. 16th December 2021 It's a Thursday and we're round Simon's for some gaming. The game of the night was Le Harve; have you ever had the urge to run a business on the French coast, construct buildings and ships, manage goods, feed your ever expanding workforce and avoid going into debt? If the answer is yes, then maybe, just maybe, Le Havre is the game you're lookng for. What's in a game? Le Havre uses a lot of components, I mean it, A LOT!
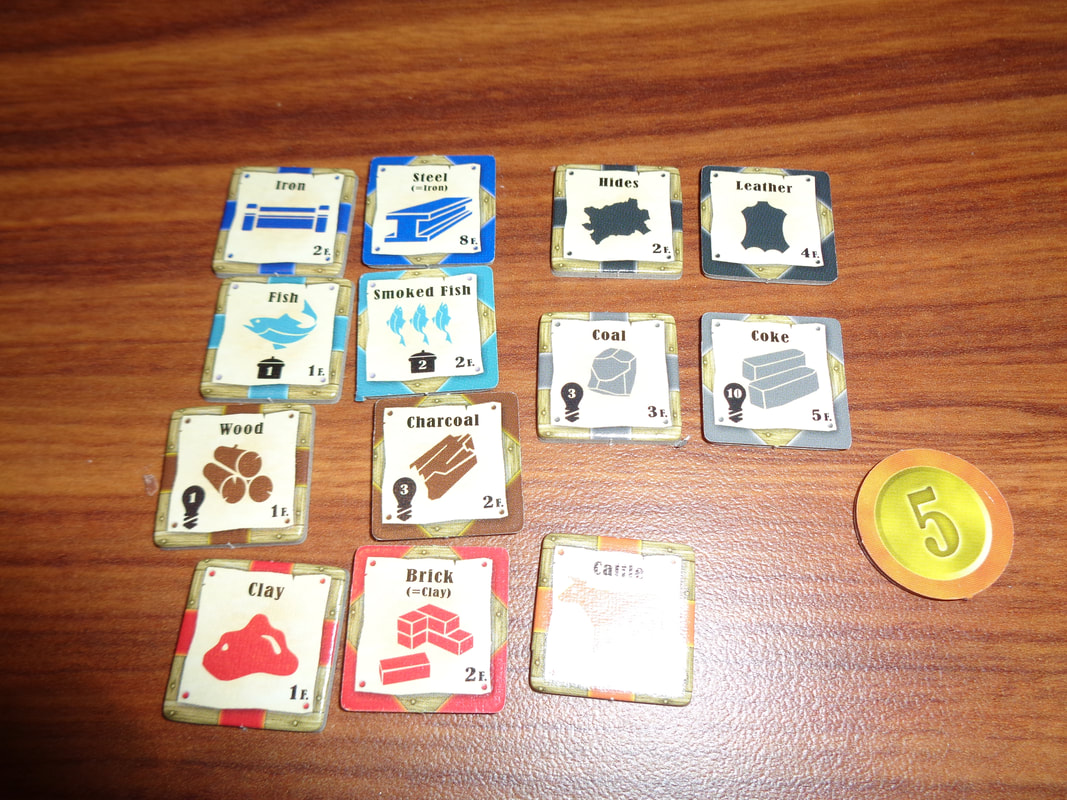
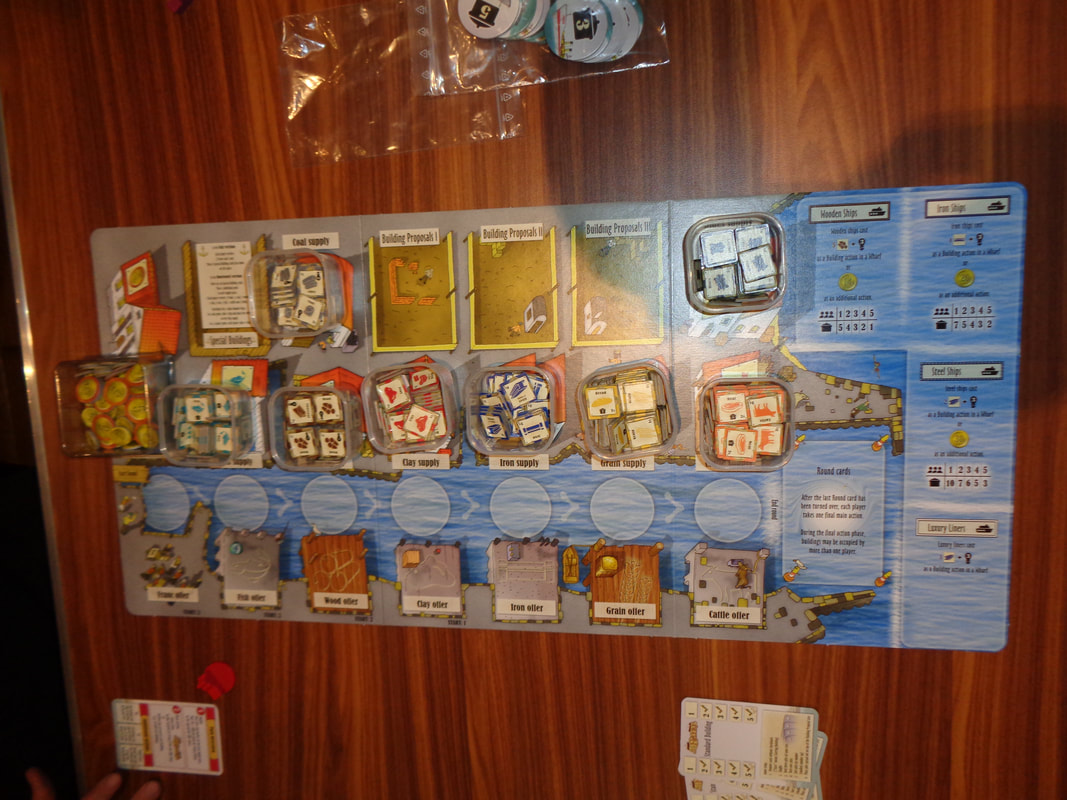 The game board... so many resources!
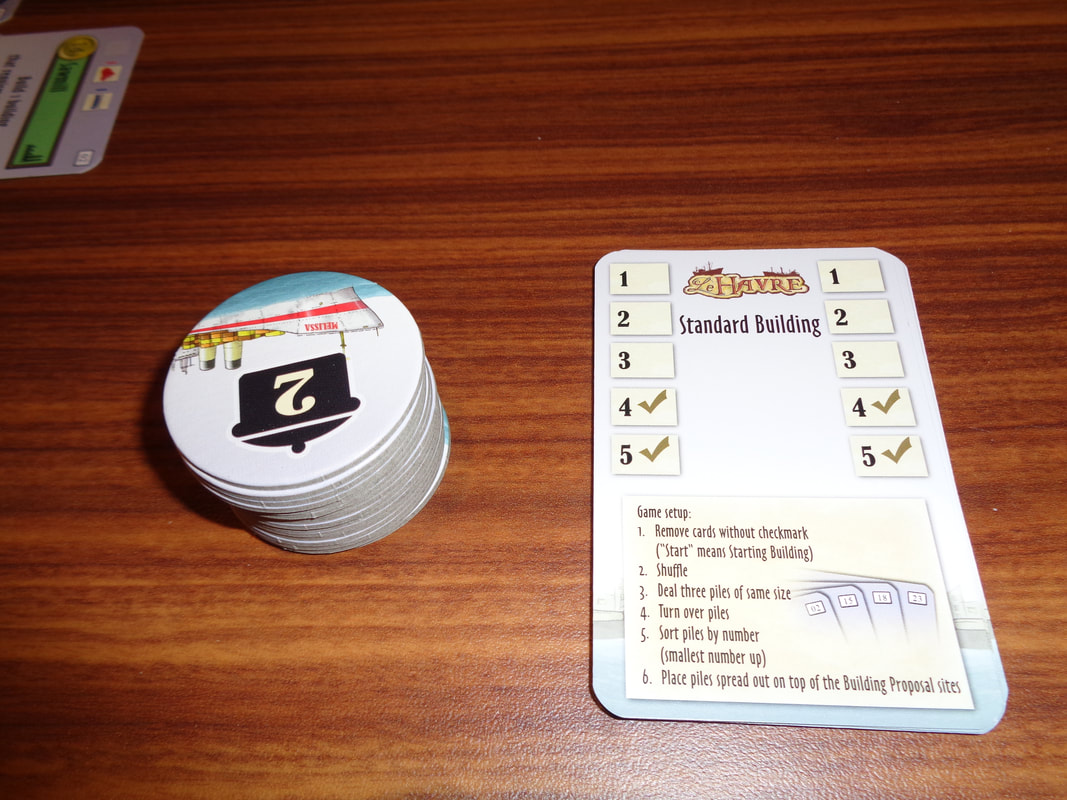
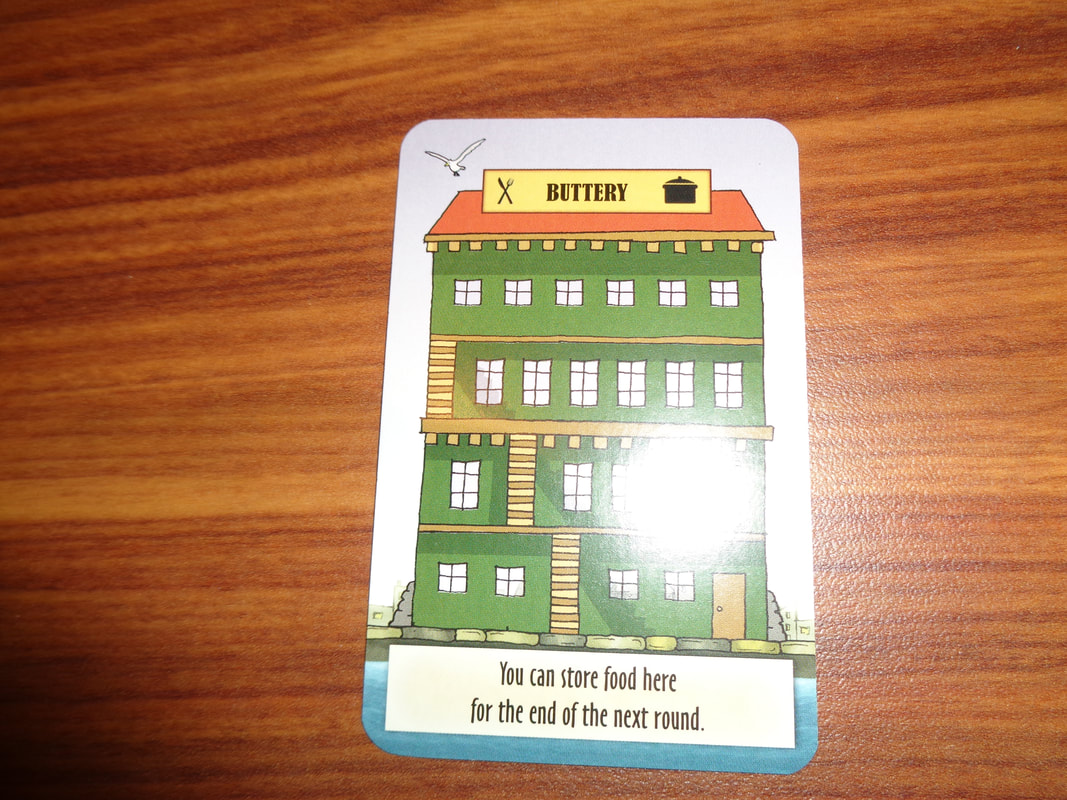
The art in Le Havre is a bit of a mixed bag. The game board uses fairly simplistic and colourful illustrations that I personally found clear, distinct and looked quite evocative, the same is true of illustrations on the cards. However, the tokens used monochromic artwork which is a little old school. Having said that, it was always clear what they represented. Which brings me to iconography. Between all the different actions on all the building cards in particular, Le Havre uses a fair amount of iconography. Much of it is straightforward and apparent but some of it will require looking up in the rules. none of it game-breaking though. How's it play? Setup
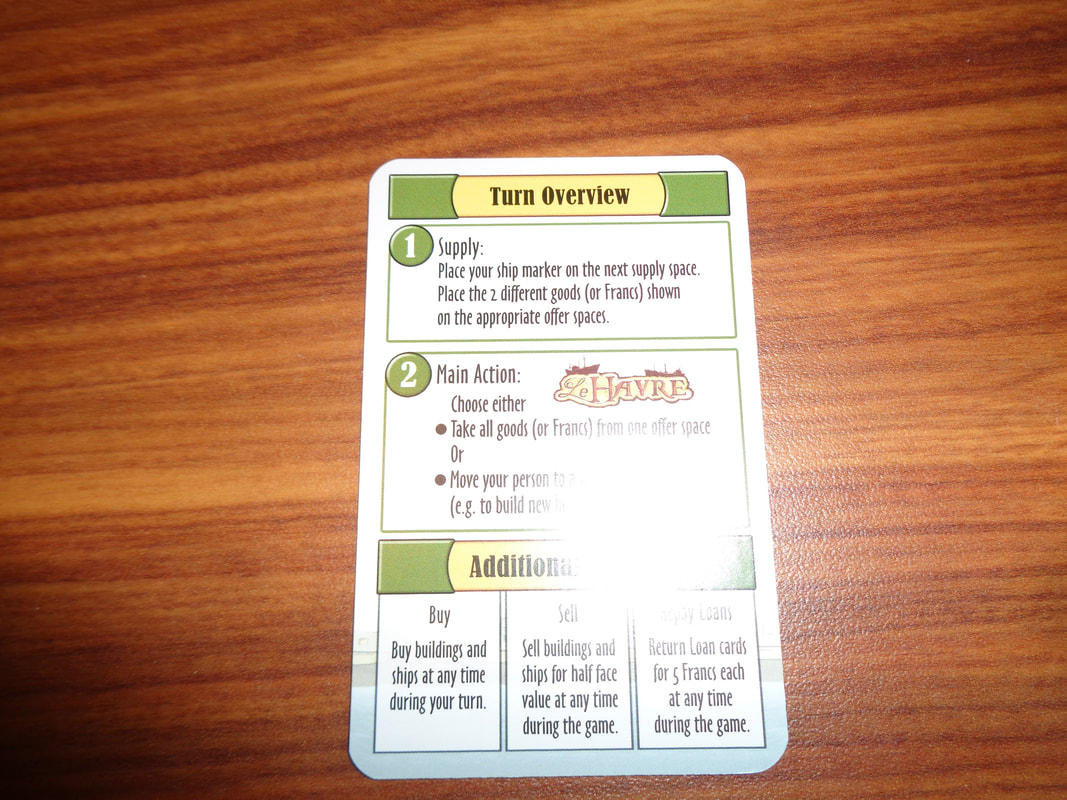
On to play Acquisition of wealth is goal in Le Havre and money becomes victory points at the game end. The game is played over a number rounds dependant on the number of players. In each round there are 7 turns, you will note that this means that players will not have an equal number of turns and this is by design. In their turn each player must perform the supply action and has a single main action they can also perform, in addition the active player can also perform buy/sell actions. When all 7 turns have been completed, there are some end of round actions to resolve before moving on to the next round. Free actions: These can be performed by the active player at any time.
Endgame When the final round is completed, all players have 1 final main action they can perform, after this, the game goes to scoring. Now each player calculates their wealth which are victory points. This is done by totting up the following: Value of all building and ships a player owns. Cash they possess. Every loan card a player still possess at the game end deducts from the total. Scores are tallied, highest score wins. Overall
When playing Le Havre players will need to pay attention to several areas of the game. Buildings are very important and players will probably spent a significant number of actions on them, not only do they have to think about to what they've built, what the town owns and what it available to build but what other players have built. Being able to make use of other player's building adds an interesting spin on the game. Players will need to adapt their strategy to the buildings that become available and while there is a ordering number for buildings, it's still no guarantee of the actual order they become available. That doesn't mean you can risk ignoring ships or acquiring resources of course, food is vital, probably the single most important thing in the game, you'll constantly need food otherwise you'll eventually be plunged into spiralling debt. Managing all the resources is also key and the game deliberately forces players to make the hard choice between using a building or taking a resource from an offer space. Resources tend to be relatively scarce at the start of the game and player's will want to optimise their strategies. Generally money can be used in place of some resources but it's essentially sucking up victory points and getting players closer to having to take a loan, something to avoid if you can. Players will need to also pay attention to the supply track and their position on it and when their turns will come up, as well as when resources will be moved into the offer spaces. Even though there were some more rules which I skipped over describing, I wouldn't call La Havre a very heavy game. I did find it a little fiddly with the occasional little rule popping up here or there and at the start I did find the game a little obtuse. Once you get over that hump Le Havre becomes a mostly straightforward game and proves a challenging game with meaningful decisions to make. I do have a criticism of Le Havre though - and that's the playtime, it's just too long! This is a known issue too as the rules contain a 'shortened' variant of the game! A 5-player game is expected to take 210 minutes over 20 rounds, that's 3 ½ hours and quite frankly, that's an underestimation. Think about it; 210 minutes over 20 rounds is 10 minutes 30 seconds per round and each round has 7 turns, that works out at 90 seconds per turn. Do you think that the kind of players that like this type of game spend just 90 seconds per turn? If every player spends 2 minutes taking their turn instead of 90 seconds, it would add 70 minutes to the playtime. 😭 It meant that the down time between turns felt like it lasted forever and at times was just more frustrating than fun or compelling, which was what I ultimately took away from it. If you like resource-management games that are slightly on the heavy side, then Le Havre might be worth a look, provided you can commit the time. To be honest, it's a game that rainy, chilled Sunday afternoons are perfect for. 30th November 2022 It's a Tuesday night and we're at The Sovereigns in Woking with the Woking Gaming Club. The main game of the evening was Atlantis Rising. Atlantis; the mythical civilisation swallowed by the seas and lost to time, how did this happen? Clearly it was caused by a band of bumbling table-top gamers! What's in a game?
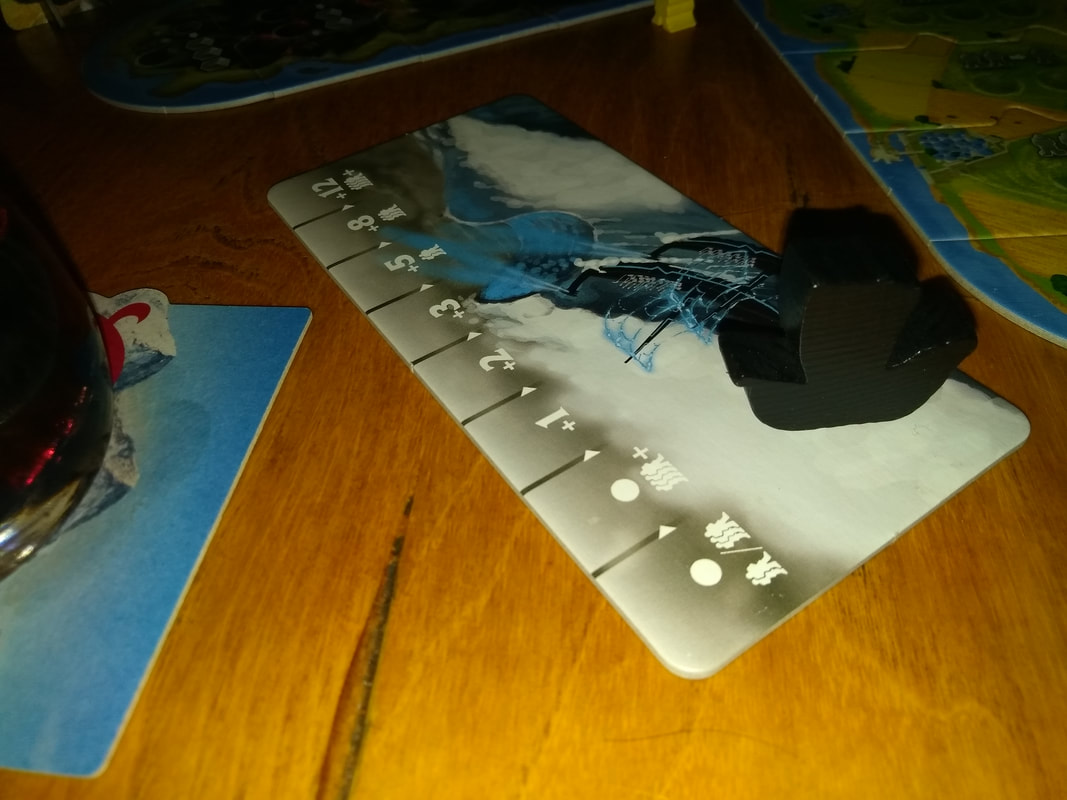
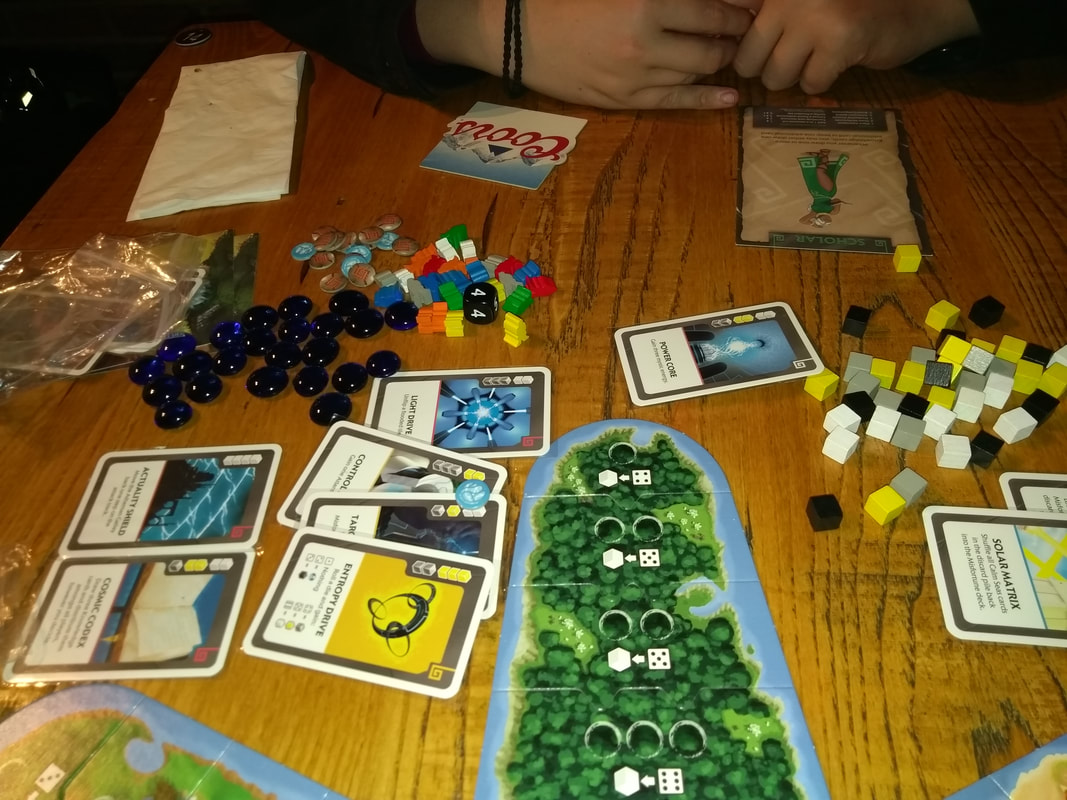
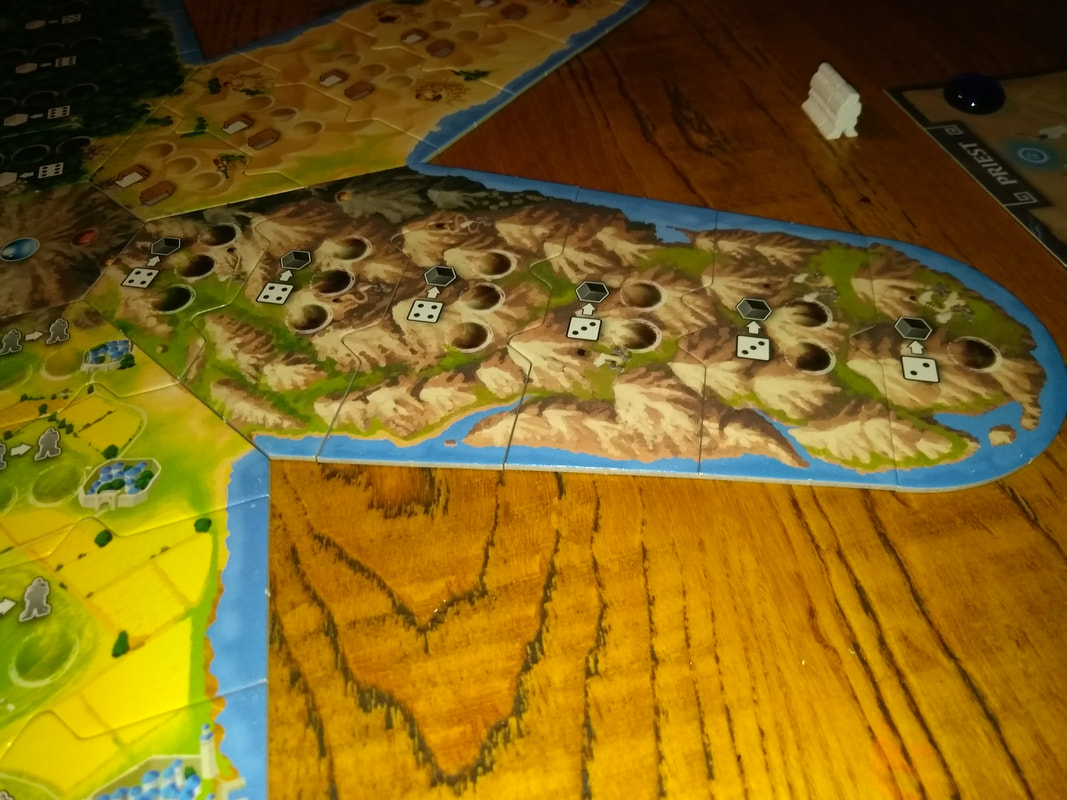
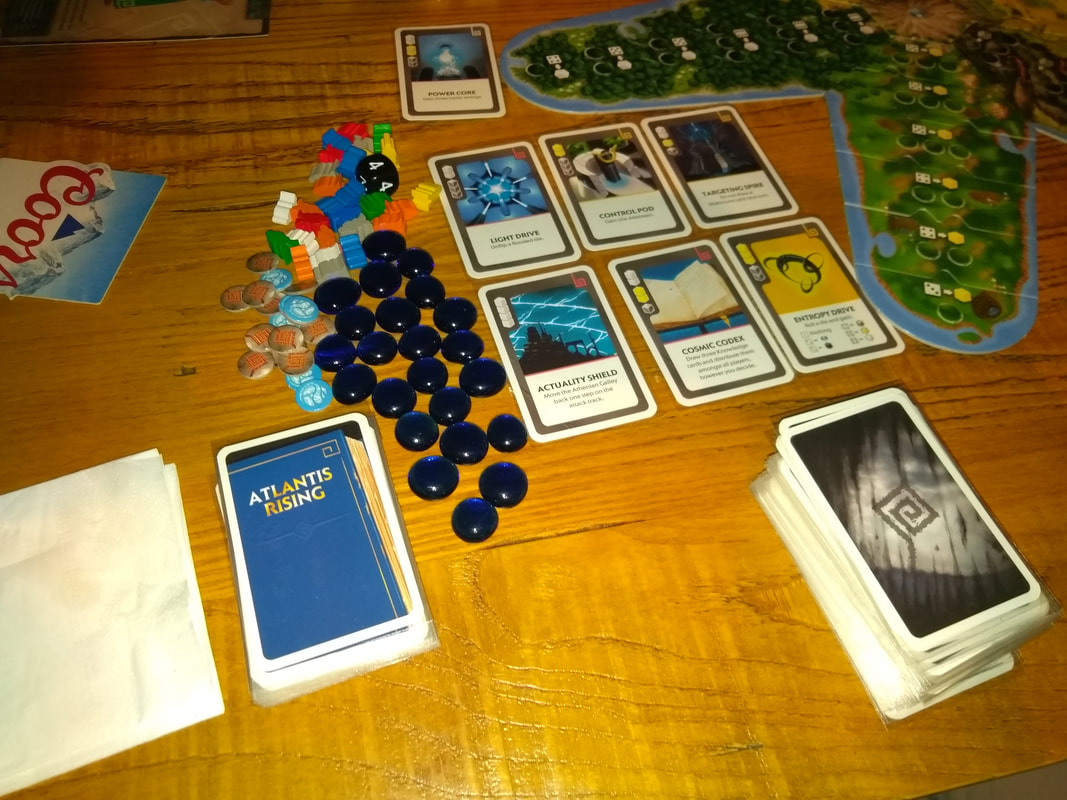
The quality of the components is as you'd expect from modern games universally good, the game makes extensive use of wooden tokens for meeples, resources and even the Athenian ship, which I like. The addition of glass tokens is also a nice touch and appreciated. From the perspective of art direction, I'd call the art good but not exceptional, it is however, clear and functional when needed, the different terrains are always easily discernible. I'd be remiss if I didn't comment on the board. It genuinely looks unique and eye-catching. It's not a gimmick either and makes sense in relation to the game's mechanics. The game's iconography is straightforward and easy to understand. How's it play? Setup The setup for Atlantis Rising is relatively simple.
On to play Each round in Atlantis Rising consists in a number of phases.
Endgame Play continues until 1 of 2 conditions is met. If all the tiles on the Atlantis map are flooded - including the centre tile, then the players collectively lose. If the players manage to build all 10 cosmic gate blueprints, they immediately win. Overall
Just to clarify, it was the the 1st edition we played, there is a 2nd edition which has some notable changes. Despite its nifty, unorthodox board, Atlantis Rising's central premise will be familiar to players of cooperative games. That is; players will be faced with the choice of working towards completing objectives to win the game or firefighting whatever will cause them to lose, in the case of Atlantis Rising that's 2 sources, the misfortune deck and the Athenian attacks. What Atlantis Rising brings to the table though, is a push-you-luck element. Luck is an inherent part of cooperative games and is used to mitigate players' abilities to out-strategize a game, but these push-you-luck elements add something quite different. When picking an action, players will also have to decide how much they want the resource, card or whatever, playing it safe might not get you what you need or enough of what you need. The same is true when dealing with the Athenians, it requires a lot of meeples to be fully safe from them, but the true number required is never known due to the attack die roll. Sometimes it might better to put a meeple or 2 less, it might be riskier, but it gives you 2 workers that could have a vital use elsewhere. In both instances it's a solid use of risk/reward and it gave me the feeling that it's hard to win the game by playing cautiously and at some points players just have to take risks. Having said that, I do have an issue with the whole Athenian attack mechanic. I really don't like how the players have to collectively commit more and more workers to fighting the Athenians off. It can mean players are making effort to acquire workers simply for this purpose and feels like quite a negative mechanic. I'm not alone in this thought as this was revised for the 2nd edition. This also brings me to another element of the game; as it progress on and more tiles flood, players will get less and less choice where to place their workers. It feels counter to how games - especially worker placement games flow, typically a player's choices and options expand as a game goes on but Atlantis Rising does the opposite, I know that it's part of the game's challenge and players need to work to prevent this but still sort of feels off. Other than these two criticisms, Atlantis Rising is a perfectly acceptable game that cooperative gamers will be comfortable with. Atlantis Rising doesn't stand out from the crowd but neither does it do anything wrong. Personally, I like how it looks, especially watching Atlantis gradually sink! |
AuthorI play, I paint. Archives
March 2024
Categories
All
|


 RSS Feed
